Final Milestone
First Milestone
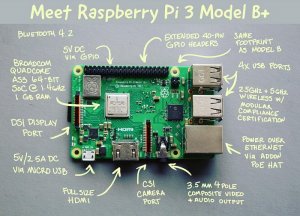
This is a model of the Raspberry Pi 3 B+. Some of the labeled parts I used in my project were the Micro USB Port, full size HDMI, and 2 USB Ports. The Micro USB Port was used for powering up my Raspberry Pi, the full size HDMI was connected from my Raspberry Pi with my monitor, and one USB Port to connect to my wireless keyboard and the other to my wireless mouse.
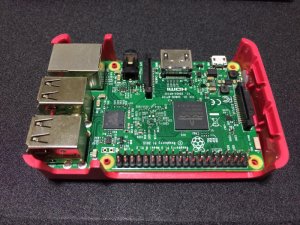
My first step during this milestone was installing my Raspberry Pi into my case. I took the Raspberry Pi and fit it into the case, making sure to not push down too hard and damage the components. After doing that for a while, I could take the Raspberry Pi out whenever I wanted to do so.
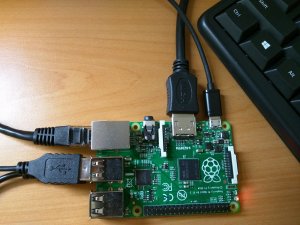
My second step was to take my Micro SD card that is preloaded with RetroPie to put in my Raspberry Pi, while connecting everything from my Raspberry Pi and monitor. From there on, with RetroPie up and running, the rest is just setup like language, time, display, and wifi.
Useless Machine
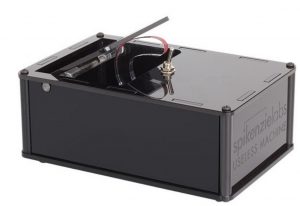
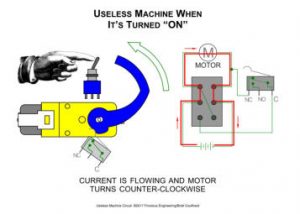
This is the starter project I did, the Useless Machine. All this is is a machine that turns itself off.
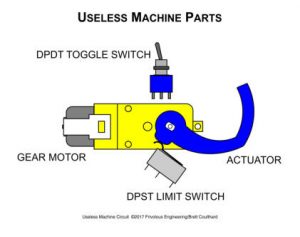
The main components of the Useless Machine comprise of a PCB, resistors, LED’s, a toggle switch, a limit switch, a gear motor, an arm, and a battery pack. We have the PCB that allows electrical current to flow throughout the system, the LED’s that give off signal lights, and resistors that prevent the LED from lighting up at the same time.
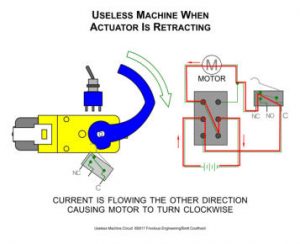
When the toggle switch is off, it reverses the current flowing through the motor, causing the arm to rotate clockwise until it reaches its original position. At the same time, the limit switch will be back on and the LED gives off a red light.
