Introduction
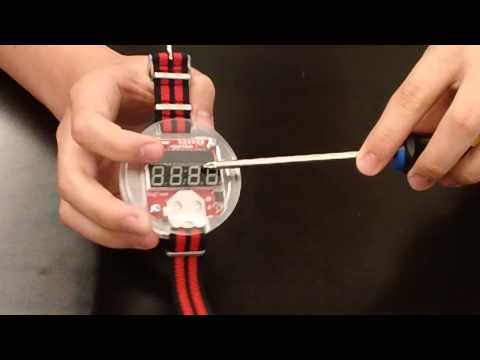
My name is John and I attend Elizabeth High School in Elizabeth, NJ. Bluestamp Engineering was an amazing program as I created my own robot while adding modifications to my creation. My starter project was the Big Time Watch and my main project was the Omni-Directional Robot. The reason I selected these projects was that I was inspired from my time at Bluestamp the year before after building the Line-Following Hexbug. My experience at Bluestamp this year has given me more knowledge and this has directed me toward the path that I would like to take in the future.
Final Video
For my final milestone I added a carbon fiber fabric to add an esthetic appeal and I started to program a Raspberry Pi in order for me to use it with a LIDAR sensor to make the robot be autonomous. I will not be able to complete this within my time at Blue Stamp, but I will continue to design and update my robot.
Milestone 2
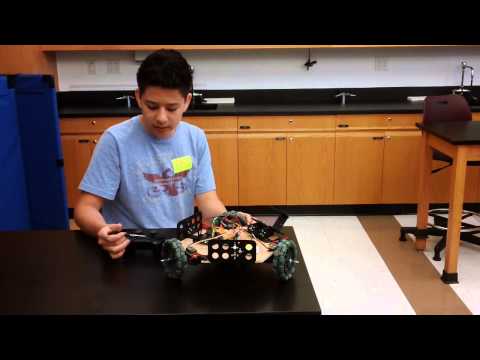
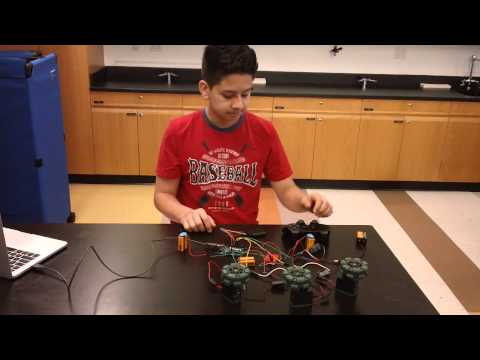
I finished my second milestone of my Omni-Directional robot, which was to complete the hardware of the robot and attach the motors and the Arduino. Between the first and second milestone I changed some aspects of the schematic including changing the breadboard to a perf board to make a more solid connection. I as well added supports on the sides without the wheels to keep the board together. The problems I faced between the first and second milestone had to do with moving the circuitry and making sure that the robot was properly balanced. The reason moving the circuitry had been difficult was because when I moved the wires from the bread board to the perf board I experienced technical difficulties due to me creating loose connections. The balancing of the robot was difficult because I needed to make it as perfect as possible to limit the amount of drag on the robot.
BOM: BlueStamp-Bill-of-Materials-2.numbers


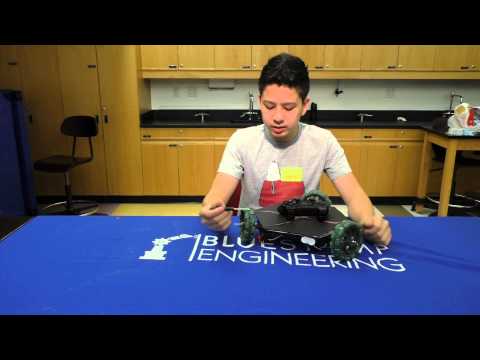
Milestone 1
The problems I had with the coding was that I could not test the controller because I was unsure of the wiring to the Arduino. I found the relationship between the example code and the Arduino, saying which pin corresponds to the dongle pins. Another problem I had with the wiring was connecting the grounds because I did not have enough ground pins, to solve this I used a small bread board in order connect them and only use two out of the three grounds.

Wiring schematic: Omnidirectional Robot Schematic