CNC Drawing Machine
Engineer
Jennifer Zecena
Area of Interest
Electrical Engineering, Mechanical Engineering, and Computer Science
School
Phillips Exeter Academy
Grade
Incoming Senior
Final Milestone
Final Drawings
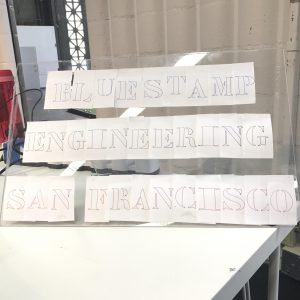
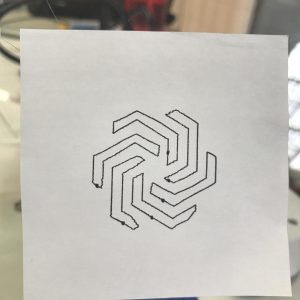
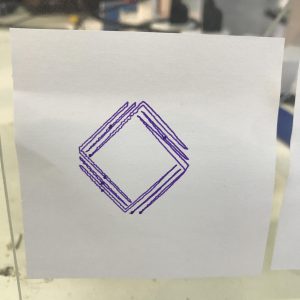
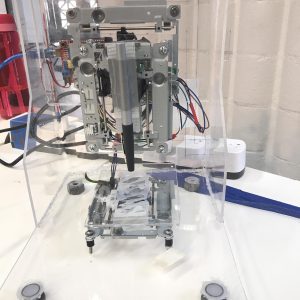
For my final milestone, I have increased the accuracy and the complexity of the images that my CNC machine can draw. Instead of uploading four or five lines of Gcode onto the Arduino Microcontroller using the Macros setting of the Universal Gcode Sender, I can now upload large Gcode files with hundreds of lines of code.
I create Gcode files of Geometric shapes and letters using a program called Inkscape, which is an open source vector graphics editor. On its own, Inkscape cannot save an image as a Gcode file. Because of that, I installed an extension called MakerBot Unicorn Gcode Output. With the extension, it saves my scaled down images as Gcode files, however, the files it creates have multiple errors within them.
I resolve all errors in the Gcode files using a program called G-Wizard Editor. What is great about G-Wizard is that it allows you to edit Gcode files line by line and then creates a 3D simulation of how a CNC machine will draw the image. The two main errors that are found within the Gcode files that Inkscape creates are that there are lines of Mcode embedded within the Gcode and that the speed that the Gcode tells my motor to move at is too fast.
Mcode and Gcode and very similar, however, Mcode is mainly used in industrial sized CNC machines to control most of the basic electrical functions such turning the motors on and off, controlling the coolant, tool changes, and safety circuits. The Arduino microcontroller does not understand Mcode so translate actions written in Mcode into Gcode.
Example translation:
M300 S30 (pen down) —-> G1 Z-1 F25M300 S50 (pen up) —-> G1 Z0 F25
M300 S50 (pen up) —-> G1 Z0 F25
When writing Gcode using G1 commands, you write the coordinate that the machine has to move to and then the speed that it has to move at. The line: G1 X1 Y5 F25 tells the machine to move to the position (1,5) at 25 MMPR (millimeters per revolution). 25MMPR is the speed at which my machine draws the smoothest line. Because Inkscape creates G1 commands with a speed of 100MMPR, I have to change the F100 in every line of Gcode to F25.
Second Milestone
Finished Frame
Second Milestone Description
First Milestone
Initial Setup
First Milestone Description
Starter Project – MintyBoost
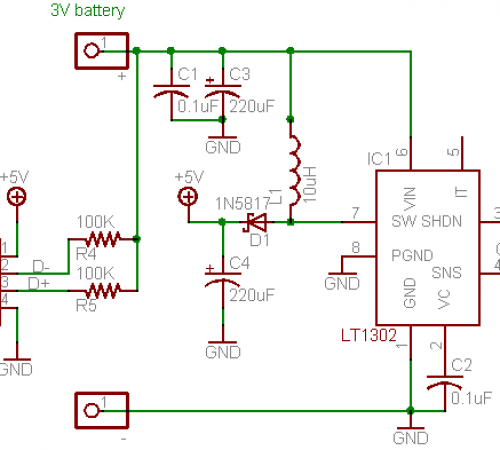
My starter project is a small, battery-powered USB charger called a MintyBoost that can charge iPhones and other gadgets using two AA batteries. While working on my starter project I learned a lot about the functions of the electrical components that I soldered onto the circuit board of the charger. I also learned how to identify the electrical parts that correspond to symbols on a schematic.
There are five main types of electrical components that I soldered onto the circuit board while building my starter project: boost converters, resistors, capacitors, diodes, and power inductors.
- Each of the AA batteries outputs 1.5V so the total voltage that the electrical circuit receives is 3V, however, the charger outputs 5V. The boost converter located at the center of the circuit board is the electrical component which steps up the voltage in the circuit while stepping down current.
- The main function of the resistors is to reduce the flow of the electrical current and to adjust the voltage that different parts of the circuit board receive. I used two different types of capacitors – bypass capacitors and power supply capacitors.
- The bypass capacitors help stabilize the output voltage and ground any AC noise that may be present in the DC current while the power supply capacitors smooth out the DC current by releasing the small amounts of electrical energy that they store when there is a ripple in the voltage.
- A diode is a small semiconductor device with two electrodes (a cathode and an anode) that acts as a one-way flow valve for current. In my circuit, it allows current to flow from the battery to the USB connector but stops current from flowing the other way.
- The power inductor is an electrical component capable of storing electrical energy in the form of magnetic energy. Inside of the power inductor, there is a conductor wound into a small coil that creates a magnetic field when electricity flows through it. The electrical energy that the power inductor stores is released when it is needed in the circuit.
Project overview: https://learn.adafruit.com/minty-boost/overview
Parts list: https://learn.adafruit.com/minty-boost/parts-list
Schematic
