Automated Solar Tracker
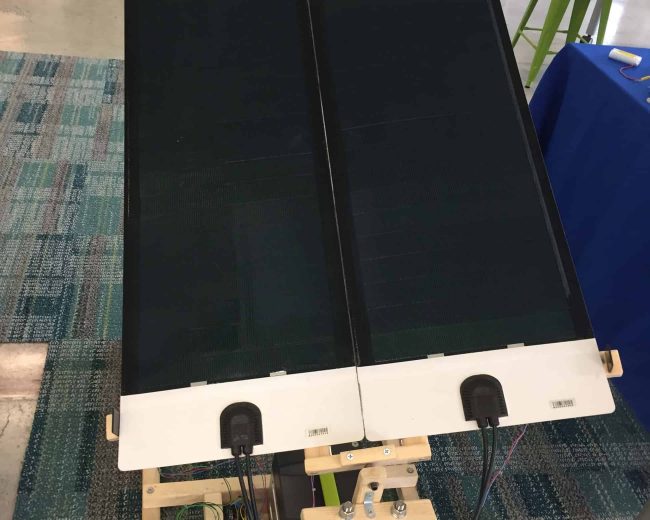
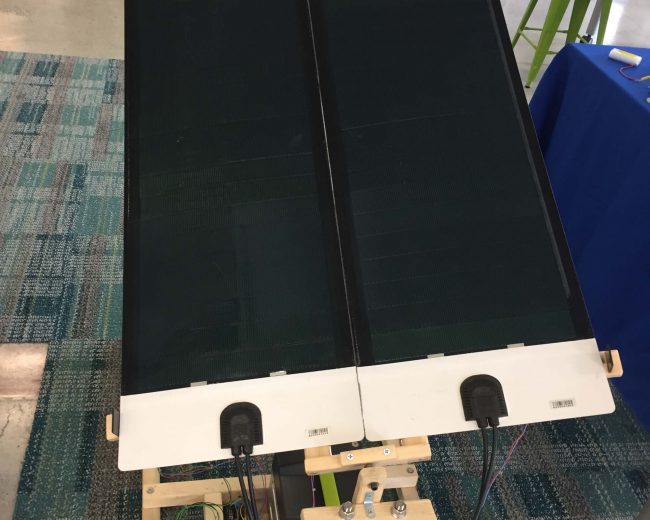
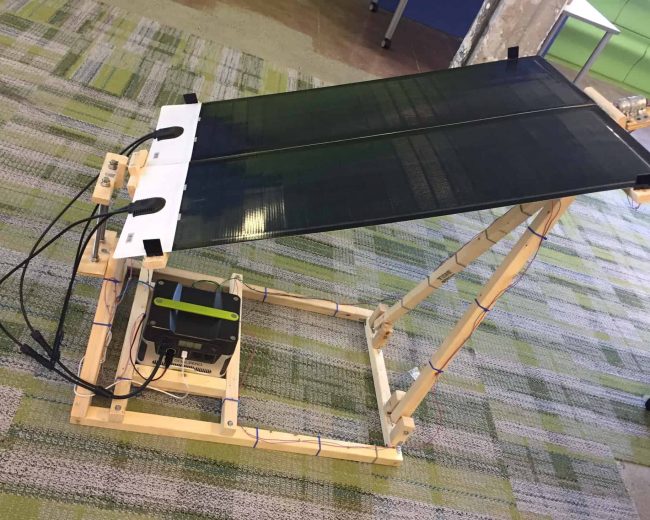
I am making a automated solar tracker which will follow the sun’s movement over time. It reads the amount of sunlight on each side of the solar panels and will tilt the panels toward the side with more light. This will work as long as there is sufficient light. I am using thin film solar panels and a sealed 12V lead-acid battery to store the energy from the panels. This will provide power to any small electronics I might need, such as a cell phone or tablet. This project will allow me to capture and use clean, sustainable energy.
Engineer
James N.
Area of Interest
Renewable Energy/Earth Sciences
School
The Urban School of San Francisco
Grade
Rising Sophomore
Reflection
Although BlueStamp is certainly not my first engineering experience (I have exhibited at the Bay Area Maker Faire 3 times, and built over 30 small hobby projects), I have really taken my skills to the next level. The coding I have worked on for my project was very difficult for me, because I had little previous experience with Arduino. However, I was able to get back into it and learn some basics, like “for” loops. But I am still not fluent with the Arduino language, and would like to continue learning more in the future.
Despite the fact I have made many mechanical projects in the past, this one was especially difficult. Not only did I have no team (I had teams for all Maker Faire projects), but it was a completely original design. I had to struggle more on my own, but could get some guidance from BlueStamp instructors. Even though this process was painful, I learned more from it. I am now slightly more comfortable making my own original mechanical designs. This program has really inspired me to reach farther, and dive into more difficult projects. This one certainly pushed me a bit past my comfort zone.
Final Milestone
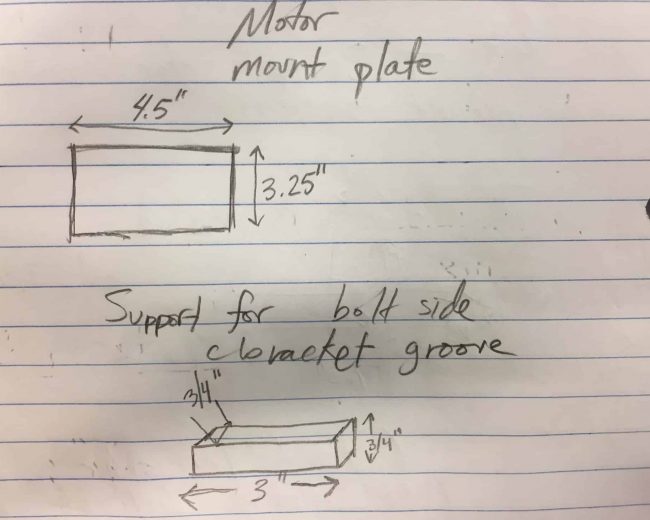
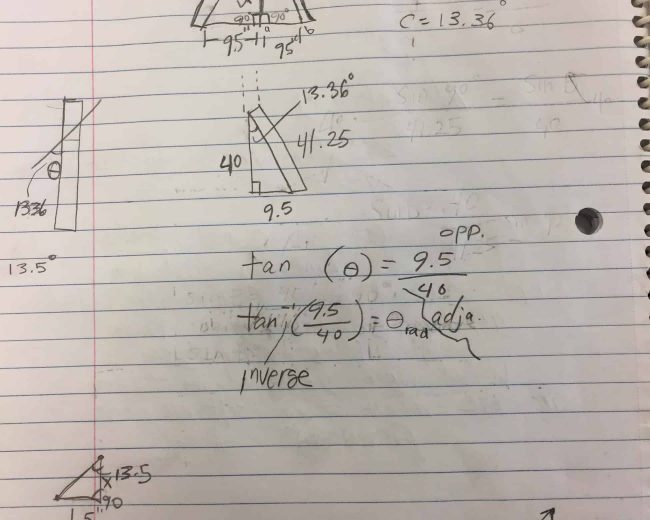
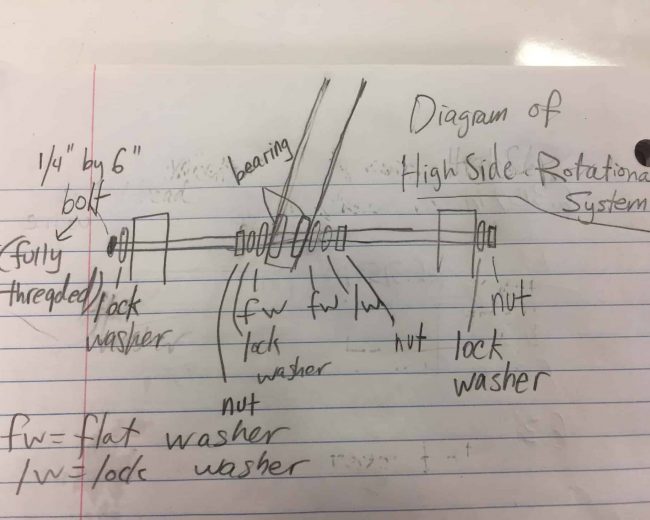
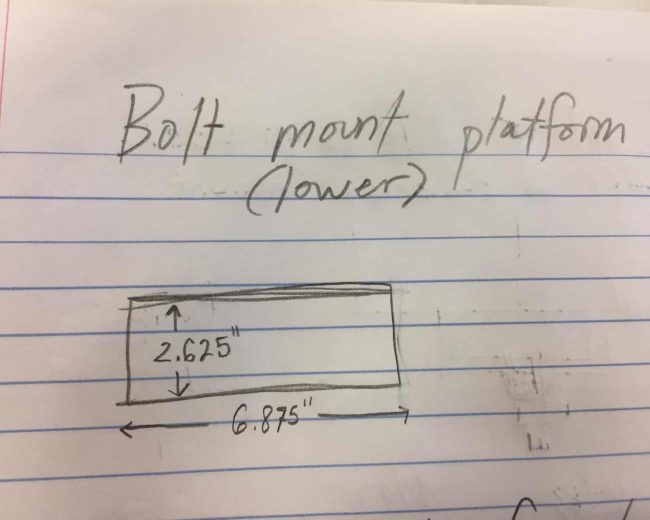
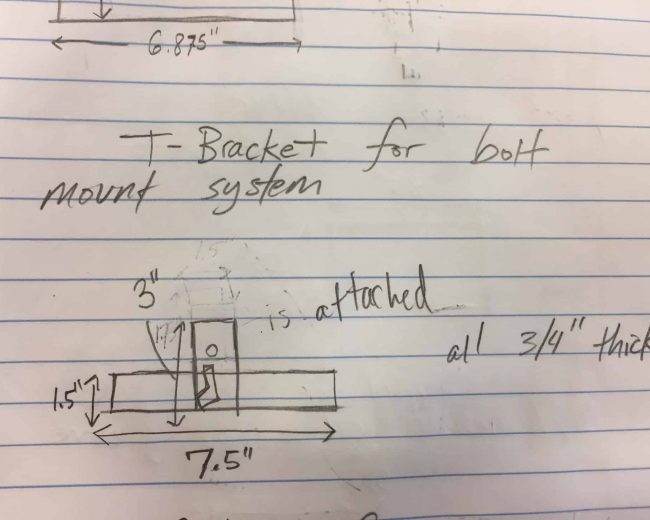
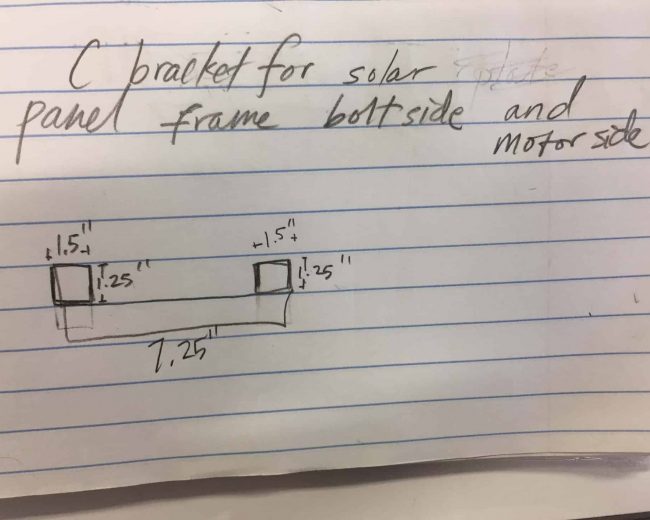
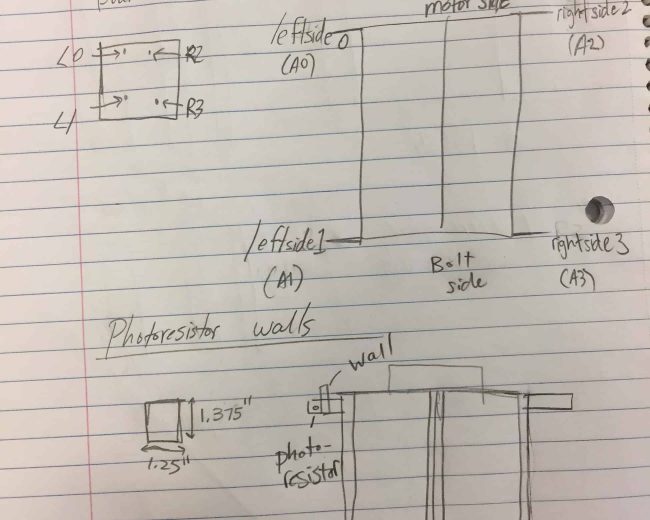
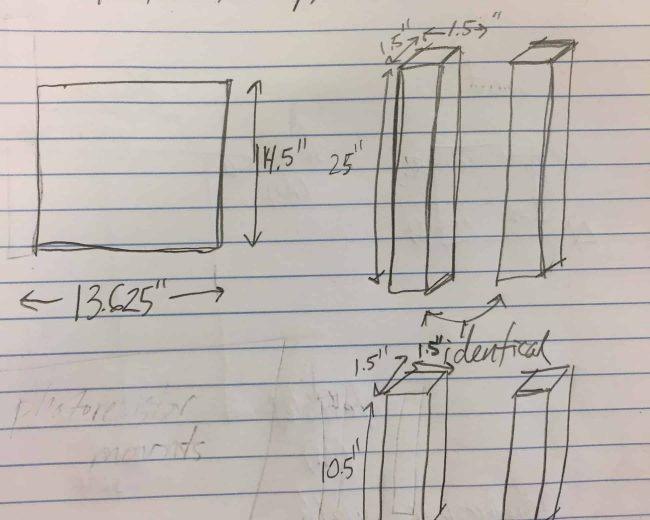
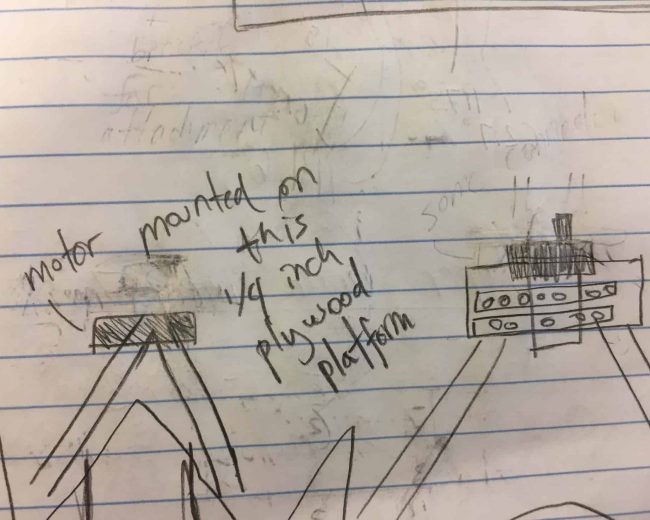
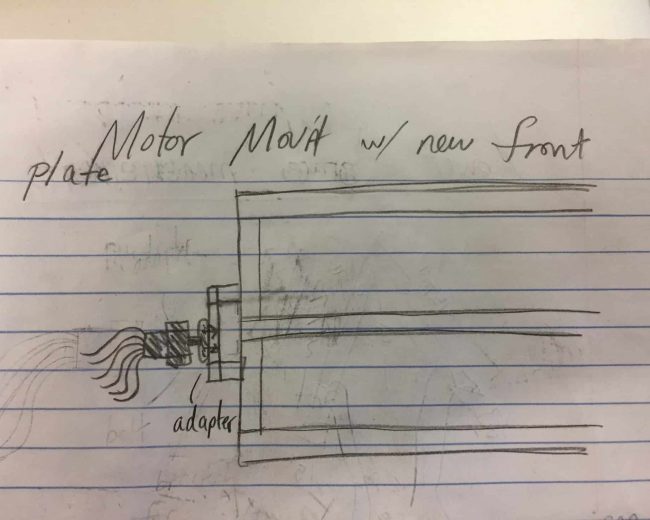
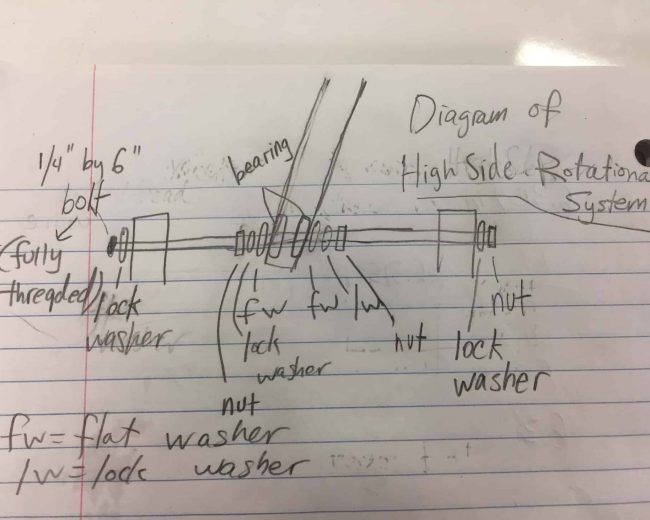
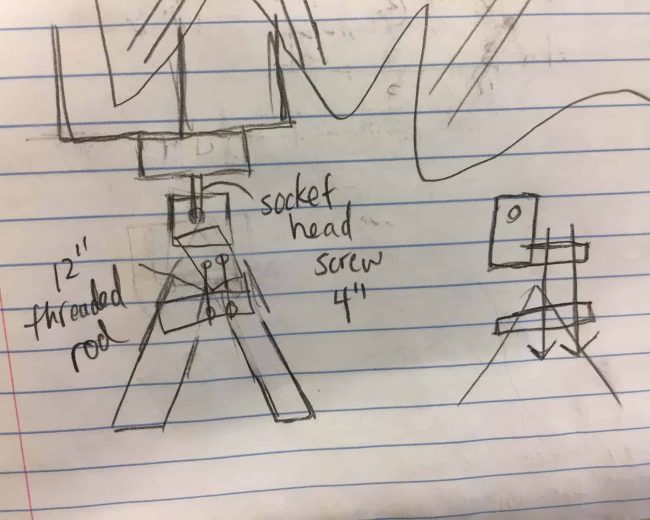
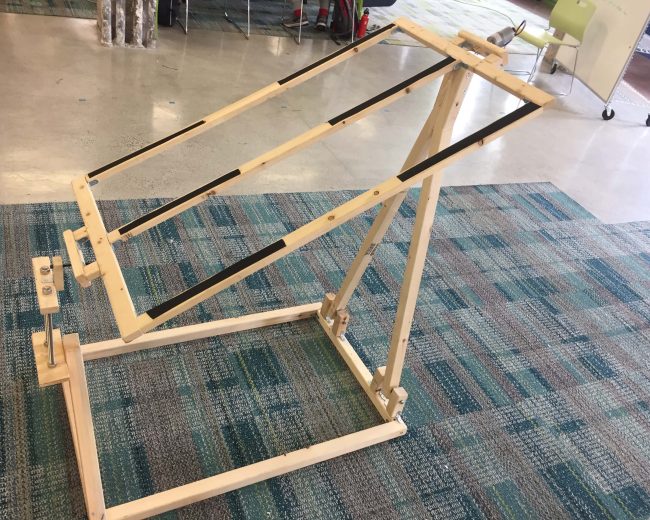
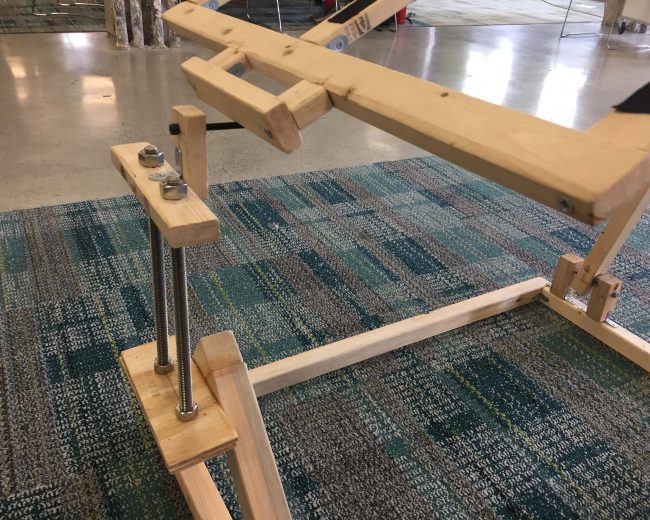
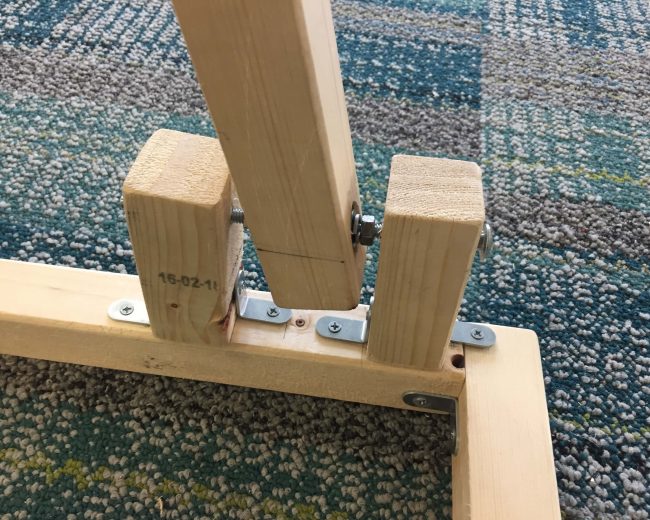
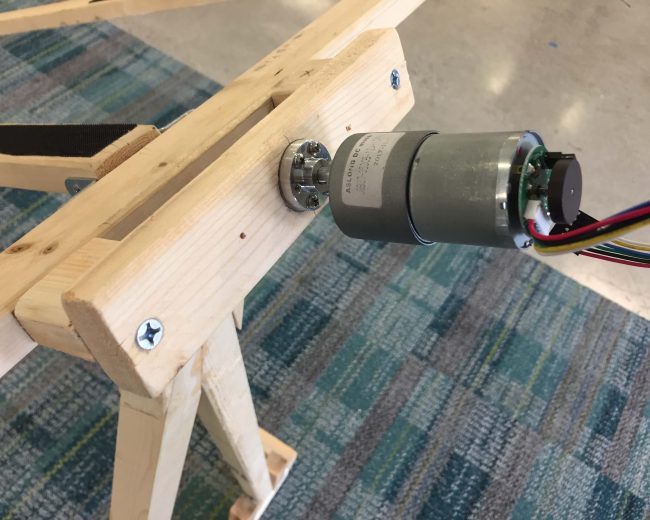
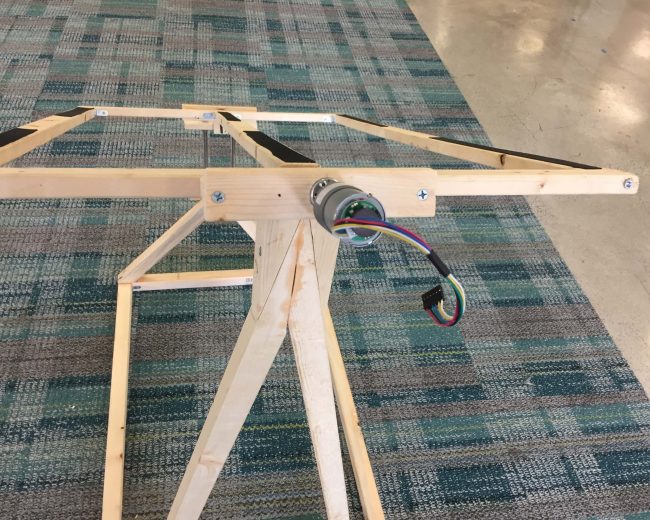
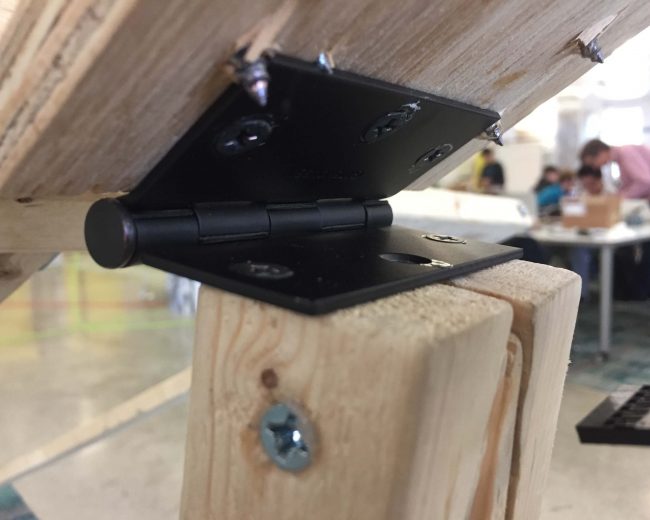
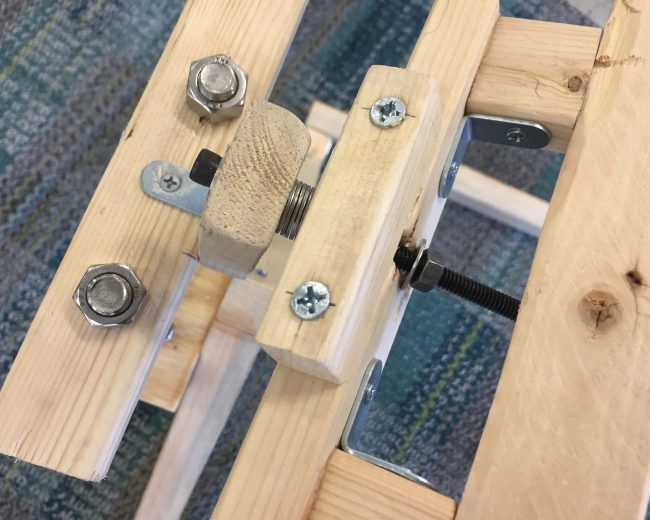
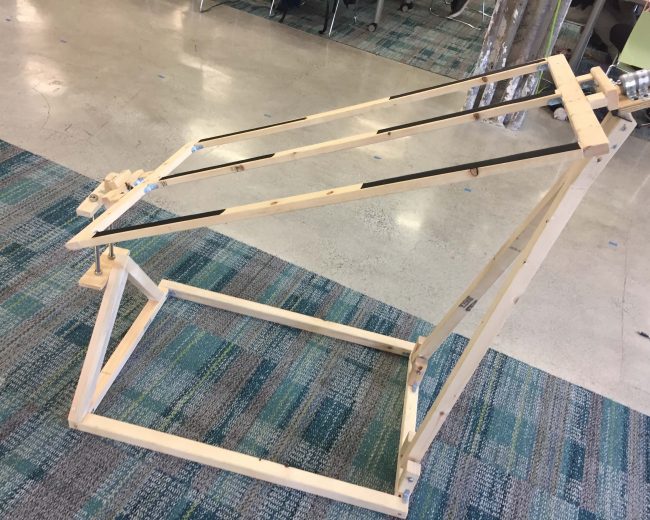
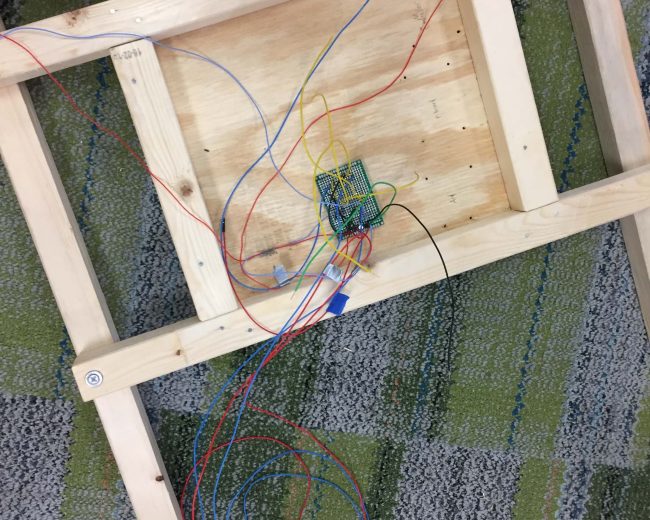
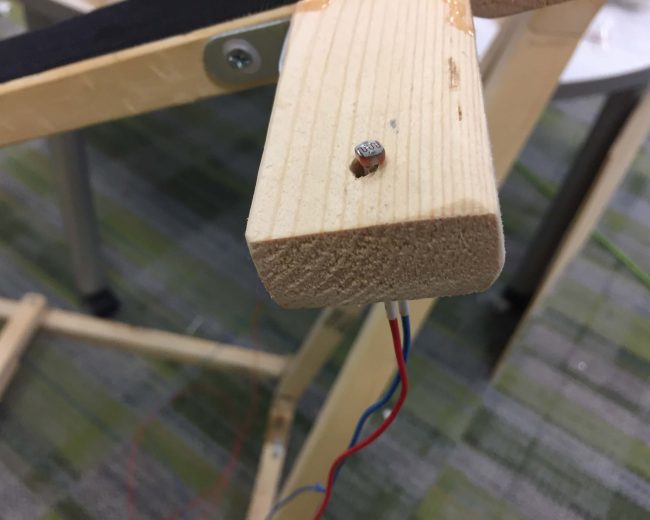
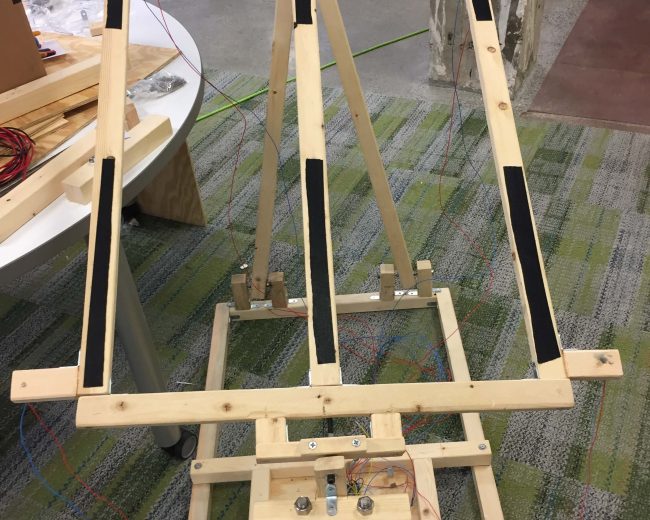
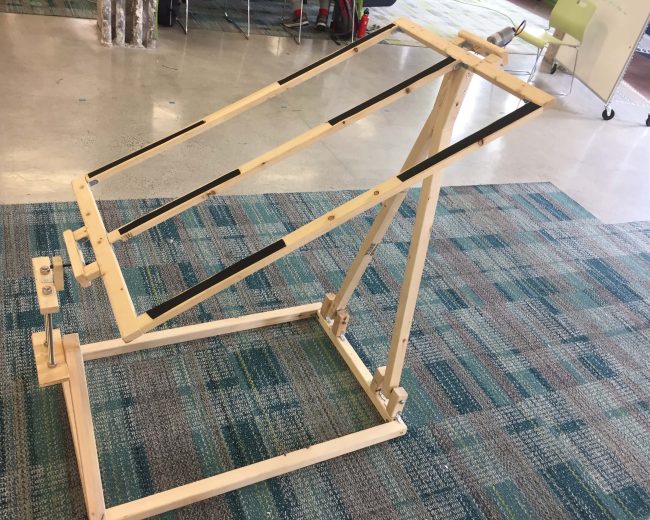
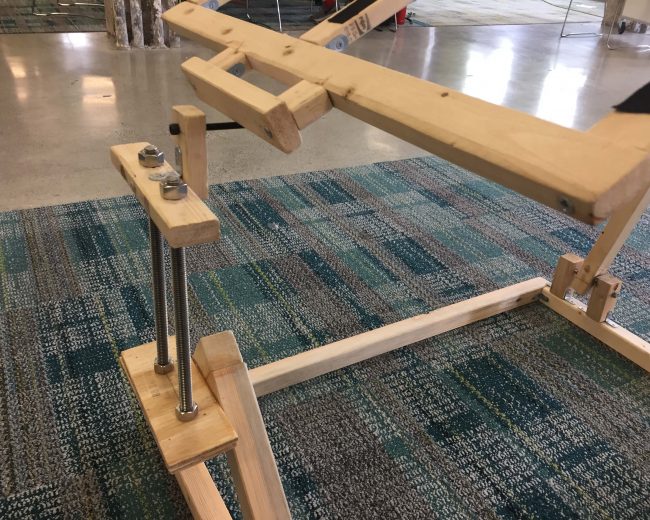
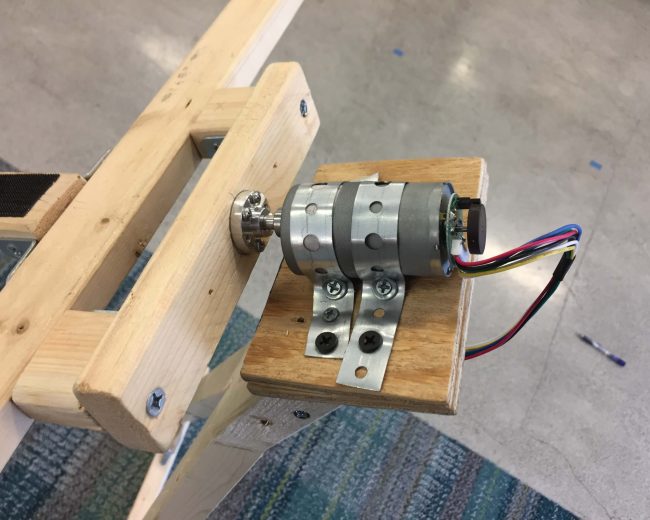
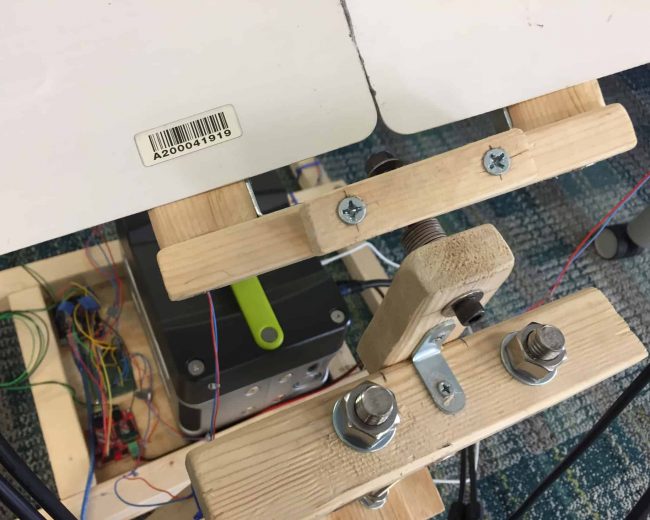
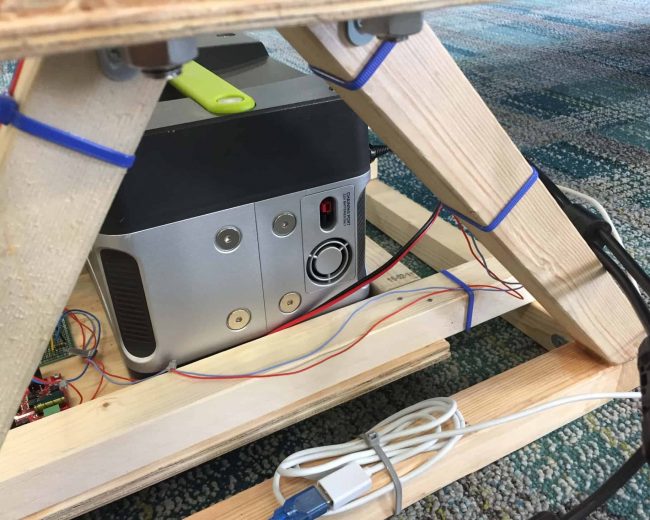
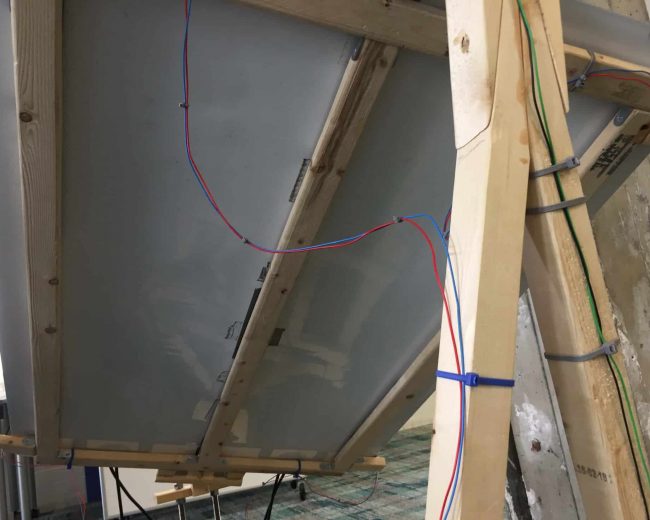
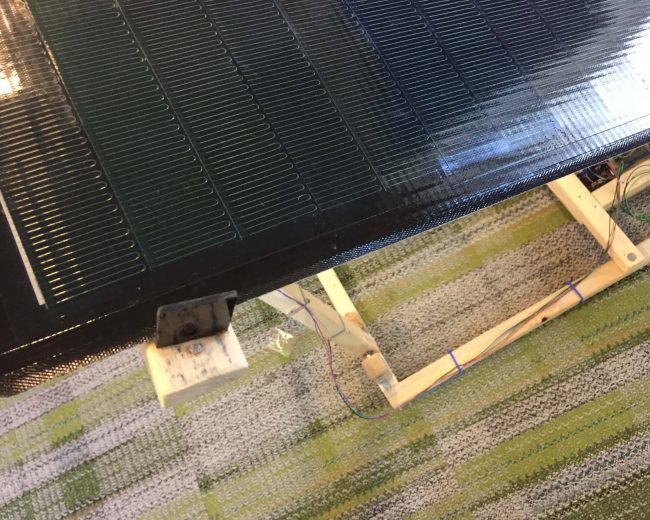
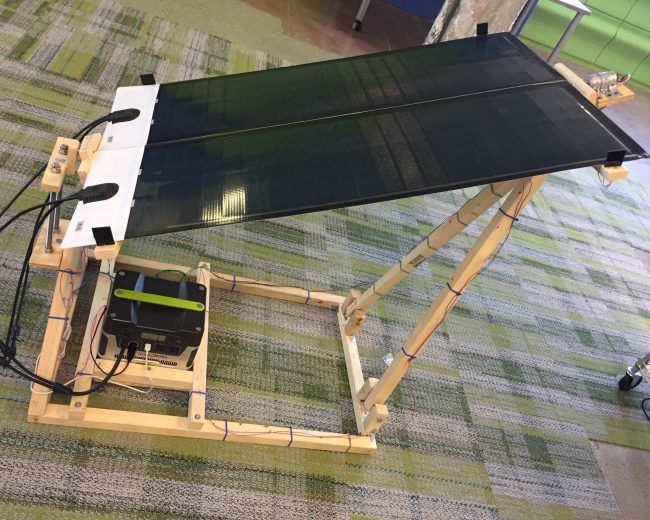
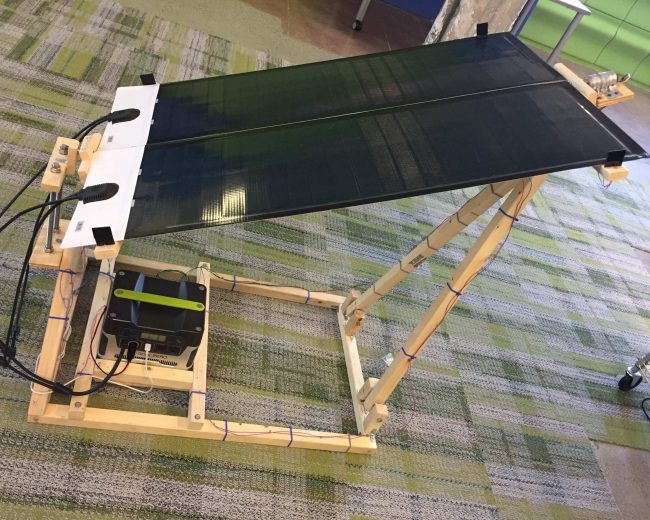
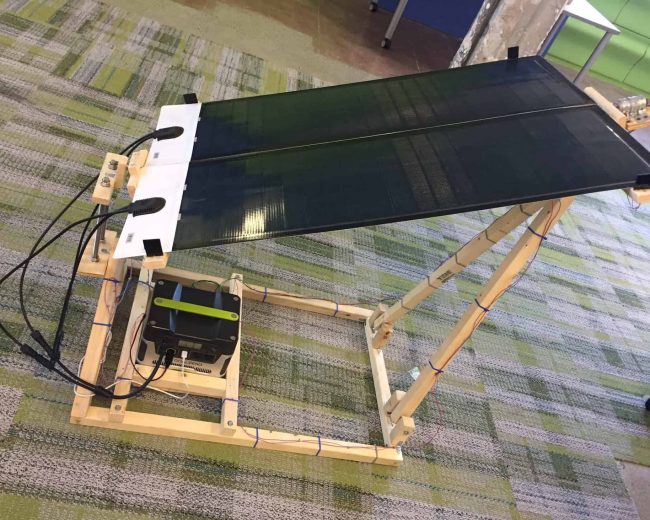
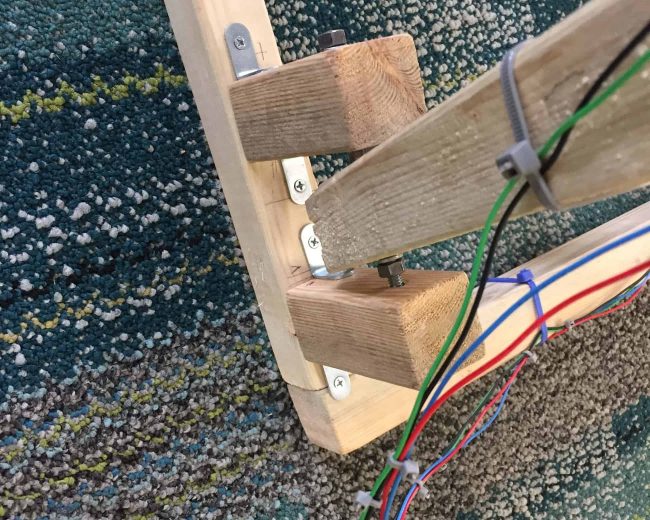
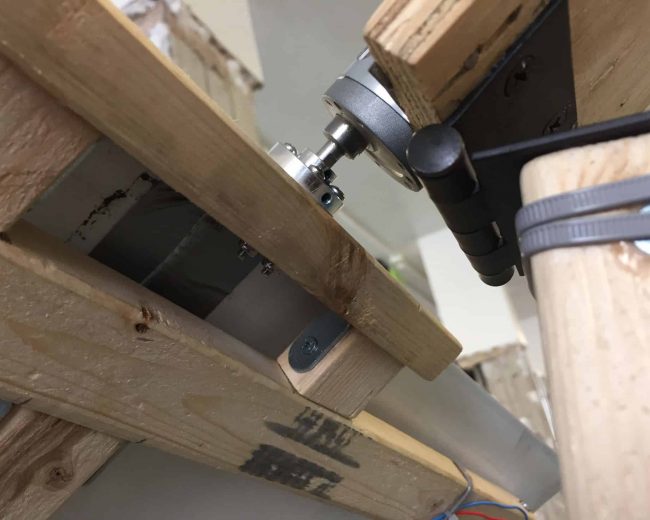
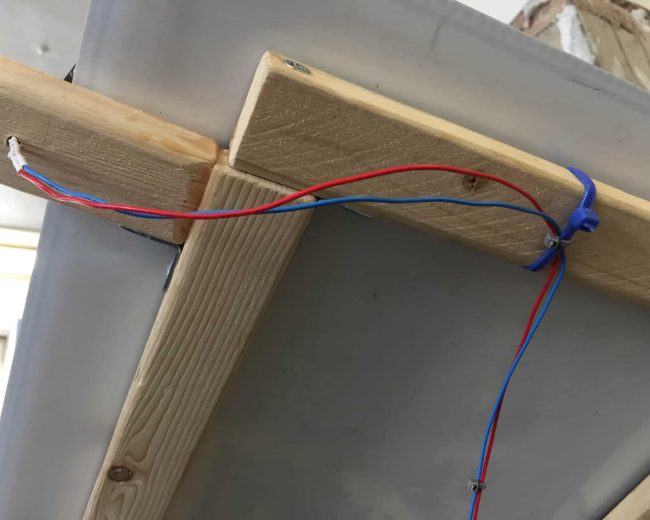
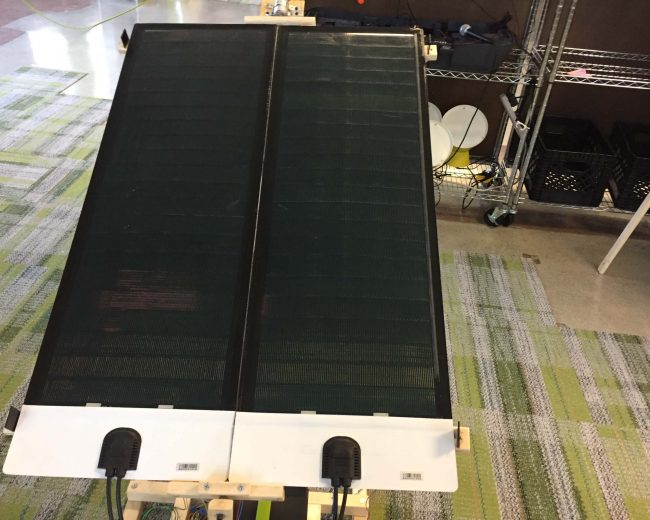
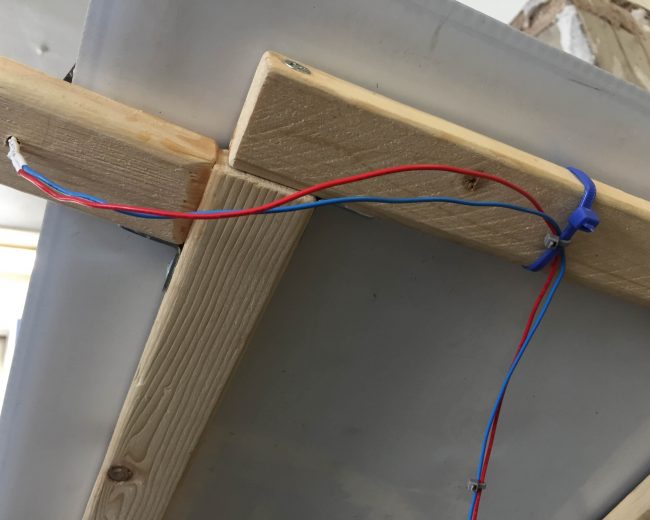
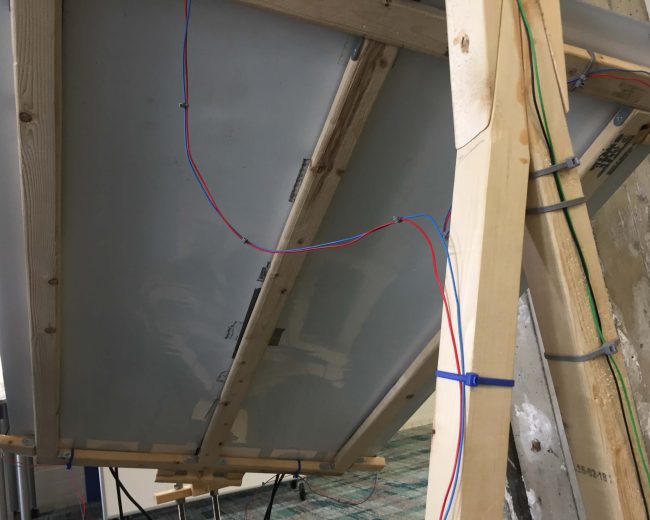
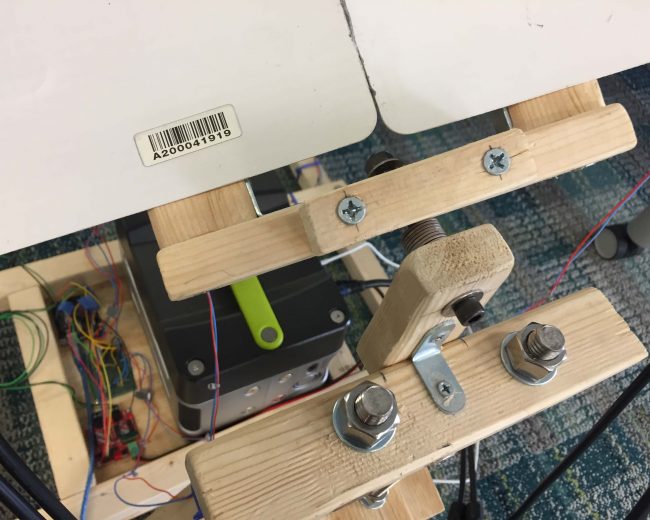
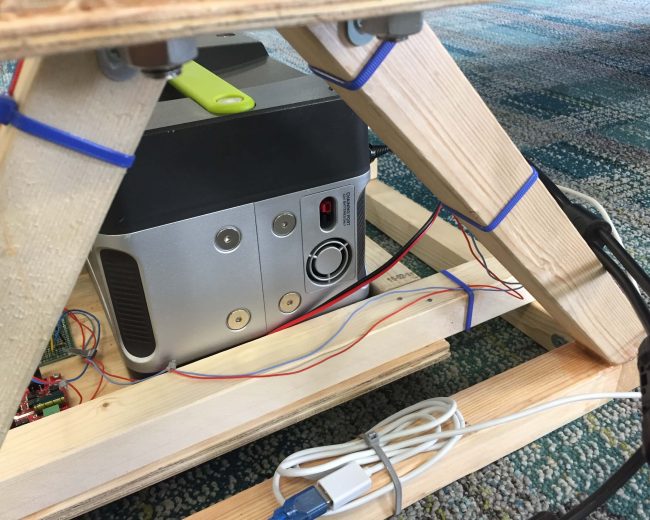
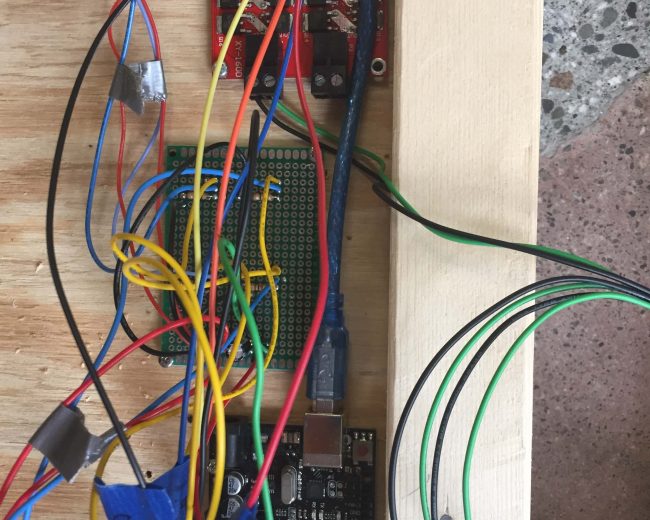
For my final milestone, I built a mechanical frame to hold my solar panels, and incorporated all of my electronics (from previous milestones) onto it. There are three main structures to my frame: a base, a solar panel frame, and two triangular support structures (one of which rotates forward/backward). The motor is mounted on a platform, which is on a hinge, and that hinge is mounted on a tall triangular support. The support is attached to the base with thru-bolts and bearings. The lower triangular support has 1 foot threaded rods, which connect a platform on the triangular support and a piece attached to the solar panels. If the rods go up, the higher side will rotate back. If the rods go down, the high side will rotate forwards. This design allows me to change the angle of the solar panels depending on the season. The motor mount platform is on a hinge because if the angle of the panels changes, the angle of the motor must change as well (to stay in line). The D-shaft of the motor is screwed into an adapter (using grub screws w/ blue threadlock) which is bolted to a c-bracket attached to the solar panel frame. The other lower side has a c-bracket as well, but with a groove for a bolt to go through. This system allows the solar panels to rotate. The electrical system is the same as in milestone #2, except all of the connections are soldered onto a perforated circuit board allowing me to make more secure connections. Long wires were also added to reach the photoresistors on each corner of the panels. I am using 22 AWG solid core hookup wire for this. The Arduino, motor driver, and perforated circuit board are all screwed down onto the same platform the battery rests on.
This was by far the most challenging aspect of my project. My mechanical design was completely original, so as I worked I had to constantly change and modify my plans. Nothing was designed correctly the mount first time. Also, I had a lot of problems with woodworking: the wood was soft constantly splitting when I drove in phillips head screws. The motor was also very hard to mount, as metal strapping tape is very inaccurate. It was almost never facing straight. But I eventually was able to solidify my design, and it finally worked.
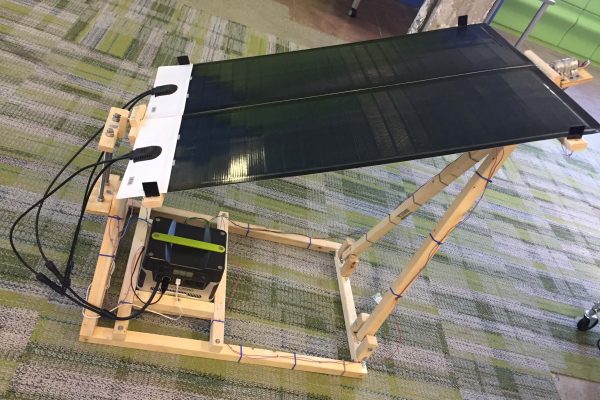
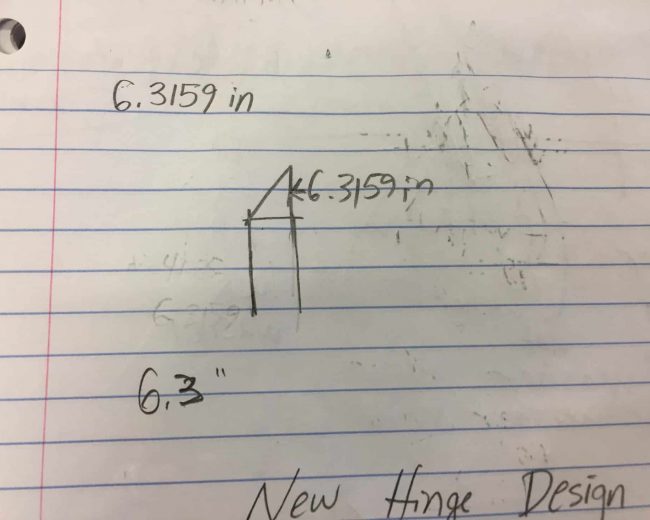
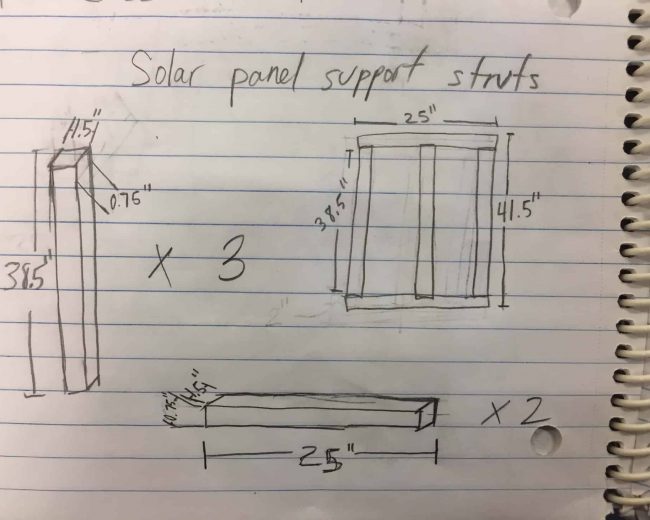
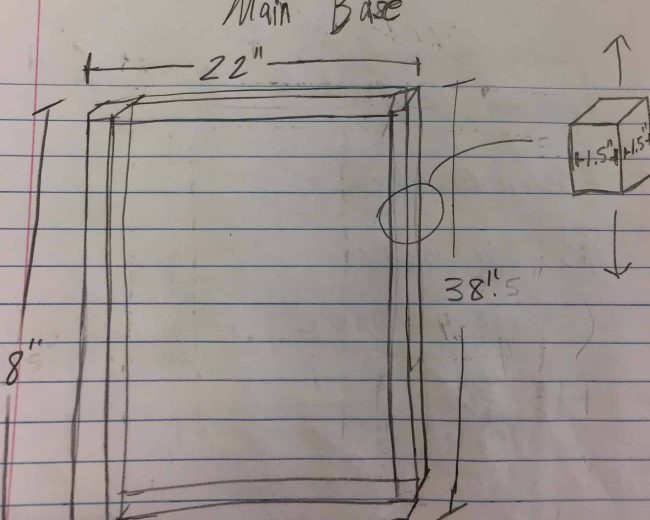
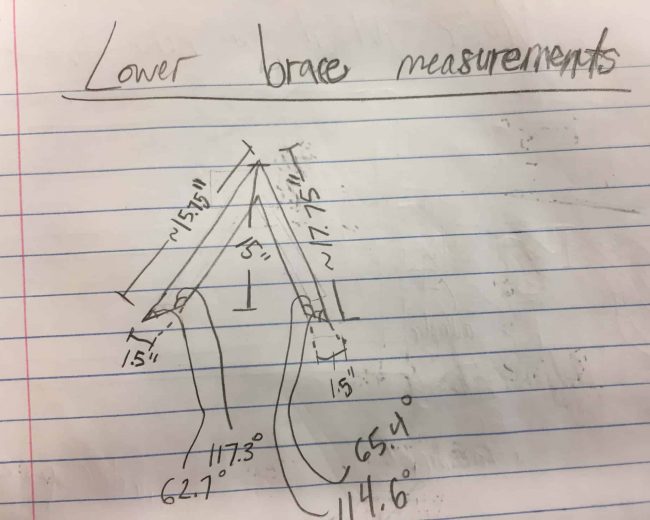
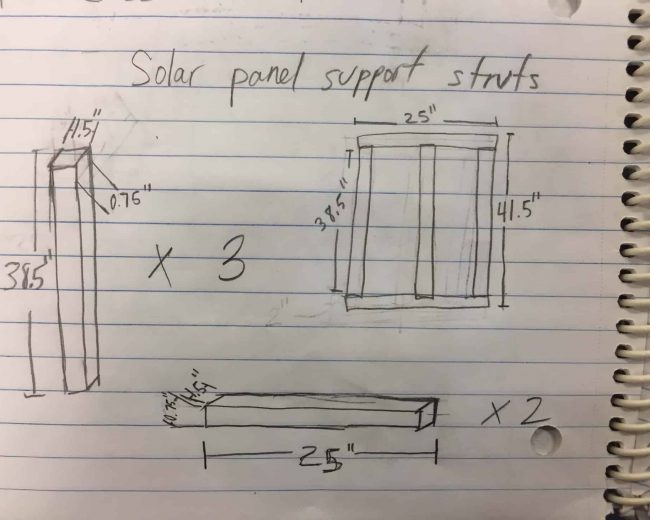
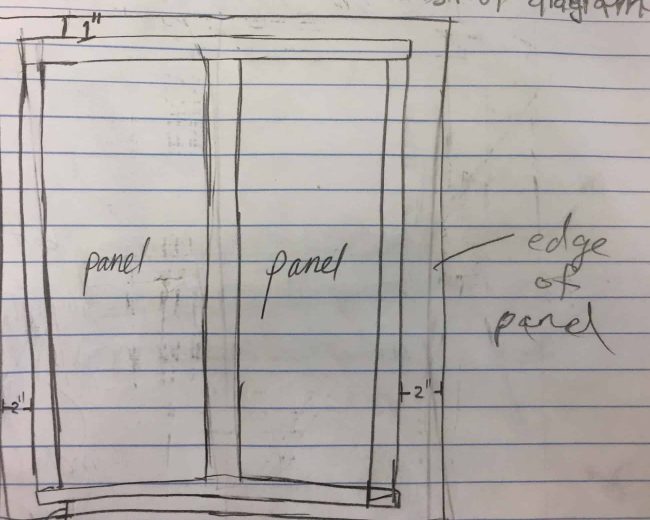
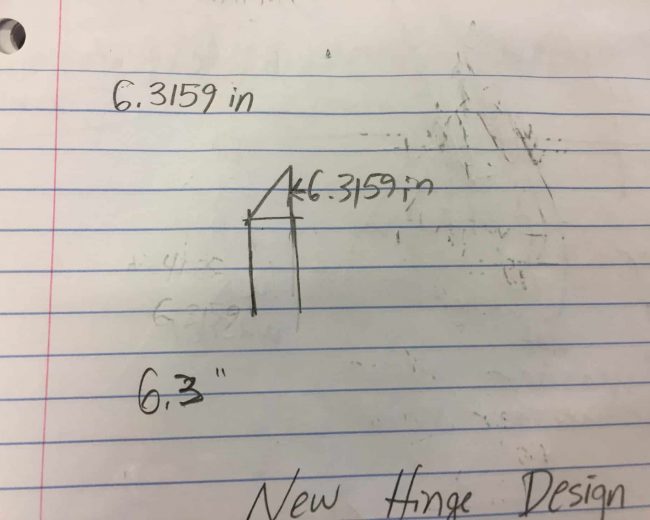
Click on the image to enlarge it. The images below are of all my sketches, which show the measurements of each wooden piece.
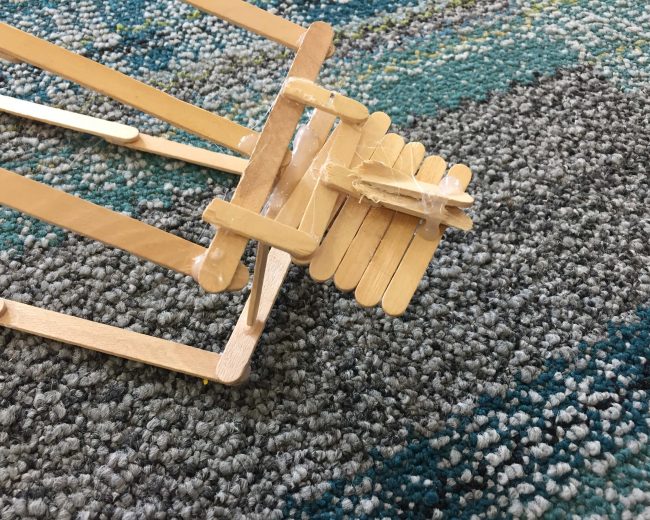
These images below are of the mechanical design. The first picture is a scale model of the project I built out of popsicle sticks.
Second Milestone
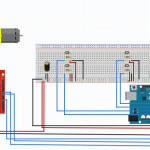
For my second milestone, I got the photoresistors to interact with the motor. I used the averages I figured out in the first milestone to control the motor. If the average of the left side photoresistors – the average of the right side photoresistors = a number greater than three, the motor will spin clockwise. If the average of the right side photoresistors – the average of the left side photoresistors = a number greater than three, the motor will spin counterclockwise. If the difference between the averages in either case is three or less, the motor will not spin. I will use this code to eventually control the solar panels, which the motor will rotate if the difference between the averages is significant. Now, my circuit uses all of the parts mentioned in the first milestone and a few new ones: a 12V 10rpm DC motor, a Dual H Bridge 12V/24V motor driver, a male 12V cigarette lighter extension cord, and more jumper wires. I encountered more challenges with this modification to my circuit. At first, I could only get the motor to spin clockwise, no matter which side had more light. Then, when I tried to get the motor to spin different directions based on which side had more light, the motor functions I declared never had the right number of parentheses around them. This stopped the Arduino from understanding the code, and my motor from responding to the light sensors. I had to go through it over 10 times to slowly count out which parentheses were necessary and which were not. I eventually figured it out, and my next step is to build my frame for holding the battery and solar panels.
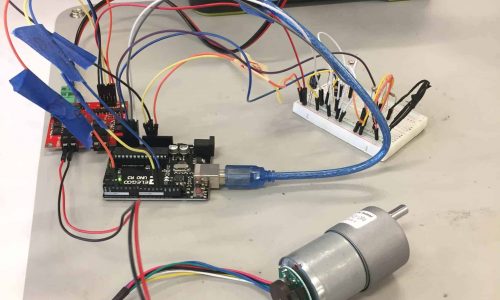
Schematic
Code
int leftside0 = 0; //create a variable and set it to 0
int leftside1 = 0;
int rightside2 = 0;
int rightside3 = 0;
const int pwm = 3 ; //initializing pin 2 as pwm
const int in_1 = 12 ; //initializing pin 12 as a motor direction
const int in_2 = 13 ; //initalizing pin 13 as the opposite motor direction
void setup()
{
Serial.begin(9600); //Begin serial communcation
pinMode(pwm,OUTPUT) ; //we have to set PWM pin as output
pinMode(in_1,OUTPUT) ; //Logic pins are also set as output
pinMode(in_2,OUTPUT) ;
}
void loop()
{
leftside0 = (abs(analogRead(A0))); //read value from photoresistor (light sensor) connected to pin A0 on the Arduino
leftside1 = (abs(analogRead(A1))); //read value from photoresistor connected to pin A1
rightside2 = (abs(analogRead(A2))); //read value from photoresistor connected to pin A2
rightside3 = (abs(analogRead(A3))); //read value from photoresistor connected to pin A3
if (((leftside0+leftside1)/2)-((rightside2+rightside3)/2)>3) { //if average of left side photoresistors – average of right side photoresistors is >3
digitalWrite(in_1,LOW) ; //spin motor
digitalWrite(in_2,HIGH) ;
analogWrite(pwm,70) ; //motor speed
}
else if (((rightside2+rightside3)/2)-((leftside0+leftside1)/2)>3) { //if average of right side photoresistors – average of left side photoresistors is >3
digitalWrite(in_1,HIGH) ; //spin motor opposite way as previous case
digitalWrite(in_2,LOW) ;
analogWrite(pwm,70) ; //motor speed
}
else { //if neither subtraction of averages gets a value >3
digitalWrite(in_1,LOW) ; //don’t spin motor
digitalWrite(in_2,LOW) ;
analogWrite(pwm,70) ;
}
Serial.print(“Pin Number A0: “);
Serial.println(leftside0);
Serial.print(“Pin Number A1: “);
Serial.println(leftside1);
Serial.print(“Pin Number A2: “);
Serial.println(rightside2);
Serial.print(“Pin Number A3: “);
Serial.println(rightside3);
Serial.print(“AverageLeft: “);
Serial.println((leftside0+leftside1)/2);
Serial.print(“AverageRight: “);
Serial.println((rightside2+rightside3)/2);
Serial.println();
//everything above that says “Serial” shows the values from the photoresistors on the Arduino Serial monitor on a computer
delay(5000); //long delay makes it easier to read values
}
First Milestone
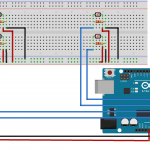
For my first milestone, I have all four of my light-sensing photoresistors working in right and left side pairs. The code is set up to take the average of the two left side photoresistors as well as the two on the right side. These averages are more accurate than just taking the reading from a single photoresistor. The averages will be the basis of the automated solar panel movement. When one side’s average is higher than the average of the other side, the motor will turn the panels to the side with the higher average (more light). Currently, my circuit uses four photoresistors for light sensing, four resistors to make it easier for the Arduino to read resistance from the photoresistors, one capacitor to smooth out the electrical current, an Arduino Uno Elegoo R3, a breadboard, and many jumper wires. I encountered many challenges while developing the code for this circuit. First, I was not familiar with photoresistors or the Arduino IDE (software). It was a slow process to begin learning how the code worked. Also, originally, the light readings I got in the serial monitor on my computer were unorganized and unreadable. This made it impossible to tell whether my code worked or not. But when I got the readings organized, they went below 0. This was very confusing, as I could not imagine a negative amount of light. I had to use an absolute value function to make sure this did not happen. I also had not originally declared my variables in the code, making it near-impossible to get an average. I went back and declared four separate variables (one variable for each photoresistor), and was then able to take the averages of the right and left side photoresistors.
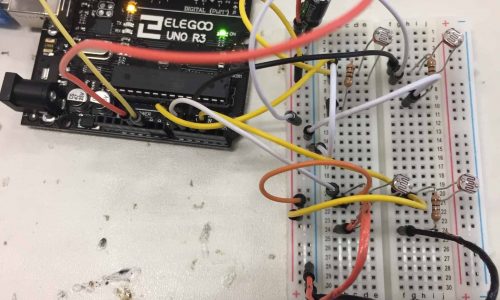
Schematic
Code
void setup()
{
Serial.begin(9600); //Begin serial communcation
}
void loop()
{
for(int pin=0; pin<=3; pin++) { //”for” loop sets up readings of all photoresistors
Serial.print(“Pin Number: “); //literally writes “Pin Number” in serial monitor in Arduino software
Serial.print(pin);
Serial.print(” Pin Value: “); //literally writes “Pin Value” in serial
Serial.print(abs(analogRead(pin))); //reads the pin
Serial.println(); //a line space
}
//Write the value of the photoresistor to the serial monitor.
Serial.println();
delay(5000); //long delay makes it easier to read values
}
Starter Project
For my starter project, I built the Minty Boost, a portable USB charger for your devices. It uses two AA batteries to power a circuit board, which puts out 5V @ 500mA. This charger is able to charge an iPhone up to about 75%, but it can charge smaller devices like an iPod all the way to 100%. The components are mounted in a small tin, which can easily fit in your pocket.
The Minty Boost uses 5 resistors. The first resistor improves the high current capability of the boost converter chip, and the other four add resistance to the current flowing through them. The first ceramic capacitor stabilizes the output voltage, and the second stabilizes the boost converter chip. The schottky diode ensures energy is only transferred in one direction, from the batteries to the output USB. The IC socket protects the boost converter chip, and allows it to be replaced if it fails. Next, the power inductor increases the voltage, because a phone needs 5 V but the batteries only put out 3V. The electrolytic capacitors smooth out the input and output voltages, during the up-conversion of voltage. The battery holder provides a 3 V input to the circuit. The boost converter chip also works to step up the voltage, but reduces the current. And finally, the USB type A connector allows for easy connection to USB devices.


