Homemade Video Game Emulator
The goal of this project is to create a functioning handheld emulator using a raspberry pi and RetroPie.
Name
Jake Schreiber
School
The Dalton School
Grade
Incoming Sophomore
Interests
Video Games (retro ones too!), Music, Tennis
Second Milestone
For my second milestone, my task was to connect my GameCube styled controller for Nintendo Switch to my Raspberry Pi. For most controllers, the process to connect and configure them is normally quite simple, but Nintendo has a policy of not letting anyone use their controllers or products for anything else than their intended purpose, which includes using their controllers for homemade emulators. This presented a large obstacle in my path. How was I, a boy, who is an amateur coder at best, supposed to overcome roadblocks put in place by a multi-billion dollar game company. Luckily, I had the internet on my side. From doing some pretty minimal research on community forums, I found a resource made by a GitHub user named ToadKing.
First, for this method to work I needed to update the packages on my Pi title Libudev and Libusb. Admittedly I don’t quite know what these packages do, but I trusted ToadKing, so I did as he said. Then using the link GitHub gave me, I downloaded the code library on to my Pi. I typed “Make” to run the code on my pi. The struggle wasn’t quite over yet however, because to get the controller to work, I would need to type some commands in RetroPie’s terminal every time I booted it up. The commands read:
“cd wii-u-gc-adapter”
This tells the Pi to go into the folder containing the code
“sudo ./wii-u-gc-adapter”
This runs a command which allows the controller to function with RetroPie
“clear”
This clears all the commands in the terminal (which just makes workflow more effecient and simple)
“exit”
Finally, this exits the terminal and brings you back to the home screen, where, if all has went well, the controller should be functioning.
First Milestone
Ben


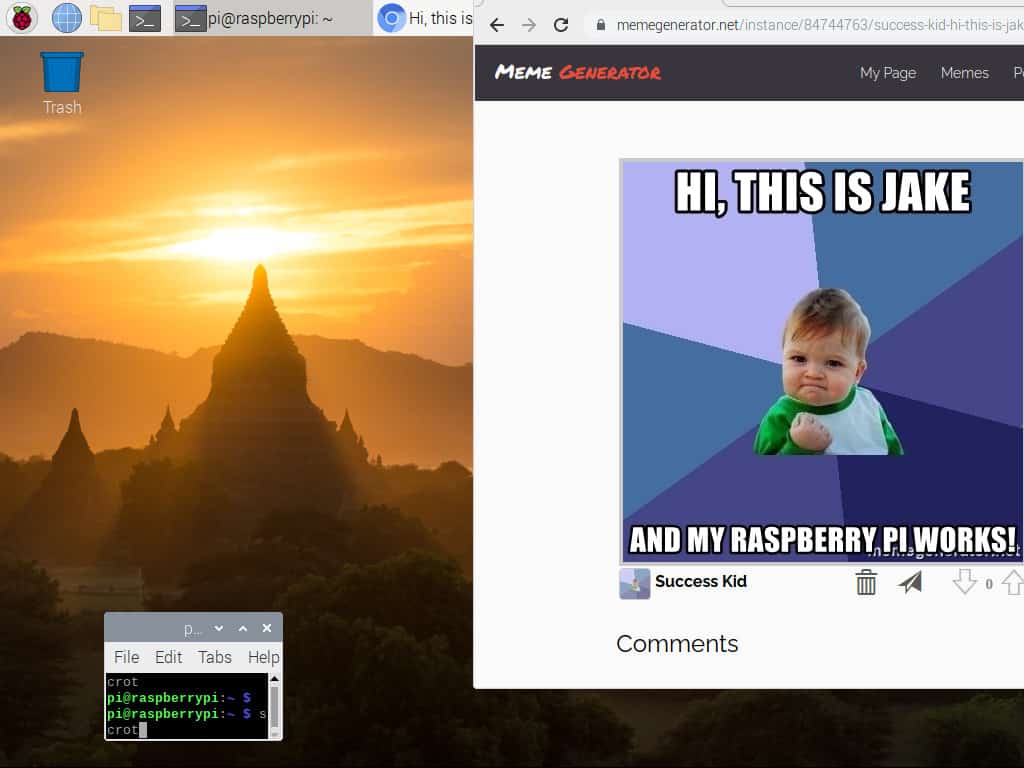
My first milestone was to set up my raspberry pi. I downloaded the imager, as well as RetroPie, a third party operating system. I formatted the default OS for Raspberry Pi’s onto my sd card using the imager, but when I plugged it in to my tv, it said the resolution was not supported. I thought this was a problem with my tv, and since I had no other monitors in the house, I had to wait. Luckily my friend, Ben (top), who is also taking this class, and is in my group, missed class one day, and let me use his setup to use his monitor. I was expecting my tv to be be the problem, so when I got everything set up and the tv read: “no signal”. I was confused. To add to this confusion, the tv acknowledge the presence of a source using the hdmi input, but apparently nothing was coming through. By looking at forums and looking at solutions to similar problems, I deduced that the signal coming through was not strong enough to get the monitor to display anything. Thus, I opened the operating system’s config.txt file on my computer, and, with help from the forums, amplified the signal from the Raspberry Pi. Now that the standard OS was on the tv, I proceeded to show my progress by taking a screenshot. Hence, I made a meme to show it was my own pi, and not an image from the internet (second from top). Now that I had come this far, I decided to run RetroPie, the 3rd party operating system on the Raspberry Pi. I used the Pi’s imager to write RetroPie onto the sd card. Then, facing the same problem as before with the no signal message, went back in to my computer to edit RetroPie’s config.txt file. And after all that, I finally got RetroPie to load. See the video to the left (middle). Be assured that my seemingly unenthusiastic “I got it” was not of unexcitement, but of exasperation.


