Smart Garden
Engineer
Jacob L.
Area of interest
Biological Engineering
School
SAR Highschool
Grade
Rising Junior
Final Milestone
My final milestone was redesigning the dashboard for the smart garden. After facing setbacks with the original dashboard, I decided to jump ship and start something new. I found an IoT display called Thingspeak that works very well with microcontrollers such as the Arduino mkr1000.
This is the chart that shows the moisture levels along with timestamps for each data point. I used a map function


This is the Fritzing diagram for the new plant monitoring system. It’s just a moisture sensor connected to an arduino mkr1000 (instead of the mini, same pins and everything).
Second Milestone
My second milestone for the Smart Garden is getting the internet dashboard up and running. The dashboard is programmed with Node.js, which is just JavaScript, but run on the computer itself, instead of in a browser, which is how normal JavaScript is run. It also uses Johnny-Five to help read the inputs from the sensors connected to the Arduino.
This is the dashboard. Since there is no input (yet), the values shown are just the default values. The data is also logged on a timeline on the bottom half of the screen.

First Milestone
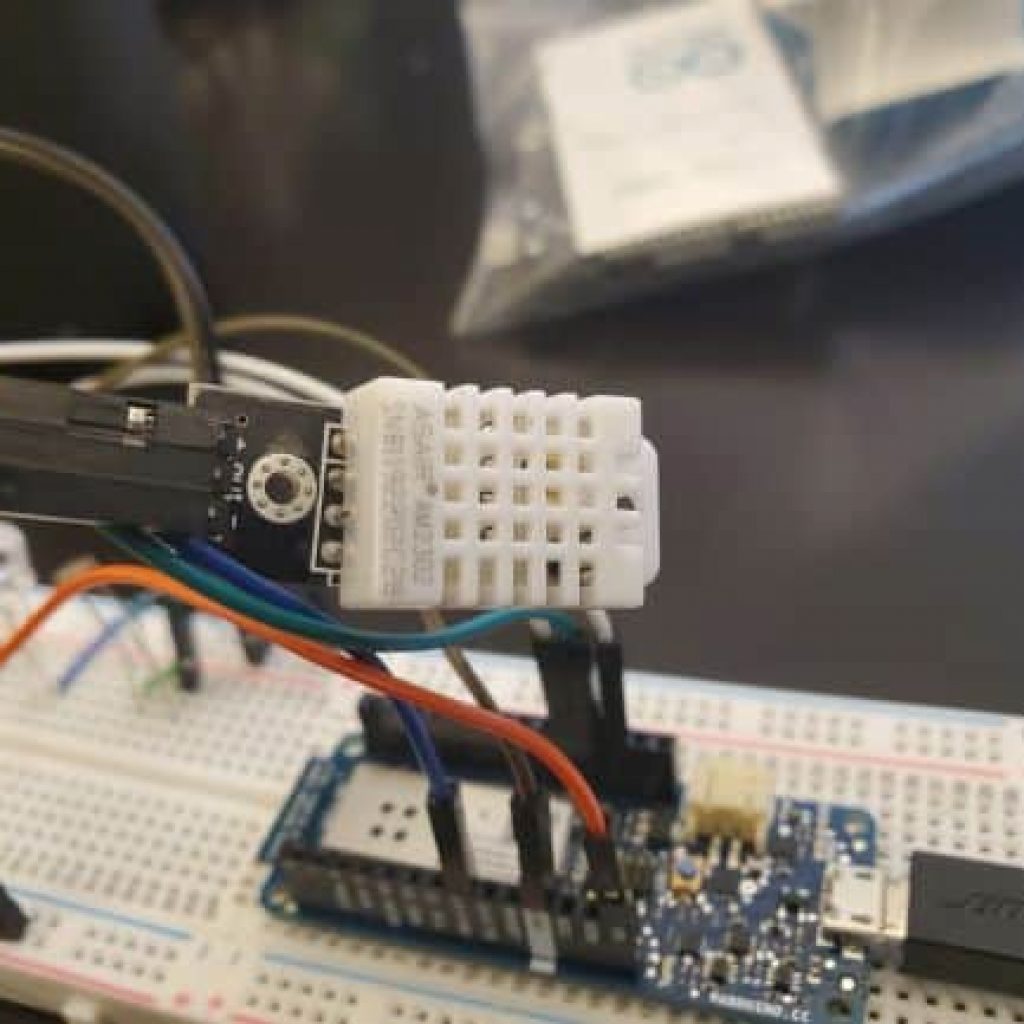
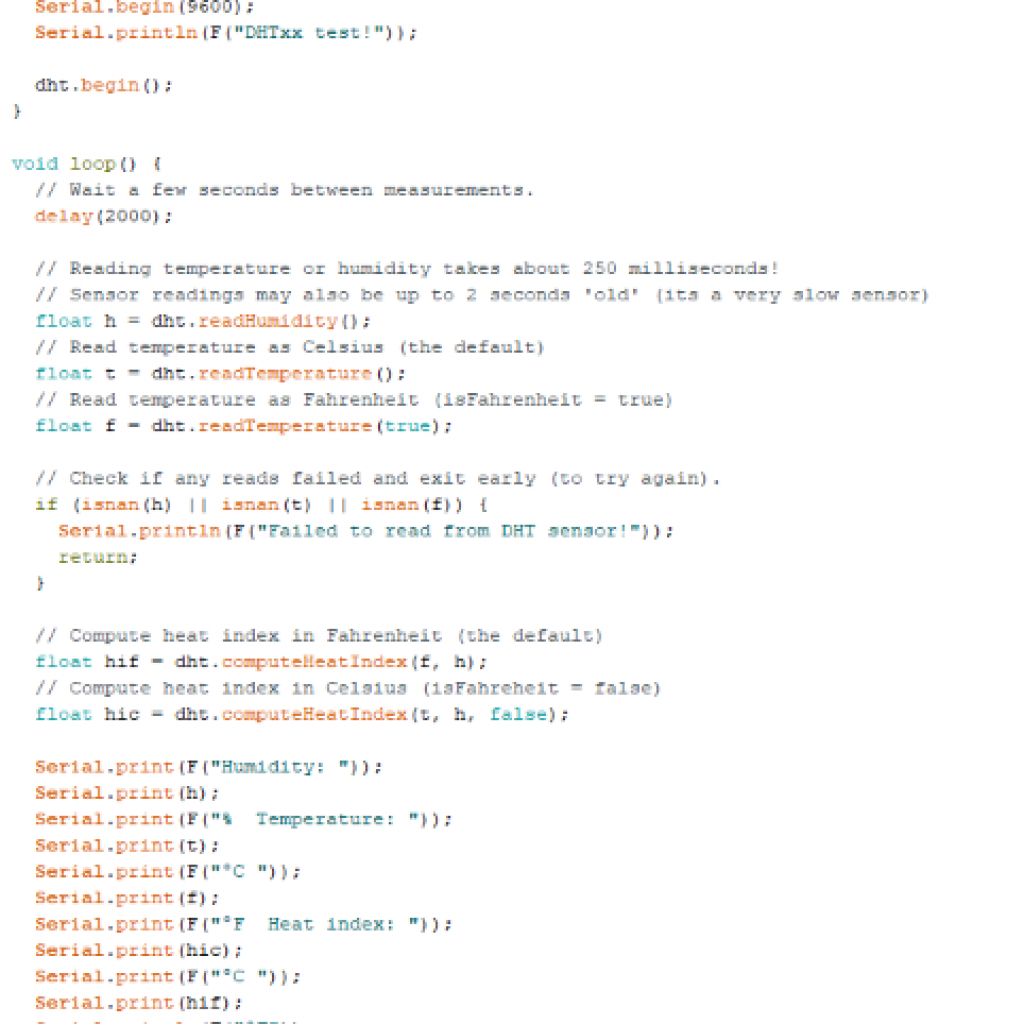
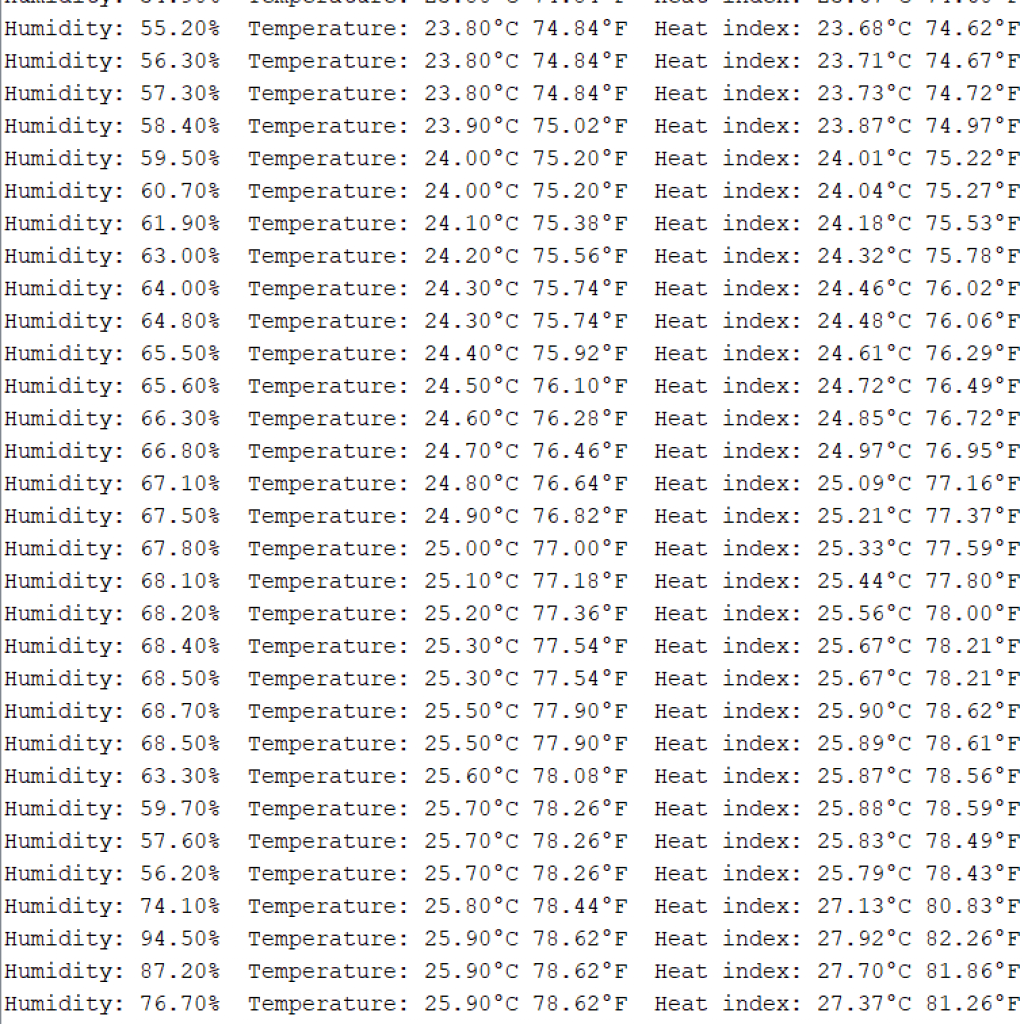
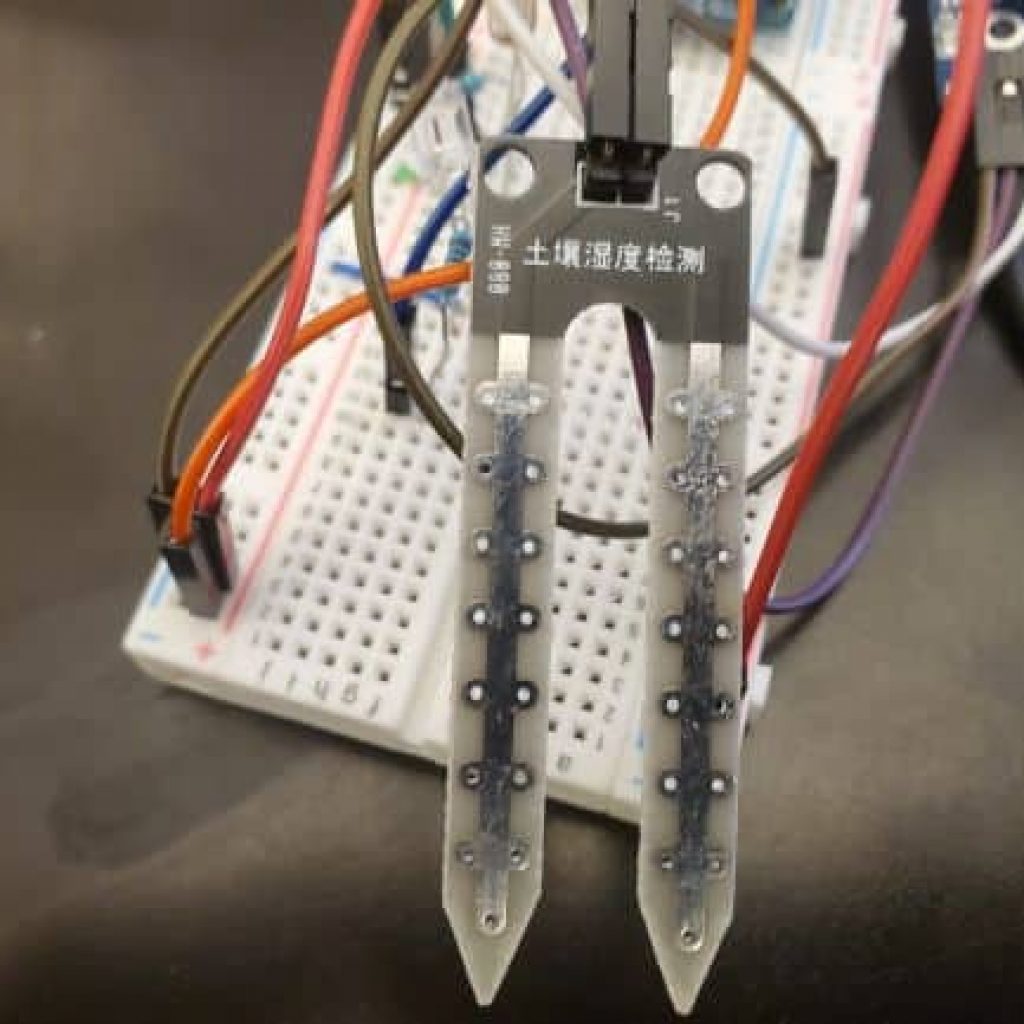
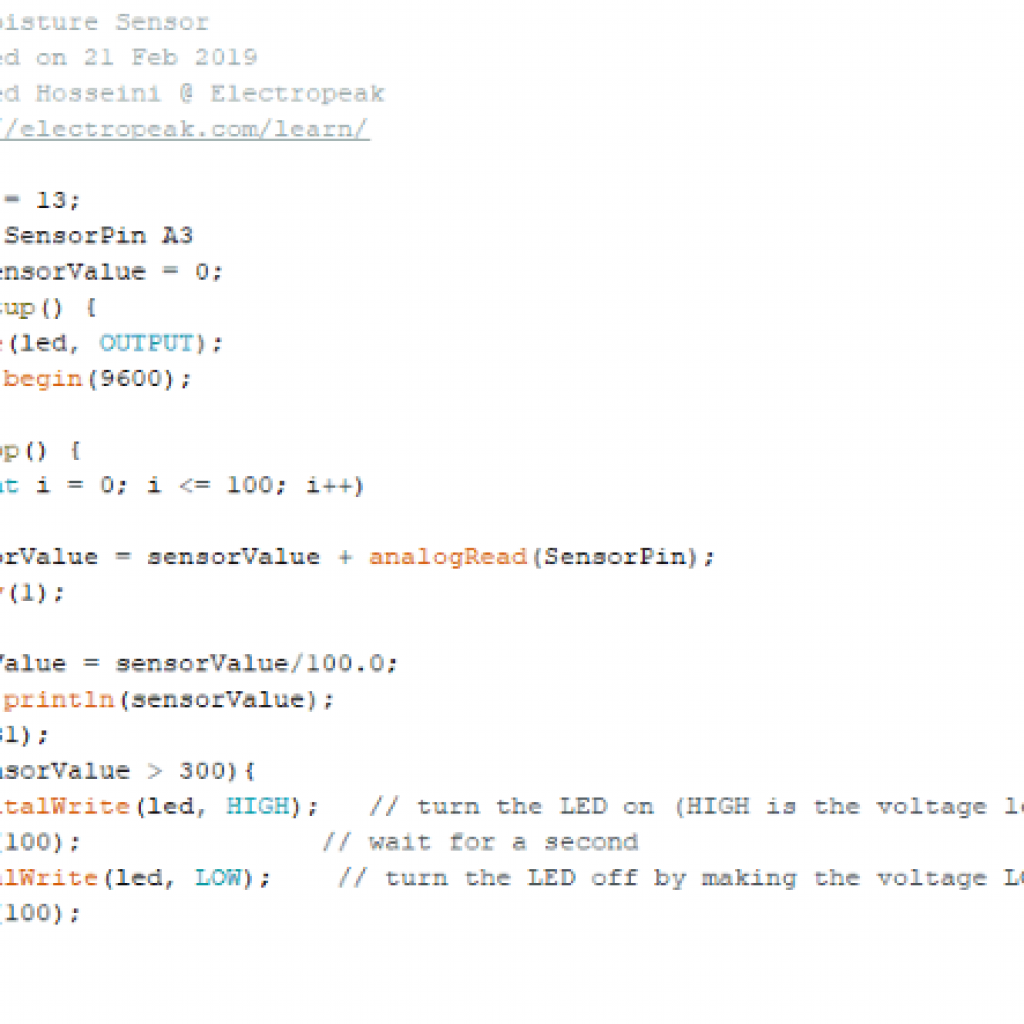
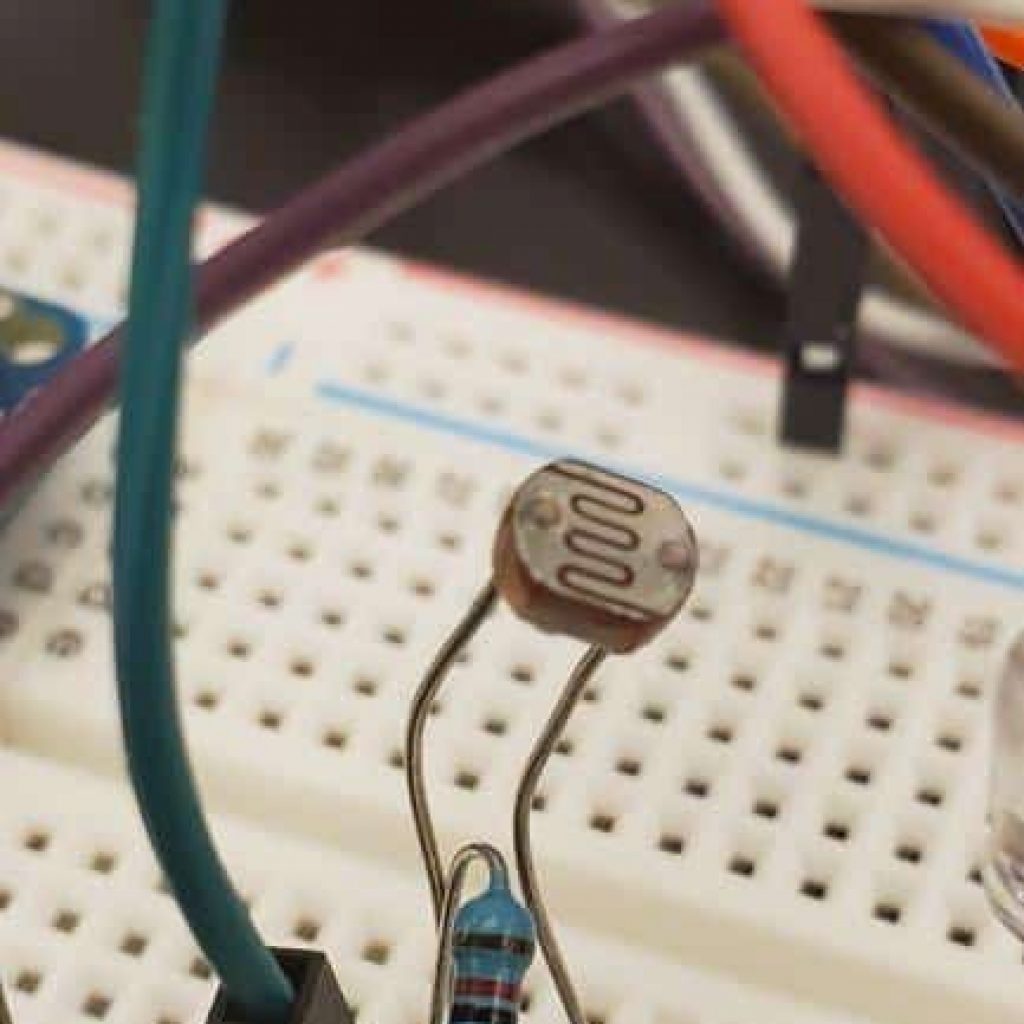
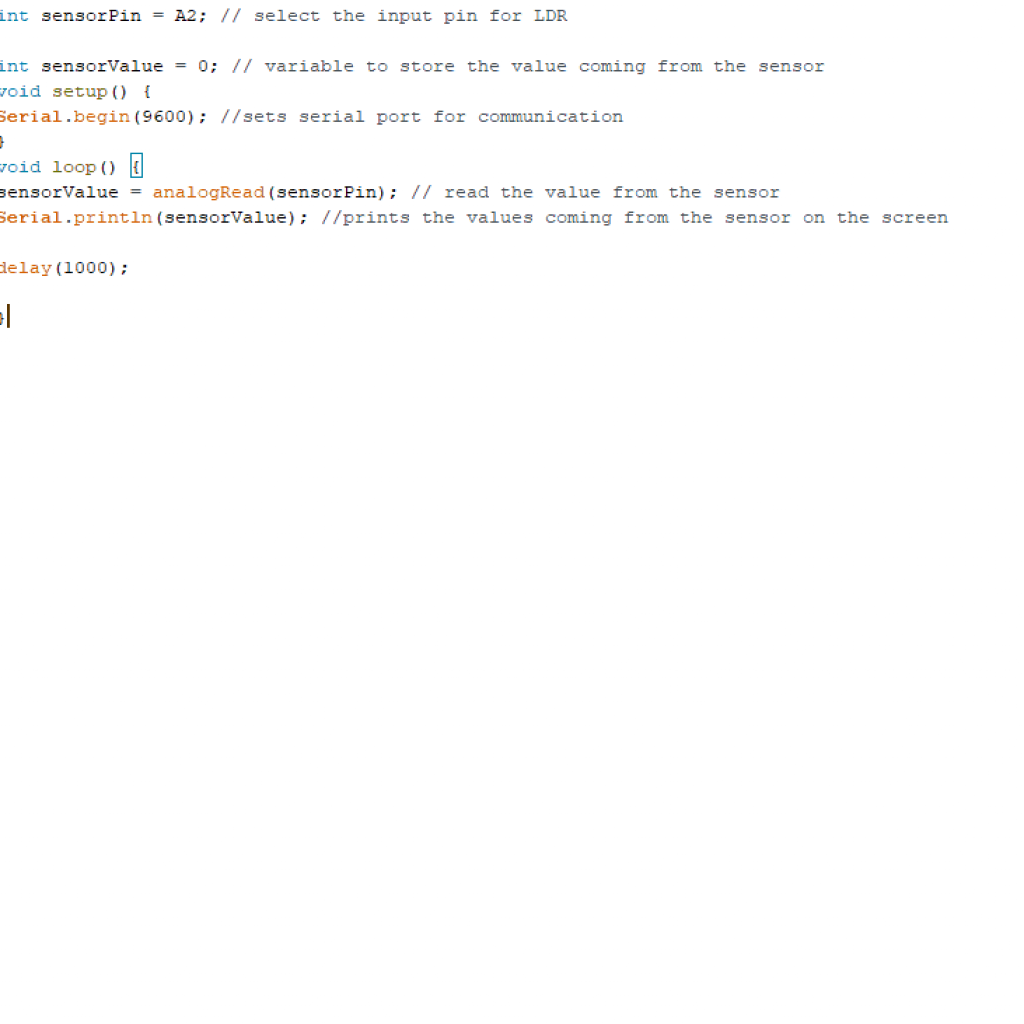
My First Milestone for the Smart Garden is making sure that all of my sensors work (spoiler alert: they didn’t for a while). I tested that each sensor reacted to stimuli by running a sample serial.print code that showed the raw output of each of the sensors.


Starter Project
My Starter Project is the Useless Machine, a machine that, when turned on, turns itself off. I enjoyed this project because I learned how to solder, and it was relatively easy.
The Useless Machine!
How it works
The Useless Machine is powered by three AA batteries. The switch, when turned on, switches the polarity of a motor connected to an arm, causing it to rotate towards the switch. Once it flips the switch, the polarity of the motor is reversed, causing the arm to retract. eventually, the arm hits a snap switch, which stops the motor. There is also an LED that lights up when the motor is active. Some problems I encountered were the LED not working properly due to the fact that I fried one of the anodes. Another problem that I ran into was assembling the box. The rods that I was supposed to screw the plates onto were not actually drilled for screws, so I had to engrave the grooves for the screws myself.


