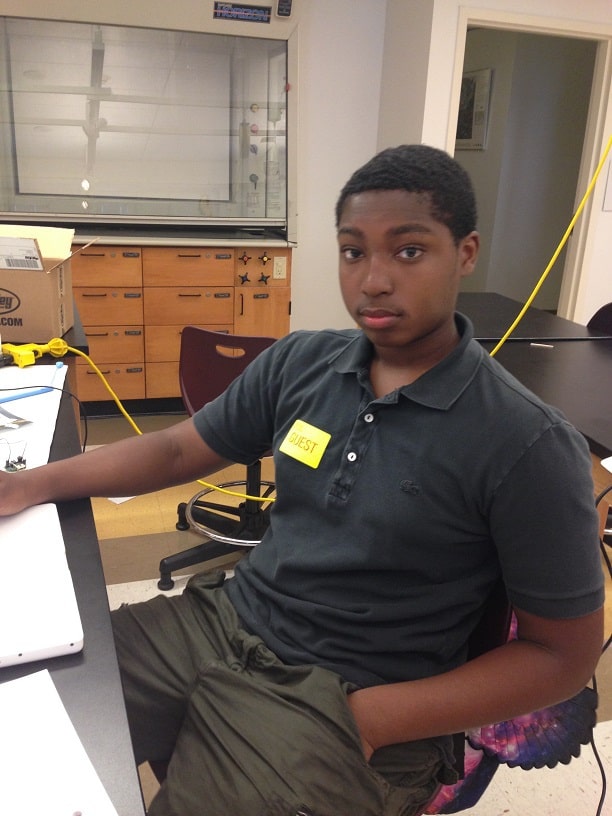
Hi my name is Jabril, and today I finished my Minty Boost. I got this kit from adafruit.com. It cost $19.50 and $2.00 for the Altoid case. First I put the resistors in the PCB (Printed Circuit Board), this mechanically supports and electrically connects electronic components. The first resistor I put in was the 3.3K resistor which is the brown resistor in the middle of the PCB. The color of the resistor is important because if you put the wrong color in the wrong spot then the mintyboost may not work properly, also some colors look very similar so you have to be careful.This resistor is used to improve the high current capability of the boost. Next, I put in the two 75K 1% resistors into R2 and R4, which are the two ports to the far corners of the PCB. After that I put in the two 49.9K 1% resistors right next to both of the 75.5K 1% resistor.
After I soldered and cut the resistors, I inserted the ceramic capacitors into C1 and C2 which are the 2 yellow parts at the very bottom of the PCB, capacitors are used to store an electrical charge sort of like a battery. Some things you should know about capacitors is that they have 2 plates, one that is positively charged and one that is negatively charged, also that they have an insulator that separates the positive and negative ends.
Next I put in the schottky diode in D1. This is used to make sure that the energy from the batteries only travels in one direction which is towards the USB port. I soldered and cut those pieces. Then I inserted the IC socket, IC stands for integrated circuit which is a set of electronic circuits on one small plate. This protects the boost converter chip and allows you to replace it if anything happens to it .
Next I inserted the power inductor, this is used to store and convert low voltages to high voltages. After this I inserted the two electrolytic capacitors which are the two long black pieces, they are pretty slender and they are diagonal from each other on the far edges of the PCB. These capacitors are different from other capacitors because they are suitable for passing or bypassing low frequency signals and store large amounts of energy. After this I connected the battery holder to the two ends of the long side on the PCB. I put the red wire on the positive end and the black wire in the negative side. Next I inserted the batteries and tested if the chip or anything on the PCB pad got warm, since it did not I got the multimeter and tested the voltage which ended up being 4.98V. Lastly I connected the USB port to the arduino and then tested the Mintyboost on my phone which is the LG G2. Though my phone charger emits 5V the Mintyboost still charged my phone effectively even though it only emitted 4.98V.
Some things I did well was soldering and cutting the wires which was what I was doing most of the time. One thing i struggled with was placing the boost converter chip into the IC socket because I was afraid that I might break it because it looked very delicate.


