Reflection:
My name is Ikyo, I am a rising senior at Newark Collegiate Academy. Bluestamp has been an amazing experience for me. In this program I learned things that I couldn’t have taught myself. I had no experience in coding or electrical engineering. The instruction at Bluestamp was not what I had expected. By that I mean there wasn’t much of it. Most of the time I had to teach myself, or google what I need to know and the instructors would fill in any information I needed to know. Though it wasn’t what I expected, I now know it was the best way to learn. I learned how to teach myself and know what I need to do in further projects. I truly enjoyed my time at BlueStamp and hope to work with them in the future.
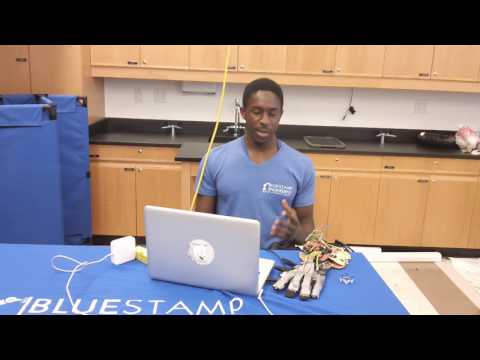
In my final video I show my hand gesture controlled quadcopter. To complete this project I had my flex sensors send values to the quadcopter controller which allows it to fly. Originally my project was the hand gesture controlled robot and through several modifications I was able to make it fly. In the future I plan on adding an accelerometer for the four directional commands.
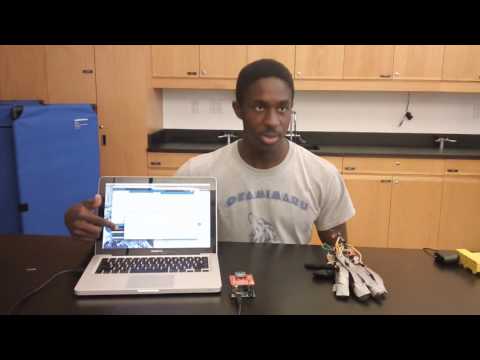
My second milestone is sending values from my flex sensors to the serial monitor wirelessly. To do this I had to convert the integers that flex sensors were sending, to characters so that the XBee can send them to each other. I learned how to convert integers to characters and think around my problems in a very creative way. My next step is to have the flex values move my quadcopter.
CODE:
Ex:
if(ikyo > 5 && ikyo2 > 5 && ikyo3 > 5 && ikyo4 > 5)
XBee.Write(‘U’);
Serial.println(XBee.Read);
Fingers_prime_2_first_XBee.ino

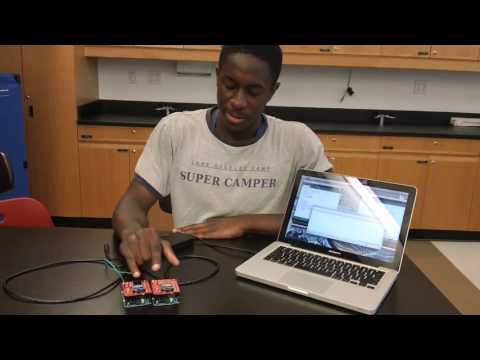
My first milestone was the communication between the two XBee modules. Setting up the PAN ID and the MAC address was a completely new experience and I soon found that to be the easy part of the communication. I knew nothing of arduino coding before this program and learned how to have these modules to talk along the way. After some weeks of working on it I was finally able to have them send a simple string to each other. My next step will be having them send flex values to each other and hopefully soon have them moving my project through the air.
Code:
Ex:
XBee one talking:
XBee.write(myreading);
XBee.write(myreading2);
XBee.write(myreading3);
XBee.write(myreading4); //telling the XBee to write the values of the flex sensors to the other XBee.
XBee two receiving message:
if (XBee.available()){
//this XBee will check if the XBee bus is available
Serial.write(XBee.read());
//Whatever is on the XBee bus will be displayed on the serial monitor
Fingers_prime_2_first_XBee.ino
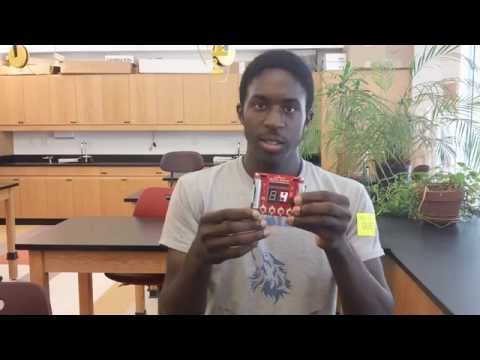
My starter project is the binary blaster( https://www.sparkfun.com/products/12037 ). The Binary Blaster is a small hand held game that teaches binary numbers up to 15 through interactive buttons and a seven segment display screen. The components consist of 2 batteries, one on each side, that powers the entire game. On the left, next to the battery, is a resistor. The job of the resistor is to reduce the amount of electrical flow into the circuit. This keeps the circuit from overheating by reducing the current which in turn reduces the friction. Above the resistor and to the opposite side to the game are two capacitors. Their job is to hold small amounts of electricity for a short period of time. This gives the Integrated Circuit (IC),located at the top of the game, it’s energy. The IC is a programmed chip that sits above the Seven Segment Display(SSD). The IC is programmed to turn on the LED lights in the display board and the buttons at the bottom. The SSD is in the middle of the entire game. It shows the number that the player is to press on the buttons below. At the bottom of the game are four buttons that light up. When the button is pressed, it completes a circuit that sends a message back up to the IC which determines if it was the right button to be pressed. Right of the SSD is a speaker that changes pitch the further into the game one goes.