Hello, I’m Hernan. I’m a senior at the Chinquapin Preparatory School. I started the program by working on a parking radar kit. I had no experience working with electronic kits like this. The starter project was a good challenge to familiarize myself with soldering and wiring. I moved on to building an RC tank for my intensive project. The tank has a lot of room for customization. The project itself can serve just about any purpose, always depending on the user.
 ________________________________________________________________
RC Tank
The Code: RC_Tank.ino
Schematic: The connections for this project can be divided in two parts. There is the level shifter to the Arduino Leonardo.

This is the schematic for the motor, battery pack, and DRV8833 Dual Motor Driver Carrier.

Bill of Materials: Bill of Materials
Instructions: Building RC Tank
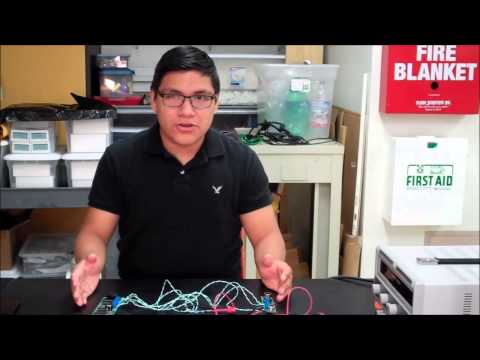
The RC Tank is complete and functions properly. There are four major parts to the RC Tank: The DRV8833 Dual Motor Controller, ps2 controller level shifter, proto shield, and Arduino. The Arduino allows for all the other parts to function. The DRV8833 controls the gearbox by communicating with the ps2 controller level shifter. The value of the analog sticks in the controller are inverted. Meaning, forward gives the value of 0 while reverse give a 255 value. When stationary, there is a constant 127 value being given to the Arduino. The DRV8833 works with values ranging 0 to 255. Moreover, there are two motors with two directions they control (reverse and backward). The code programmed in the Arduino will interpret the values to control the RC Tank. The protoshield allows for all of the components to communicate with the Arduino; it also provides room for further attachments to the tank.
First Milestone (RC Tank):
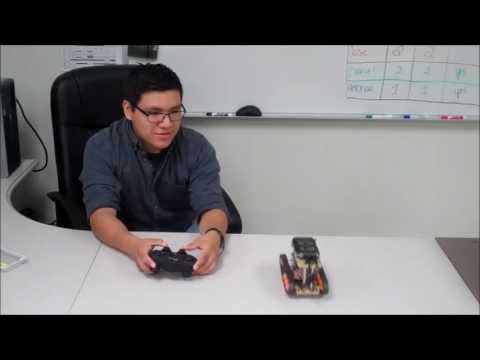
My intensive project is the Arduino RC Tank. I used the Arduino Leonardo for the board of this project. I also used the Tamiya Twin-Motor Gearbox, Tamiya Track & Wheel Set, and Tamiya Universal Plate-Set for the structure of the tank. The Lynxmotion ps2 controller was used to control the Arduino. To make it easier to mount the controller to the Protoshield I used the ps2 Level Shifter. To supply power to the tank I used the USB battery pack bought from Sparkfun Electronics.
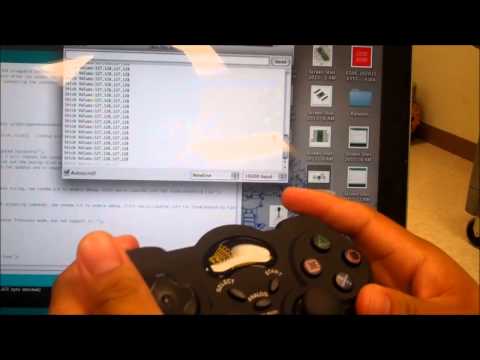
My first milestone was programing the lynxmotion controller with the Arduino Leonardo. The level shifter makes it easy to plug in the controller because it eliminates the need to strip the controller for wires. The receiver can be plugged in to the level shifter. All that was left to do was connect the six connections to the Arduino. Because it was a test I used a breadboard to familiarize myself with connections. The code to the controller was available online thanks to Bill Porter. The code itself demonstrates where the connections need to be made in the Arduino. Once everything is connected and the library is uploaded to the Arduino program, testing of the controller can be done.
Some complications I had was understanding the connections and learning how to upload the library to the Arduino program. Finding the connections was a learning experience; it helped me understand code more. I had to adapt my understanding of the connections. Because prior projects didn’t include the ps2 level shifter, I had to spend time figuring out what the connections did. To no surprise the code clarified what pins I needed to use. Uploading the library turned out to be much easier than I made it out to be. Still, finding out how to do so helped me understand how to create someone’s own library.
The next step for the project would be to program the motor controller to the Arduino. In doing so, it will allow me to control the gearbox; thus, the tank will move.
Reflection:
BlueStamp was a chance for me to expose myself to engineering. I had no experience on working with programming and hardware. For the most part, the idea of engineering kindled in the back of my mind. The exposure BlueStamp has provided strengthened my interest in engineering. Despite the frustrating challenges, I continued steadfast figuring out how to make my project work. The most difficult challenge was learning code. I struggled a while before I understood enough to fix the issues that came up. BlueStamp constantly challenged me with teaching myself the knowledge I needed to build my project. By the end of the program, I’ve strengthen my in confidence and perseverance. Beyond camp, I look forward to enhance my tank and even working on new projects.
My Parking Radar Starter Kit:
I worked on the Ultrasonic Parking Radar for my starter project. This kit works with ultrasonic waves. It measures how far an object is in order to avoid collision between objects. When an object gets too close, the buzzer will sound.
There are two boards to this kit: they’re the sensor board and the buzzer board. The first board is used to detect the object. It does so by a sensor that is constantly sending out ultrasonic waves. The wave will keep going until it hits an object; then, it’ll come back. That’s when the other sensor will pick up the wave. Because sound travels at a certain speed, the distance can be determined by using such knowledge. As soon as the distance is calculated and converted, it will be sent to the second board. There are two main IC chips that are important for the communication between the boards. The other chips are used to adjust the settings on the range of detection. If the object is within range, the message is sent to the second board to sound the buzzer.
The project was challenging. I remember working and ruining a kit in ninth grade. The challenge for this project was figuring out what everything did. Knowing that a resistor adds resistance to the current and therefore maintaining voltage. I know there’s still more to learn about capacitors, diodes, and capacitors. Another challenge was the soldering. I burned myself a few times. Overall the project went well.