MIDI (DJ) Controller
A DJ-styled launchpad that manipulates buttons and potentiometer knobs to play any sound, instrument, or music track of your choice using MIDI messages and signals.
Engineer
Ged M
Area of Interest
Mechanical/Electrical Engineering
Music
School
Moreau Catholic High School
Grade
Incoming Senior
Reflection
FL Studio 20 Application

Birdseye View
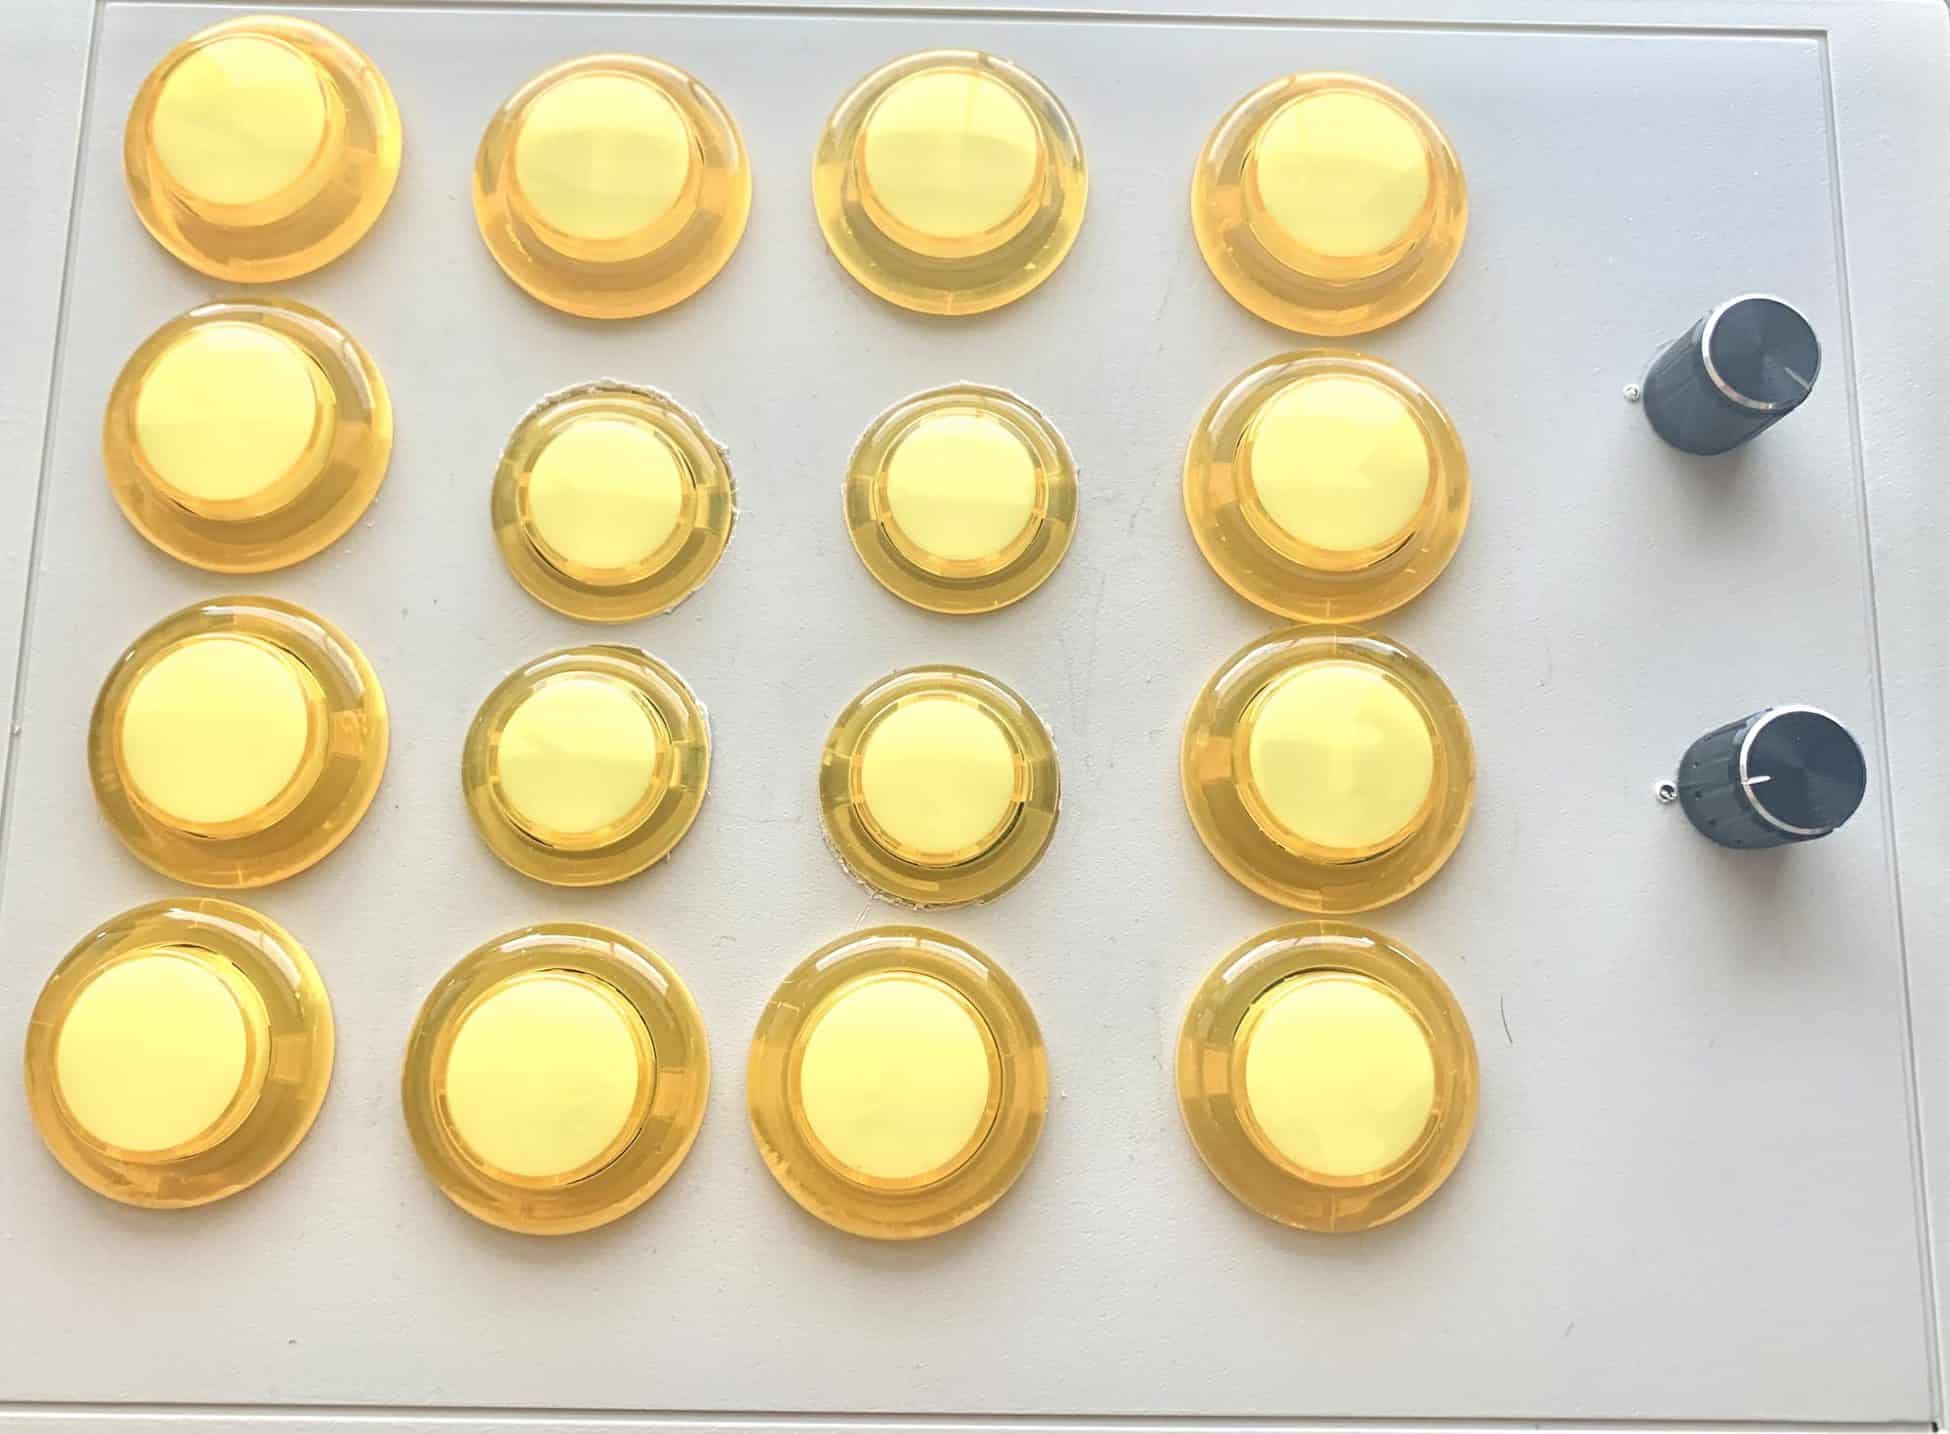
My 3 weeks here at Bluestamp Engineering has been such an enriching experience. I loved being apart of this program since I’ve never experienced the nitty-gritty parts, details, and processes of being an engineer. I learned so many new skills at this program, some of which include understanding the technicalities of Arduino, working a breadboard, soldering buttons & potentiometers, manipulating code, circuiting, playing sounds on FL Studio, developing my own personal webpage, and much more. Before Bluestamp, I had absolutely no outside experience and I just couldn’t believe how much I learned in the span of these 3 weeks. While my project did require a lot of hard work, patience, and dedication, it all paid off in the end and I couldn’t be any happier with the result. This whole experience inspired me to develop my proficiency in music and solidified my passion for problem-solving in the field of engineering. I hope to combine my interdisciplinary passions for music mixing and creative building in the professional world, further pushing the boundaries of science and engineering.
As for my project, I plan to add LED backlights to both my digital buttons and analog potentiometers by using code from the Arduino IDE. I would also like for all 16 buttons on the box to play sounds because, at the moment, only about half of my buttons can function without error; the remaining buttons play sounds very inconsistently and I would like to understand why they are working like that.
Construction
Use your safety glasses when soldering!

Soldering Iron (Kit)
Inside the Box
The construction process of this project was definitely the most tedious aspect of my build journey.
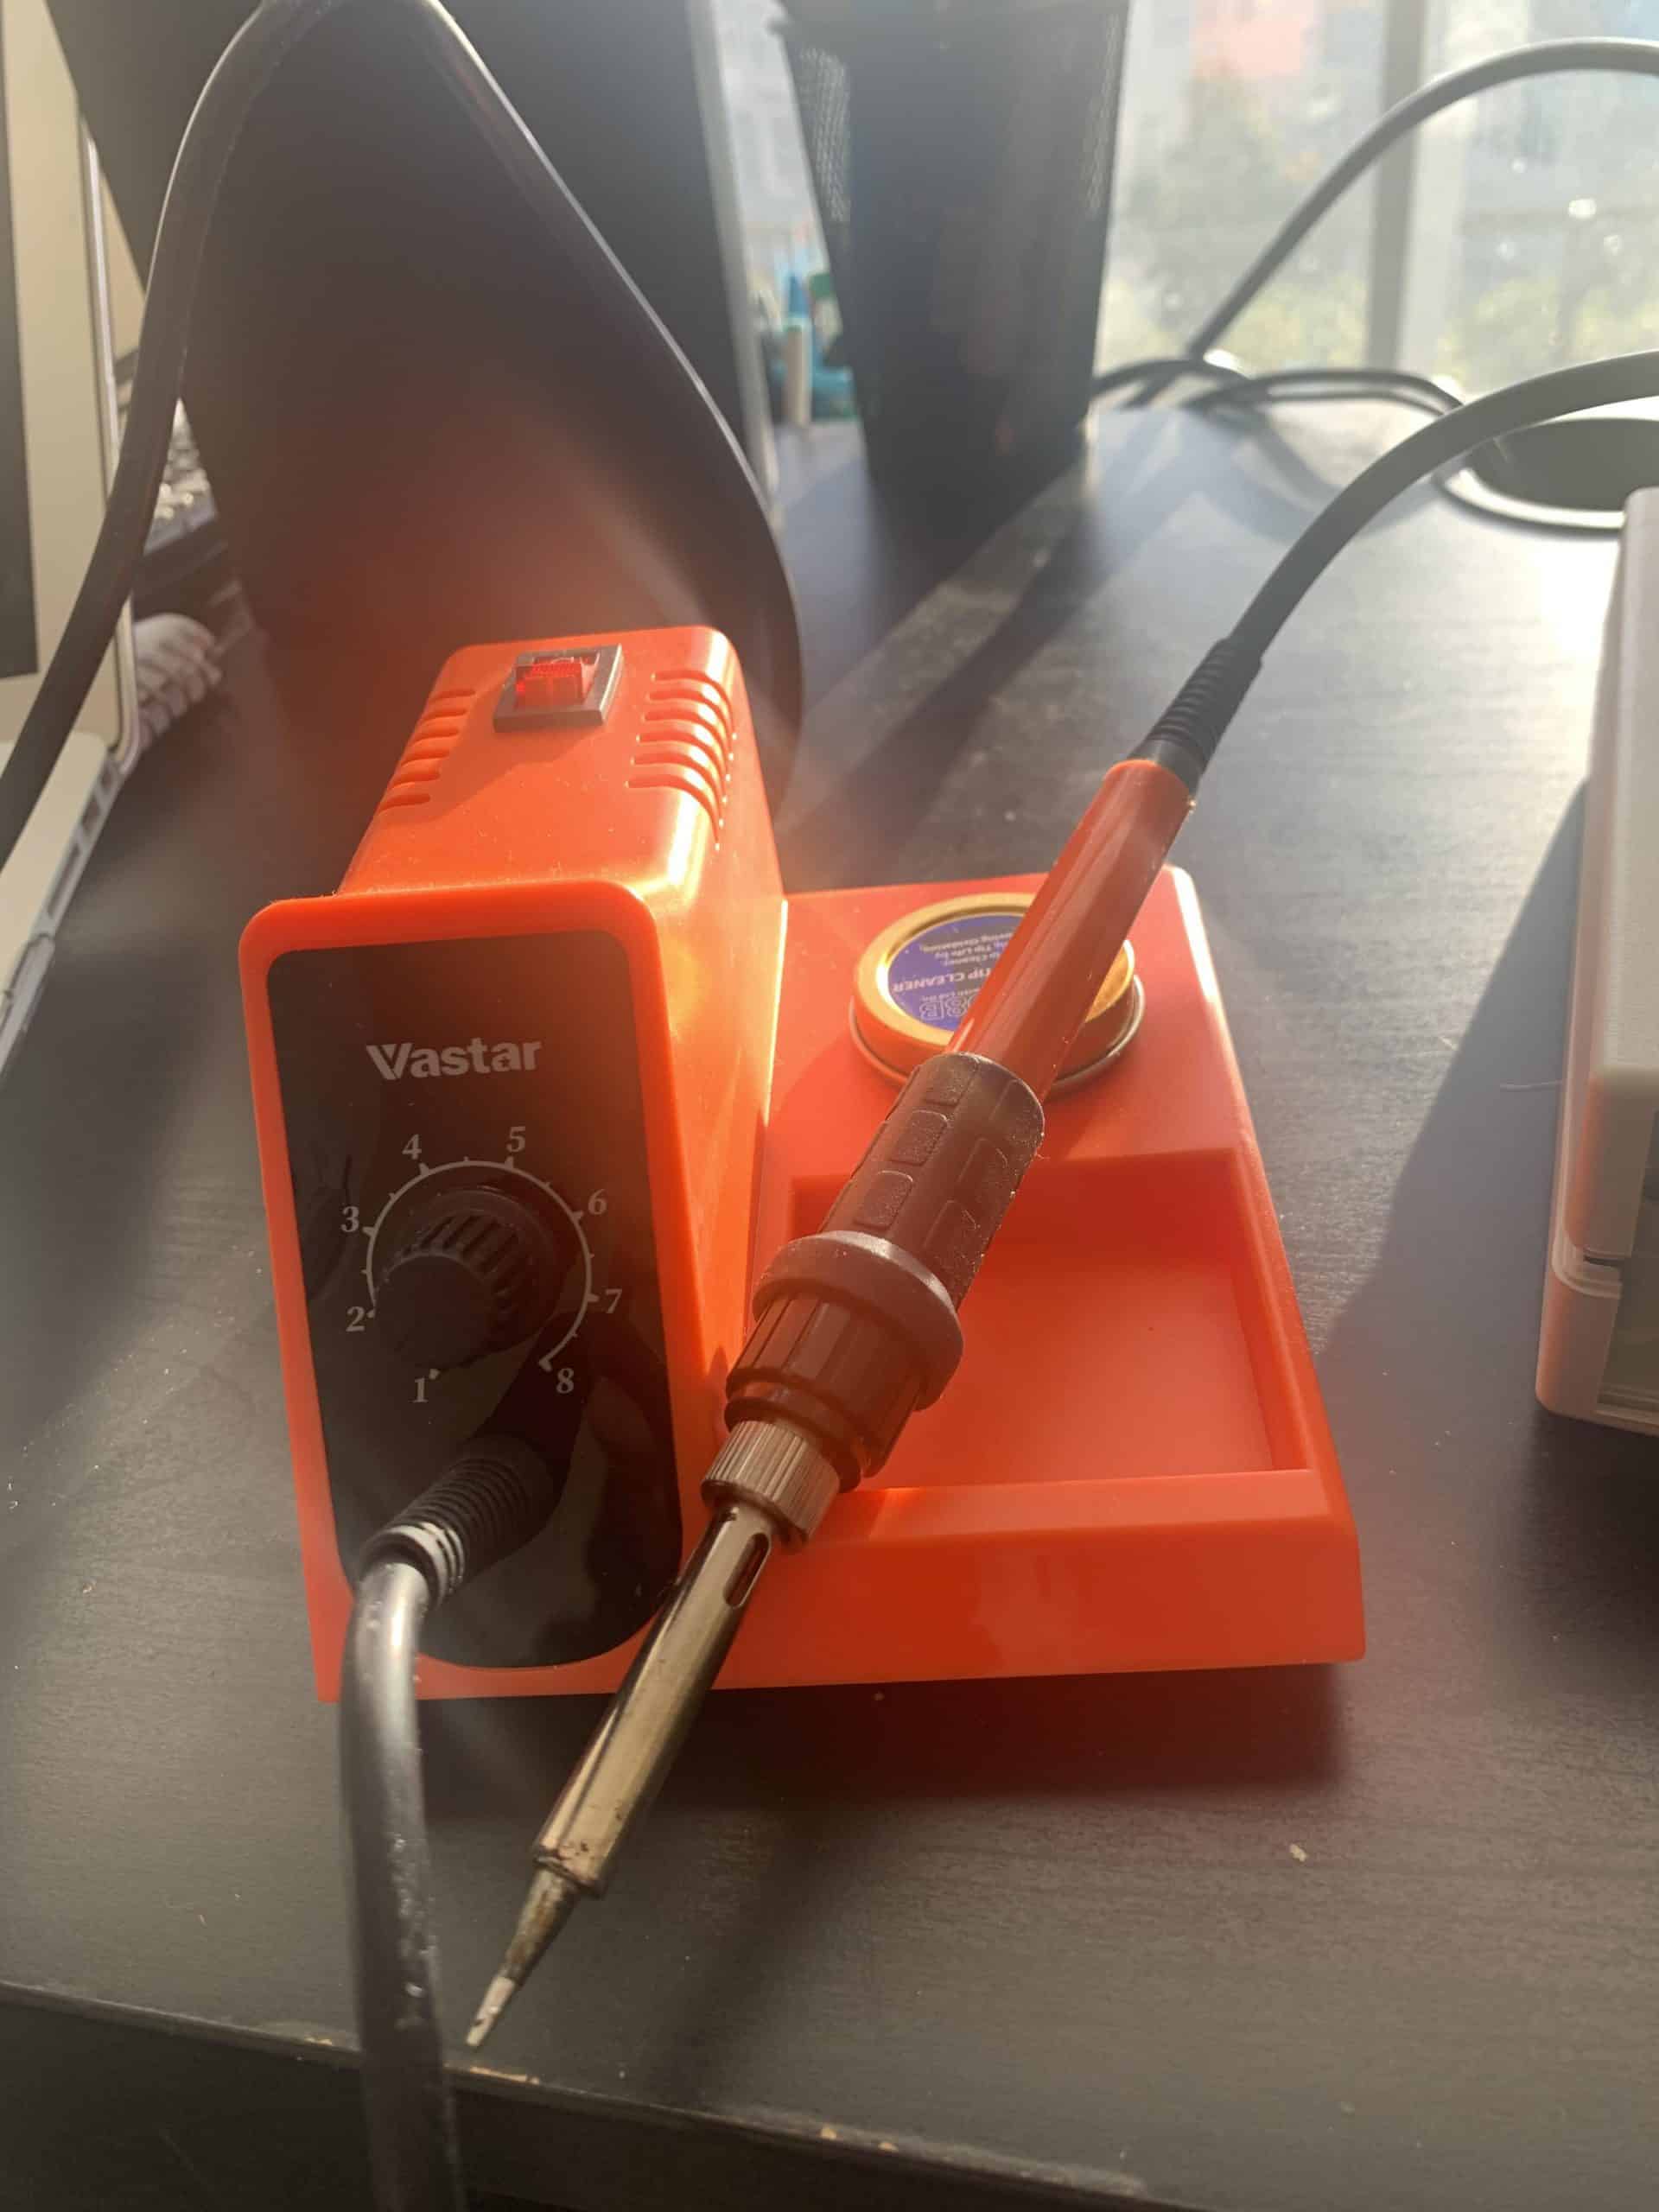
First off, I had to learn how to solder wires together to technologically bridge the button presses to the Arduino which ultimately connected to FL Studio 20. I can’t forget my safety glasses as the solder can reach temperatures of up to 500° F!
Each button required 2 wires to connect on the diagonal ends of its 4-pronged-plug at its bottom. With 16 buttons and 2 potentiometers, I had to solder and desolder almost 50 wires to successfully connect the physical buttons from the Arduino and the breadboard to FL Studio 20. Even after soldering, I still faced many adversities further in the construction process.
When I finally got my project’s box delivered, I had to work out how I could drill 18 holes of 3 varying lengths—the big buttons covered the largest hole length, the smaller buttons filled in the second-largest hole length, and the potentiometer knobs enclosed the smallest hole length. With the help of my dad, we spent some hours drilling into the box with drill cutters from Home Depot. I made the rookie mistake of soldering the buttons before drilling the holes but I had to deal with what I had done.
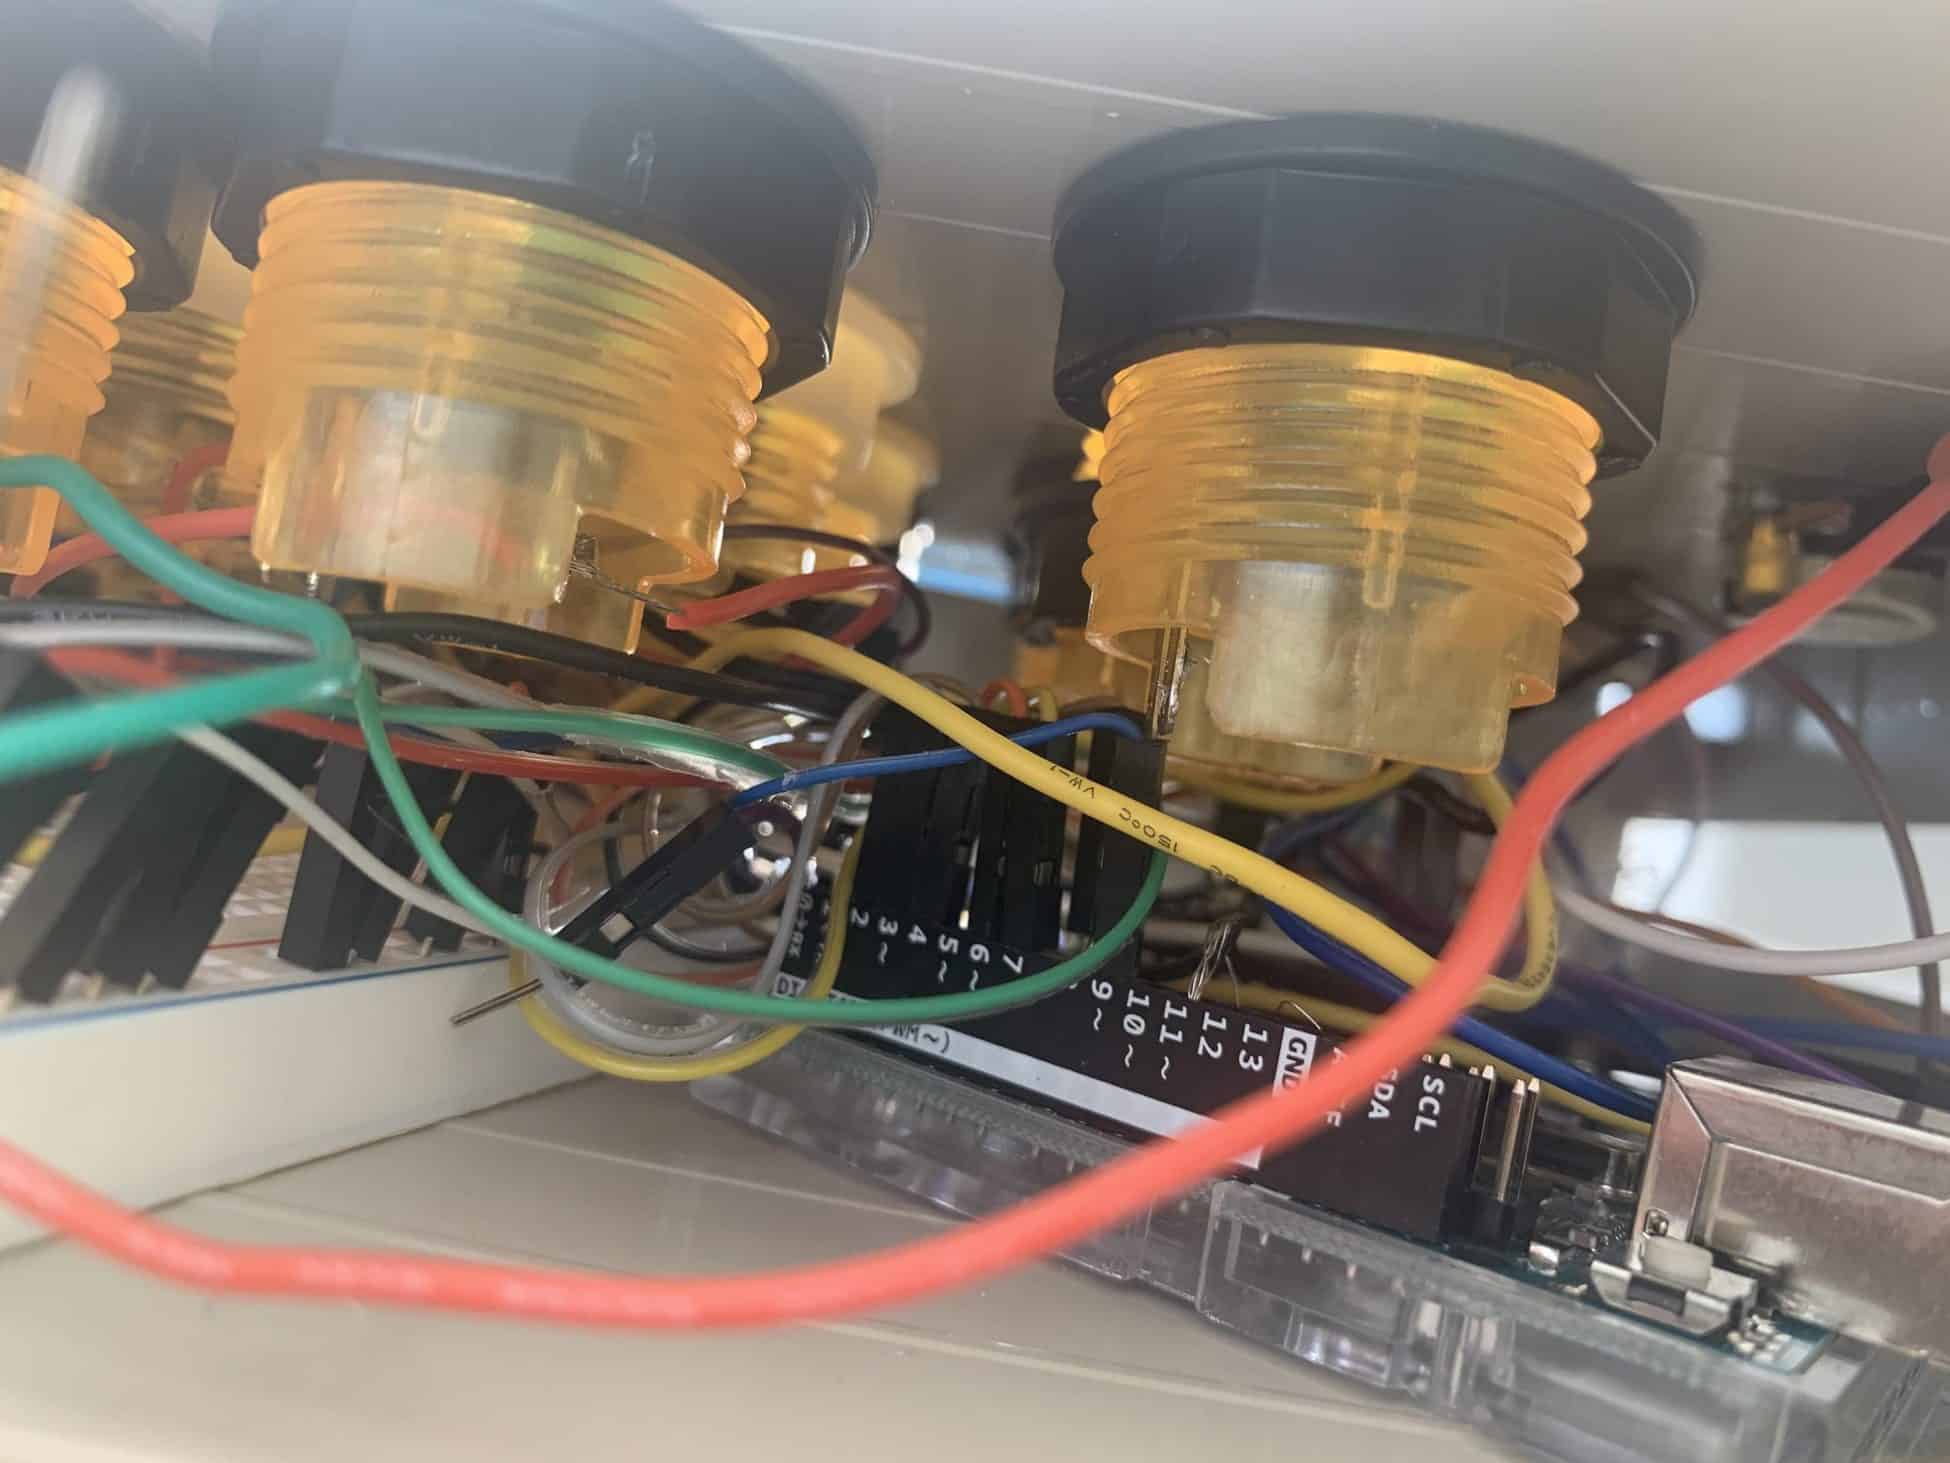
Once I drilled all the holes into the box, I had to connect all the soldered wires to the Arduino and the breadboard without one breaking. I carefully inserted the wires with some mishaps here and there. In the end, I had to legitimately stuff the connected wires, the Arduino, and the breadboard within the 10-inch x 7-inch x 2-inch box. I believe that this unorganized method resulted in some buttons to not play as some wires had probably lost connection to the button, the Arduino, and the breadboard.
However, I am so happy that most of the buttons were able to play sound on FL Studio 20 and that the potentiometers were able to adjust the pitch and volume of these tracks!
Second Milestone
Serial Bridge

Button Code (Arduino IDE)
Potentiometer Code (Arduino IDE)
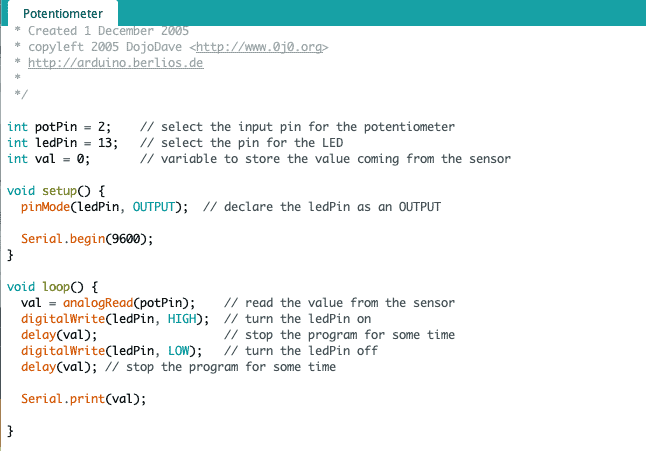
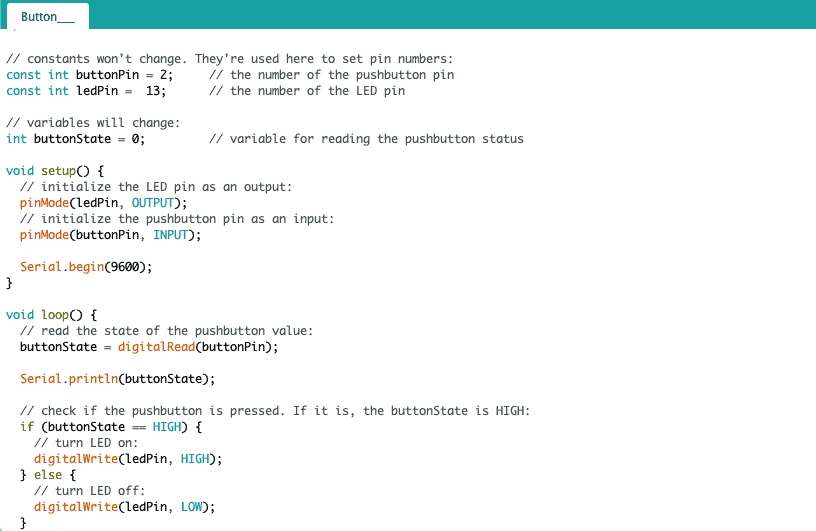
My second milestone for the MIDI Controller was to convert my serial messages from the code in the Arduino IDE into intelligible MIDI signals and have both my digital and analog inputs play sounds on FL Studio 20 when pressed or twisted.
First, I had to download MIDI code from recent MIDI Controller projects — with the help of my instructor — that would read the Arduino’s digital and analog inputs. The digital input is the button interface and the analog input is the potentiometer. After modifying this code and testing it on the Arduino IDE’s Serial Monitor, I then proceeded to download the Hairless MIDI software to see if the code was legitimately sending readable MIDI messages and, in the end, it was! The Hairless MIDI was able to detect when the button press turned on and off as well as when the potentiometer knob twisted clockwise and counterclockwise. After this, I connected the Hairless MIDI program to FL Studio 20 which ultimately linked the Arduino itself to FL Studio 20 where I could play myriads of musical instruments and sounds.
Finally, I had to gain fundamental knowledge of the components of FL Studio 20 in order to play some sounds. On the left sidebar of any project file on FL Studio 20, there is a module titled “Plugin Presets.” Inside of this, there is another tab named “Generators” where there are hundreds of different sounds where I could test if my button press was functioning. Once I right-clicked on a sound of my choice, I “opened a new channel” and pressed the button on the Breadboard which then played the specific sound on my Macbook! To test if my potentiometer worked, I still was under the “Generators” tab, but I clicked on the default channel of “MiniSynth.” In this channel, there were already potentiometers shown on my computer. To connect it to my physical potentiometer, I just right-clicked on a specific potentiometer and linked it to my controller . . . and it worked! With the potentiometer, I could adjust the pitch, sound, speed, reverb, and filters of any sound that was played through FL Studio 20!
First Milestone
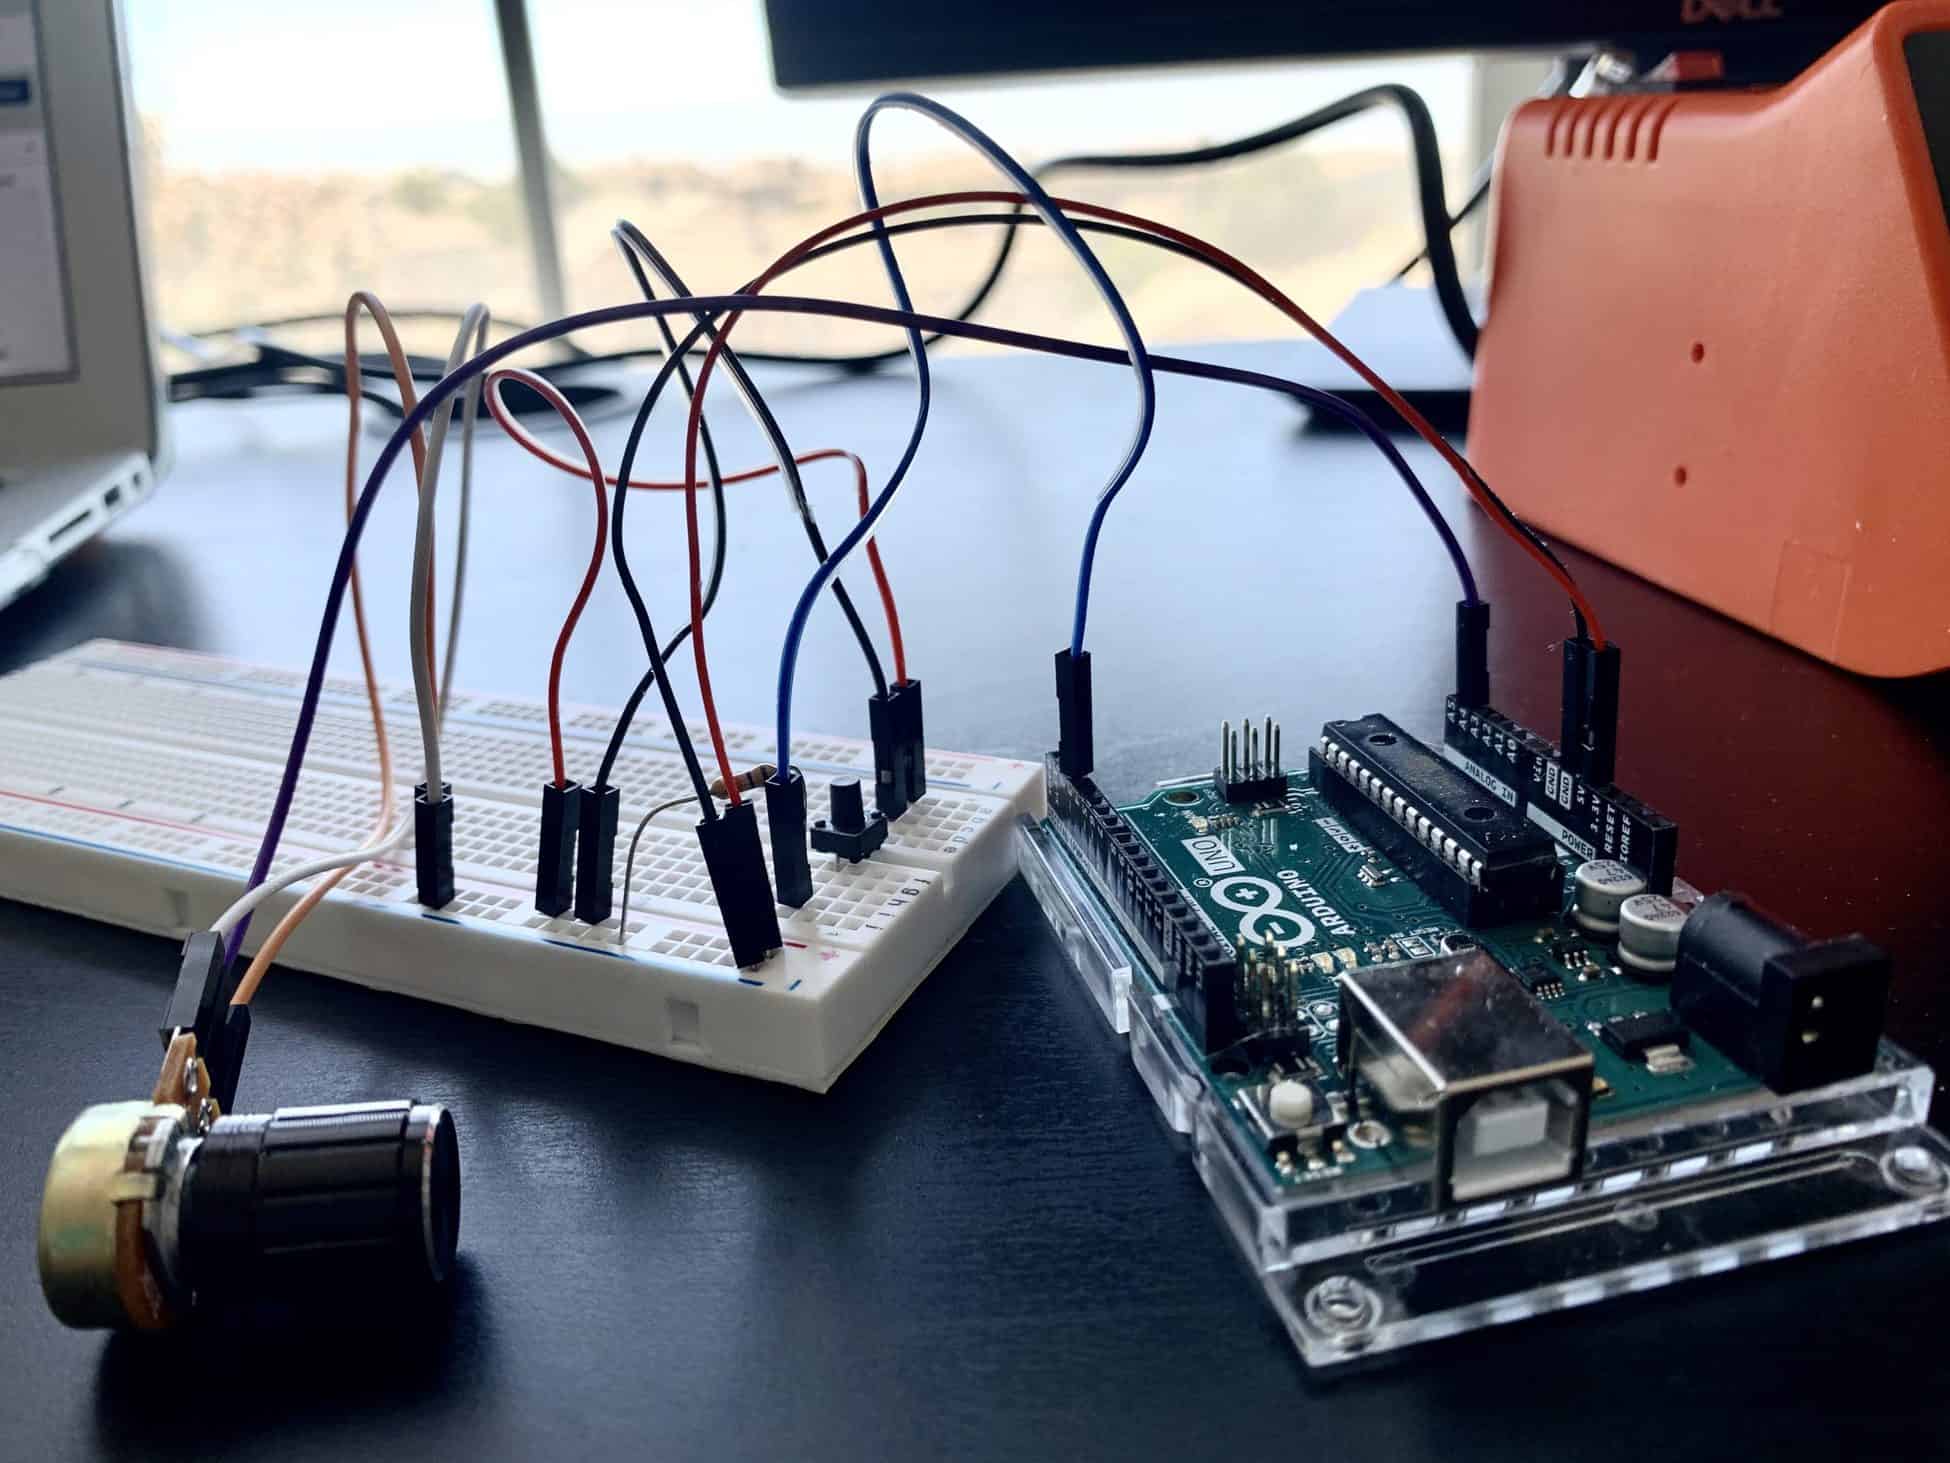
My first milestone for the MIDI Controller was to have my two practice circuits for the button press and potentiometer work with the Arduino.
The button circuit was definitely the more difficult one of the two inputs to register on the Arduino. I honestly don’t know why I did the button press first since the wiring for the potentiometer was much more manageable. Before starting on any of the two circuits, I had to connect two wires to ground and power. Even this simple task was confusing for me at first because I didn’t know what these two terms meant at the start of the program. Next, for the button interface, I had to learn about the setup of the breadboard so I could correctly get the button circuit to register. In the circuit, I used a momentary button switch (which is different than the larger button I used for the actual MIDI controller), a pulldown resistor, and lots of wires that connected parts of the breadboard to the Arduino.
After learning about the setup of both the Arduino and the breadboard, I was able to wire the circuit for the potentiometer in less than 20 minutes with some help from a website. All I had to do for the potentiometer knob was to wire each of the three pins on the end of it to ground, power, or the Arduino.
To summarize, I had to learn how the breadboard functioned with the Arduino to complete these tasks. I was overwhelmed by these devices at first, but when I figured out how the breadboard was set up, I was able to wire up the circuits for the button interface and potentiometer much more efficiently. After this, I uploaded the code from the Arduino IDE to see from both the Serial monitor as well as the Arduino itself that the button press and potentiometer were registering.


