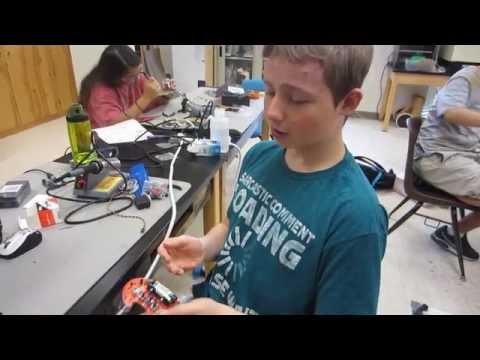
My name is Garett and I am a rising freshman at Westbury Christian School. I have always been interested in science and engineering so this program was a natural choice for me. For my starter project I created a light-seeking bug and for my final project I made a robotic hand.

Reflection/Conclusion!
BlueStamp has been one of the best experiences in my life. Not only did a get a great first experience with engineering and using software, mechanical design, electrical circuits, and many more things involved with my project and I also met a number of great people in my class and learned a huge amount from each of our guest speakers. Through this program’s guest speakers I not only learned a great deal about engineering, but also about choosing your job, going to college, being an entrepreneur, and chasing your dreams.
Final Video!
I have finally finished my project. Through trying to figure out how in the world to use a potentiometer to getting annoyed while trying to epoxy together plastic joints, I did about everything. This program has given me a great experience and an awesome (and slightly creepy) project you can see in the video.
Hints and Tips!
- Don’t use the E-Evolution micro-controller like I did because it gets more complicated than something like and Uno and the Uno is better supported.
- Use a lightweight and easy to shape material to build the hand. Or 3-D print it. I tried to use inch-thick aluminum at first. Bad Idea.
- Try looking on the internet for something similar already done before you create your own version from scratch; I wasted a week like that.
- Even after something works the first time, when you do it again, test it again. You WILL mess up something and if you wait to the end, it’ll only get harder to fix.
Bill of Materials!
img
Source Code Finished!

CodeScreenCaps – For those without Arduino programmer
Electrical Schematic Finished!
I have finished creating an electrical schematic of my circuit. Unfortunately, since no software has my freelance Arduino, so I substituted it out for a Arduino Uno, which will serve the exact same function and is better supported as well. Otherwise, as the program draws to a close and as I’m waiting for my hand to get 3-D printed I’ll keep working on documentation.

Electrical Schematic ScreenCaps – For people without Fritzing
CAD Drawing Finished!
After many, many days of designing and screaming at SketchUp to work, I finally finished the CAD drawing for my robotic hand. It seems rather simplistic, but it took over 9 versions to find a set-up that would actually work without things falling off or simply breaking themselves (The first three got deleted and were known as learning experiences). Another problem was that originally the servos were wider than the actual fingers, so I thought I would only make a three fingered hand, but after weighing the risk I decided to expand the size of the finger to put the servos into them to allow for the last 2 fingers.

CAD ScreenCaps – For people without Sketchup
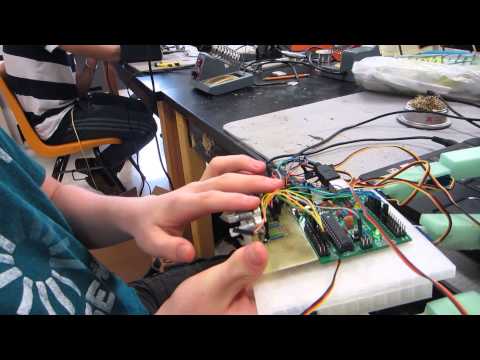
Milestone One — Controlling the Servos
I have successfully created the software and the circuit to control my servo motors using potentiometers. First, I had to build the circuit. This involved attaching the arduino’s ports to my hardware using a breadboard. After connecting the arduino’s power and ground to the power rails, I used jumper cables to hook up my hardware to the power rails as well as attaching my potentiometers to the analog ports and my servos to the digital ports that can control servos. After that, I wrote a program using the arduino software to read and calibrate the potentiometers readings and use them to control the servos. Then, when program is run, the servos respond to the turning of the potentiometers.
Starter Project — Light Following Bug
I have finished my starter project, a light following robotic bug. After soldering everything into place, the robot functions by having the sensor pick up the direction of the light and activating the according motor to follow that light. You can control the bug through two switches and three dials to adjust its functions. The first switch turns the bug on and it will immediately seek out any nearby light. Following that two of the dials will adjust the according sides of the bug for its light sensitivity. The third dial will adjust its speed. Finally the second switch activates what I call the “overdrive mode.” Once you flip that switch the dials seem to become completely irrelevant and it becomes hyper-sensitive to light and also moves faster the the previous top speed.