
Hello! I’m Eric B, and I am sophomore at Colorado Academy in Denver, CO. I live and breathe soccer, love to be on stage as an avid thespian, and am very passionate about math, sciences and computer programming. My BSE starter project was the Big Time Watch from SparkFun. My main intensive project was a student-defined project for water purification and filtration. The name of it is the Hybrid Water Treatment System with a Slow Bio-Sand Filtration Unit and Electrolysis Chlorine Producing Unit. The project had two components. The main part was an electrolysis rig that served as a Chlorine Producing Unit (CPU) for water purification. Because electrolysis requires energy, I also incorporated a solar-panel-powered battery charger for the device. Also, the CPU did not treat the physical contaminants or large pathogens (only small bacteria), I needed a safeguard to ensure that my system would remove large debris and bacteria. So, I used a Slow Bio-Sand Filtration unit in conjunction with the electrochlorination unit.
Visit my school’s website at http://www.coloradoacademy.org/page/Home
Update: 5.2.16
After entering my project, the Hybrid Water Treatment System with a Slow Bio-Sand Filtration Unit and Electrolysis Chlorine Producing Unit into the Cardel Homes Denver Regional Science Fair, I was honored with several awards for my project:
- 1st Place in the Environmental Engineering Division, with which I advanced to the Colorado State Science and Engineering Fair
- The Regional Water Award for the Stockholm Junior Water Prize
- The RICOH Sustainable Development Award 2016
- The ASU Walton Sustainable Solutions Award
- The United States Army Award
After participating in the Colorado State Science and Engineering Fair, I was honored with a few more recognitions:
- Honorable Mention in the Environmental Sciences Division
- The Platte River Power and Waste Authority Sustainability Award
- The Air and Waste Management Sustainability Award
Lastly, I recently was recognized as the State Runner-Up for the Colorado State Stockholm Junior Water Prize.
Reflection:
When I ran into obstacles, I solved them myself. I learned to problem solve at a higher level than ever before. The first problem I had was before the program had even begun. I had to do thorough research for the specific parts listed on my Bill of Materials. I persisted and found the exact parts I needed. The rest of my problems were geared towards mechanical constructions, but once I had familiarized myself with the tools and used them more often, I was breezing through mechanical construction for each milestone. Another challenge was being extremely meticulous with the mechanical construction of the Chlorine Producing Unit. The electrodes and gaskets weren’t fitting together, couldn’t be touched by human skin due to the oils and were very delicate. Ultimately, I became more patient with myself, the tools and my design. There were aspects of the process that were unbeknownst to be but now with that patience and a lot of perseverance, I am proud of my end result.
The most influential lesson that Blue Stamp taught me was the joy of discovery and exploration. I came into this with little to no knowledge about the engineering process. But from idea to design to execution, I grew so much as a young engineer. The best part of my time here was finding out that my product works. It is a fully functionable water treatment system that can take in contaminated water and give back potable water. Now, I am confident in my ability to integrate my math and science into engineering. I thoroughly enjoyed my entire experience here and I’m grateful for all of the exposure I received to many facets of engineering.
Inspirations and Applications of the Design:
This project was mostly inspired by a project that I did in middle school as well as a recent trip to Costa Rica. In middle school, I studied the arsenic contamination in Bangladesh’s water supply for 3 months. I learned about their inability to filter or treat their water supply. For my final project then, I built a non-functional makeshift filter. Secondly, when I visited Costa Rica for a homestay and service trip near Chilamate, I heard stories about how the village I was staying in got their water from the river. But, this river contained contaminants dumped directly into the river from nearby cities. They, too, didn’t have any sustainable methods to treat water.
At Blue Stamp Engineering, I had the opportunity to approach the world’s water crisis from a practical standpoint. From the Chlorine producing unit to the solar panel and even the biosand filter, this was relatively inexpensive and can be upscaled and integrated into developing countries as a sustainable solution for potable water. The applications of this easy-to-construct, DIY treatment system. The instructions to teach people how to use these are also very simple. There are two steps. First, make your chlorine solution by pouring a 150ml of water and 15ml of table salt solution into the Chlorine Producing Unit 5 times. Next, filter through however many liters of water your community needs through the Slow Biosand Filter. Lastly, put 10 drops of the chlorine into your biosand filtered water and allow it to sit for an hour. Then, you have potable water without heavy metals, bacteria, pathogens nor other contaminants.
Check out my Bill of Materials to see what I made my project from: Eric B – Bill of Materials
The Inspirations of my Project are from: TNGUN – A DIY Chlorine Generator for Water Purification and Knowledge Weighs Nothing – A DIY Biosand Water Filter for Safe Drinking Water. I did slightly modify each to work together and fit my needs.
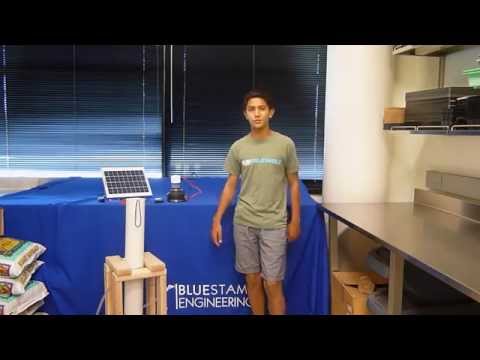
Eric B’s 3rd Milestone: The Full Water Treatment System: The Slow Biosand Filter, the Solar-Powered Electrolysis Chlorine Producing Unit and the Cherry Creek Water Treatment Test Lab (July 15th, 2015)
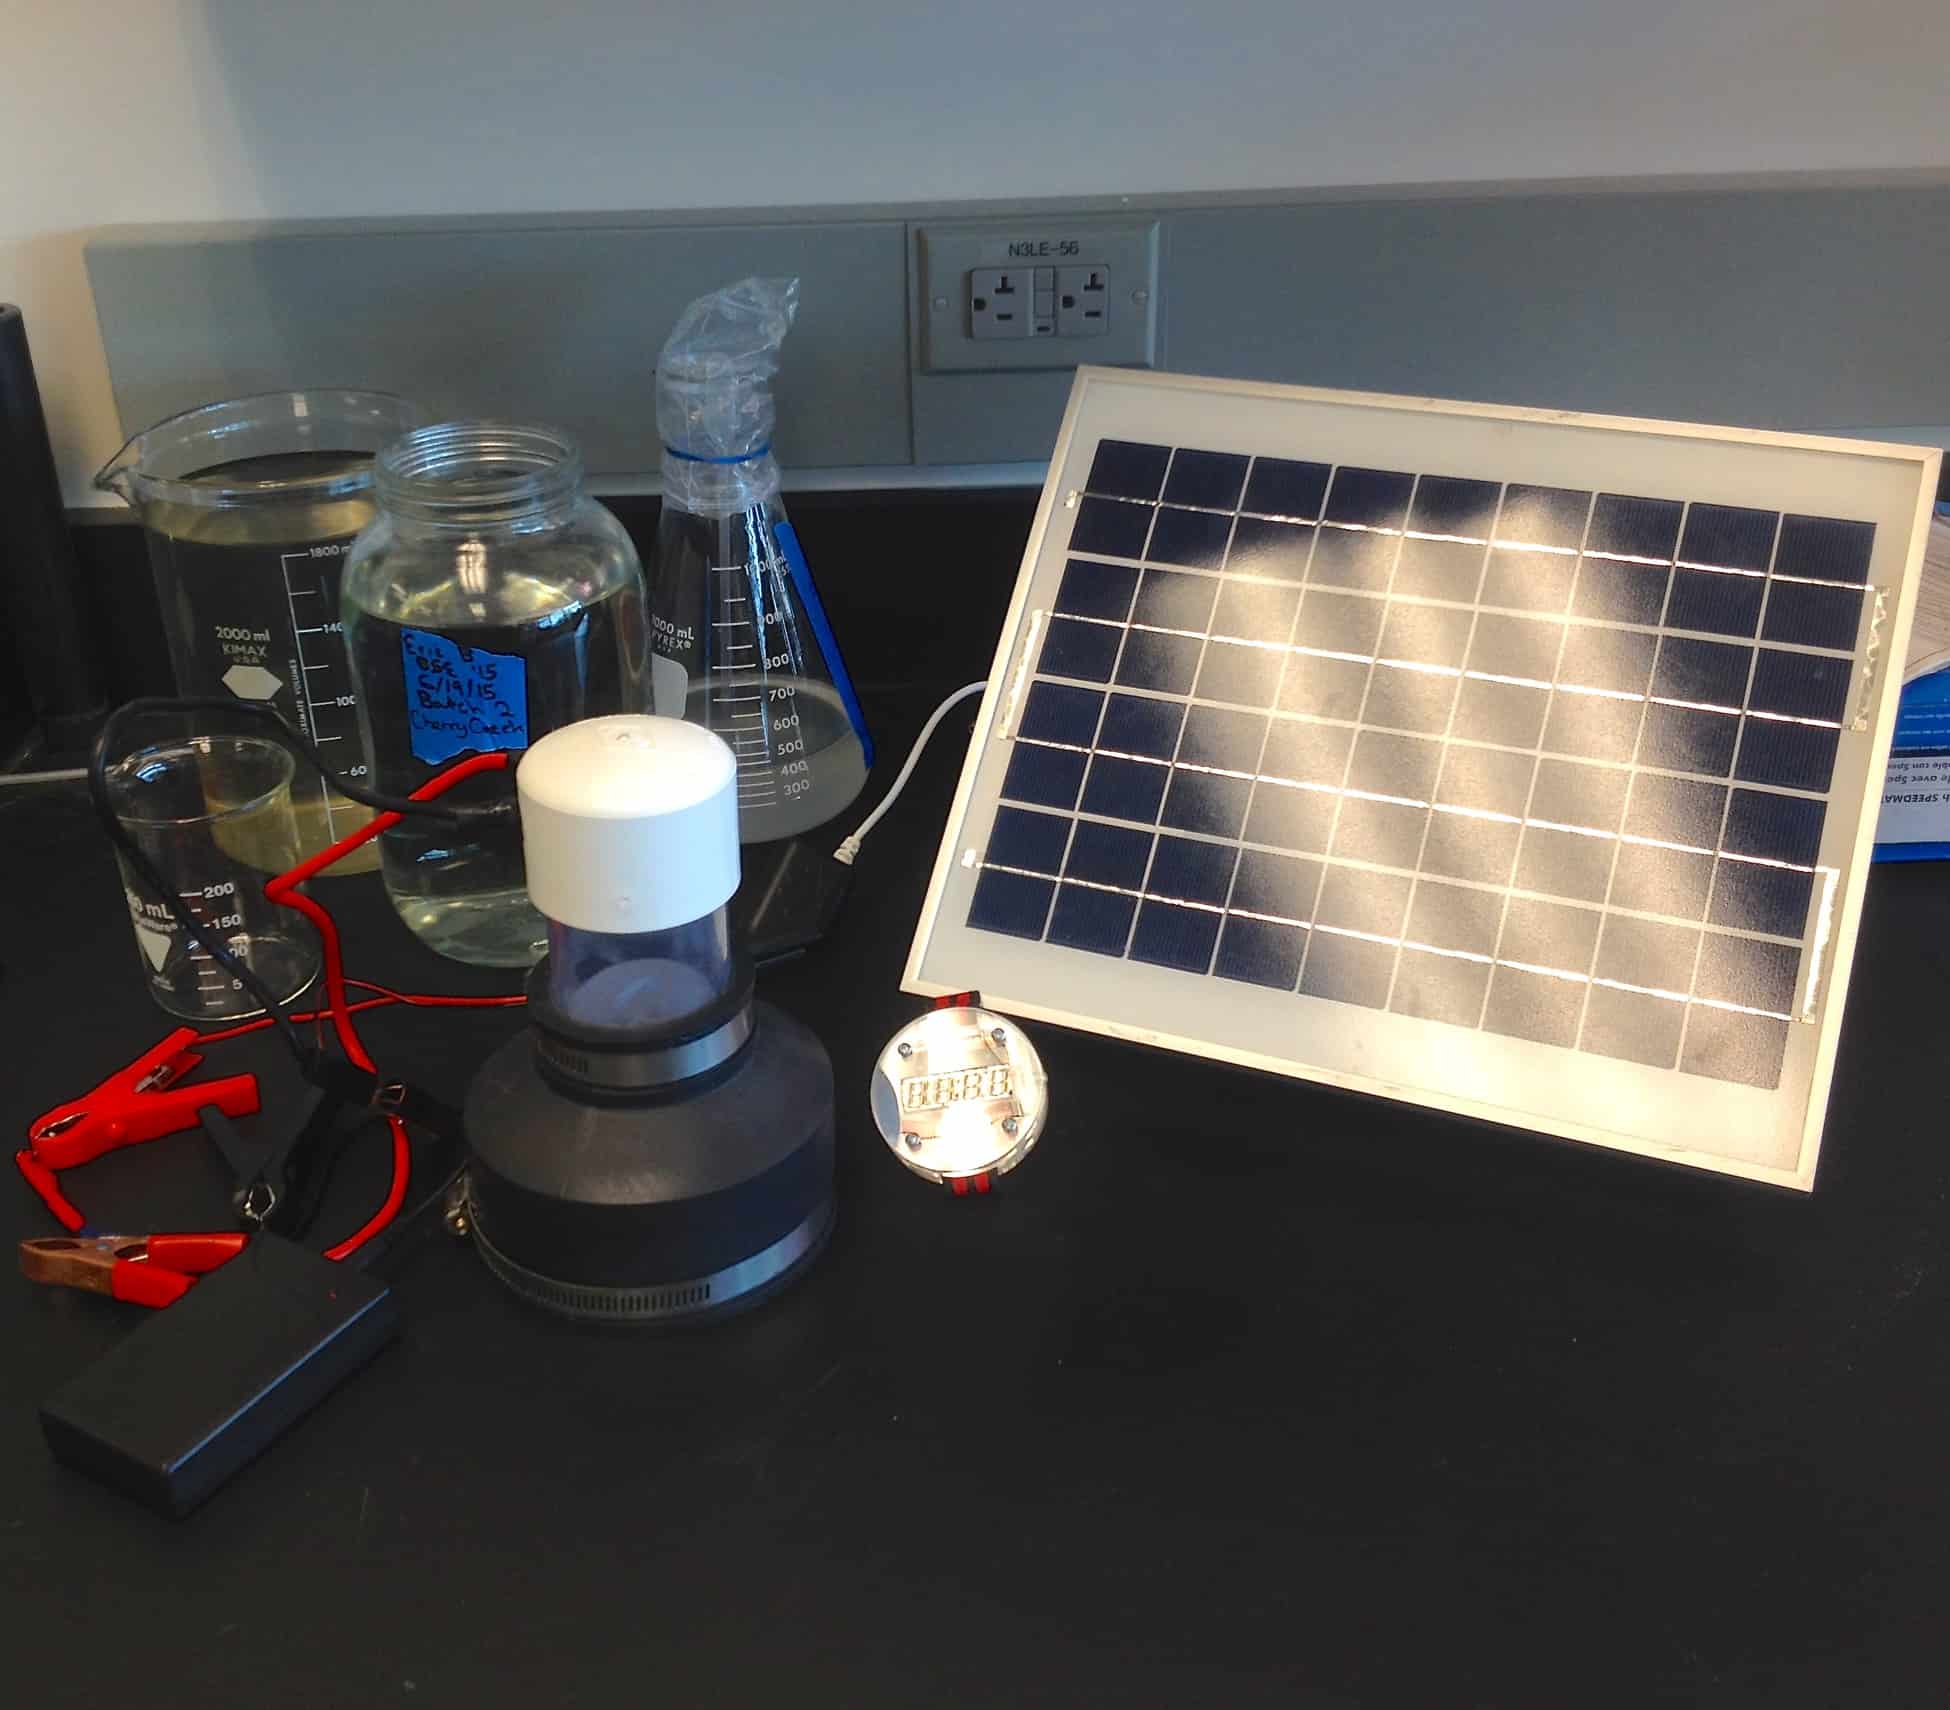
This was my third and last milestone for my main intensive project of a sustainable water treatment system using a Slow Biosand Filter and a Solar-Powered Electrolysis Chlorine Producing Unit. Since my last milestone, I made two significant steps in my process. First, I integrated a solar panel into the water treatment system to power the electrolysis. I assembled the support system and hooked it up to the my DC battery via waterproof wiring and a microcontroller. The microcontroller is monumental in regulating the power output from the solar power. Additionally, the microcontroller serves as a power inverter and converts the DC solar power into AC. This increases the efficiency of the panel and charges the battery faster. Next, I tried charging the battery. Surprisingly on a mostly cloudy day in Denver, it took only 7 hours to charge the battery. With a few quick calculations and taking into account the energy loss due to the nature of solar power, I concluded that in ideal conditions the battery would take 5 – 5.75 hours to charge.
The other step I took for this final milestone was testing the entire water treatment system. This was a huge part of my project because I don’t just want an endless supply of chlorine and a PVC pipe with sand in it, I need potable water. So, I procured 3 gallons of contaminated city water from Cherry Creek River in Downtown Denver, ran it through my biosand filter and added 10 drops of the chlorine solution. This made for 3 separate batches, or trials, of treated water. So, I made a full lab to record my results and explain them. You can check it out on this attached file: Eric B – Cherry Creek Water Treatment Lab. I was so happy with the result that I, along with two of my instructors, decided to drink some of the purified water. The treatment system has proved to remove nitrate, hardness, alkalinity, pH, Chlorine, heavy metals, bacteria, pathogens and other contaminants. The average flow rate of the biosand filter was 7.63 liters per hour.
I didn’t really face any problems during this final milestone, except for time. During the water treatment testing lab, I had to make two trips to the creek, allow for the time that it takes for each batch to run through the biosand filter and lastly allow each to sit for an hour with the purifying chlorine solution added. During this process, I began to worry that my treatment system wouldn’t work. But, in time I became very confident in my design and the results proved its efficiency and effectiveness.
Eric B’s 2nd Milestone: The Electrochlorination Chlorine Producing Unit (June 19th, 2015)
This was my second milestone for my main intensive project of a water treatment system. The Electrochlorination Chlorine Producing Unit. The purpose of this unit is to purify water. By adding ten drops of this to a gallon of contaminated water, the highly concentrated sodium hypochlorite solution can kill bacteria and sterilize other contaminants. This performs electrolysis, or the decomposition of compounds in an ionized solution induced by a complete electric circuit. The best part of this was when it worked. Before the project, I had speculated that I could make chlorine from salt, water and electricity. But, now I have an endless supply of water-purifying chlorine. At this point, I planned to further run tests on the effectiveness of my full water treatment system (Electrochlorination Chlorine Producing Unit and Slow Bio-Sand Filter) and integrate solar power into my electrolysis cell.
The mechanical construction consists of a 2in PVC cap that houses a PVC pacer, three gaskets and two electrodes. Additionally, there are a clear PVC piece (2in diameter), a rubber reduced coupling (4in to 2in) and a 2in PVC drain cap. To use the device, I needed a table salt and water solution with a ratio of 1:10. I used 15ml salt and 150ml tap water. This is an electrolyte, which is semi-conductive to complete the circuit and contains free ions. I also need a power source to run the electrolysis so I used a 12V DC portable battery to supply voltage and current to create and discharge ions. The unit requires 12V for voltage, 8A of current and 96W of power.
The electrodes are especially important. I had to contact the Safe Water International Ministries for the parts. They are a non-profit, but provided me with the gaskets and electrodes. In return, I donated $50 to them. The electrodes are electrical conductors that serve as a physical interface for the circuit and provide energy for electrochlorination. These electrodes are titanium mesh and one is coated with ruthenium oxide and the other uncoated. When I apply the electrical potential and add the electrolyte, the differences in voltage between the electrodes creates an electric field strong enough to strip apart the water and salt. After they are pulled apart, a few reactions (as seen in the video) take place and result in sodium hydroxide, hydrogen and sodium hypochlorite (which purifies the water).
Eric B’s 1st Milestone: The Slow Bio-Sand Filter (June 15th, 2015)
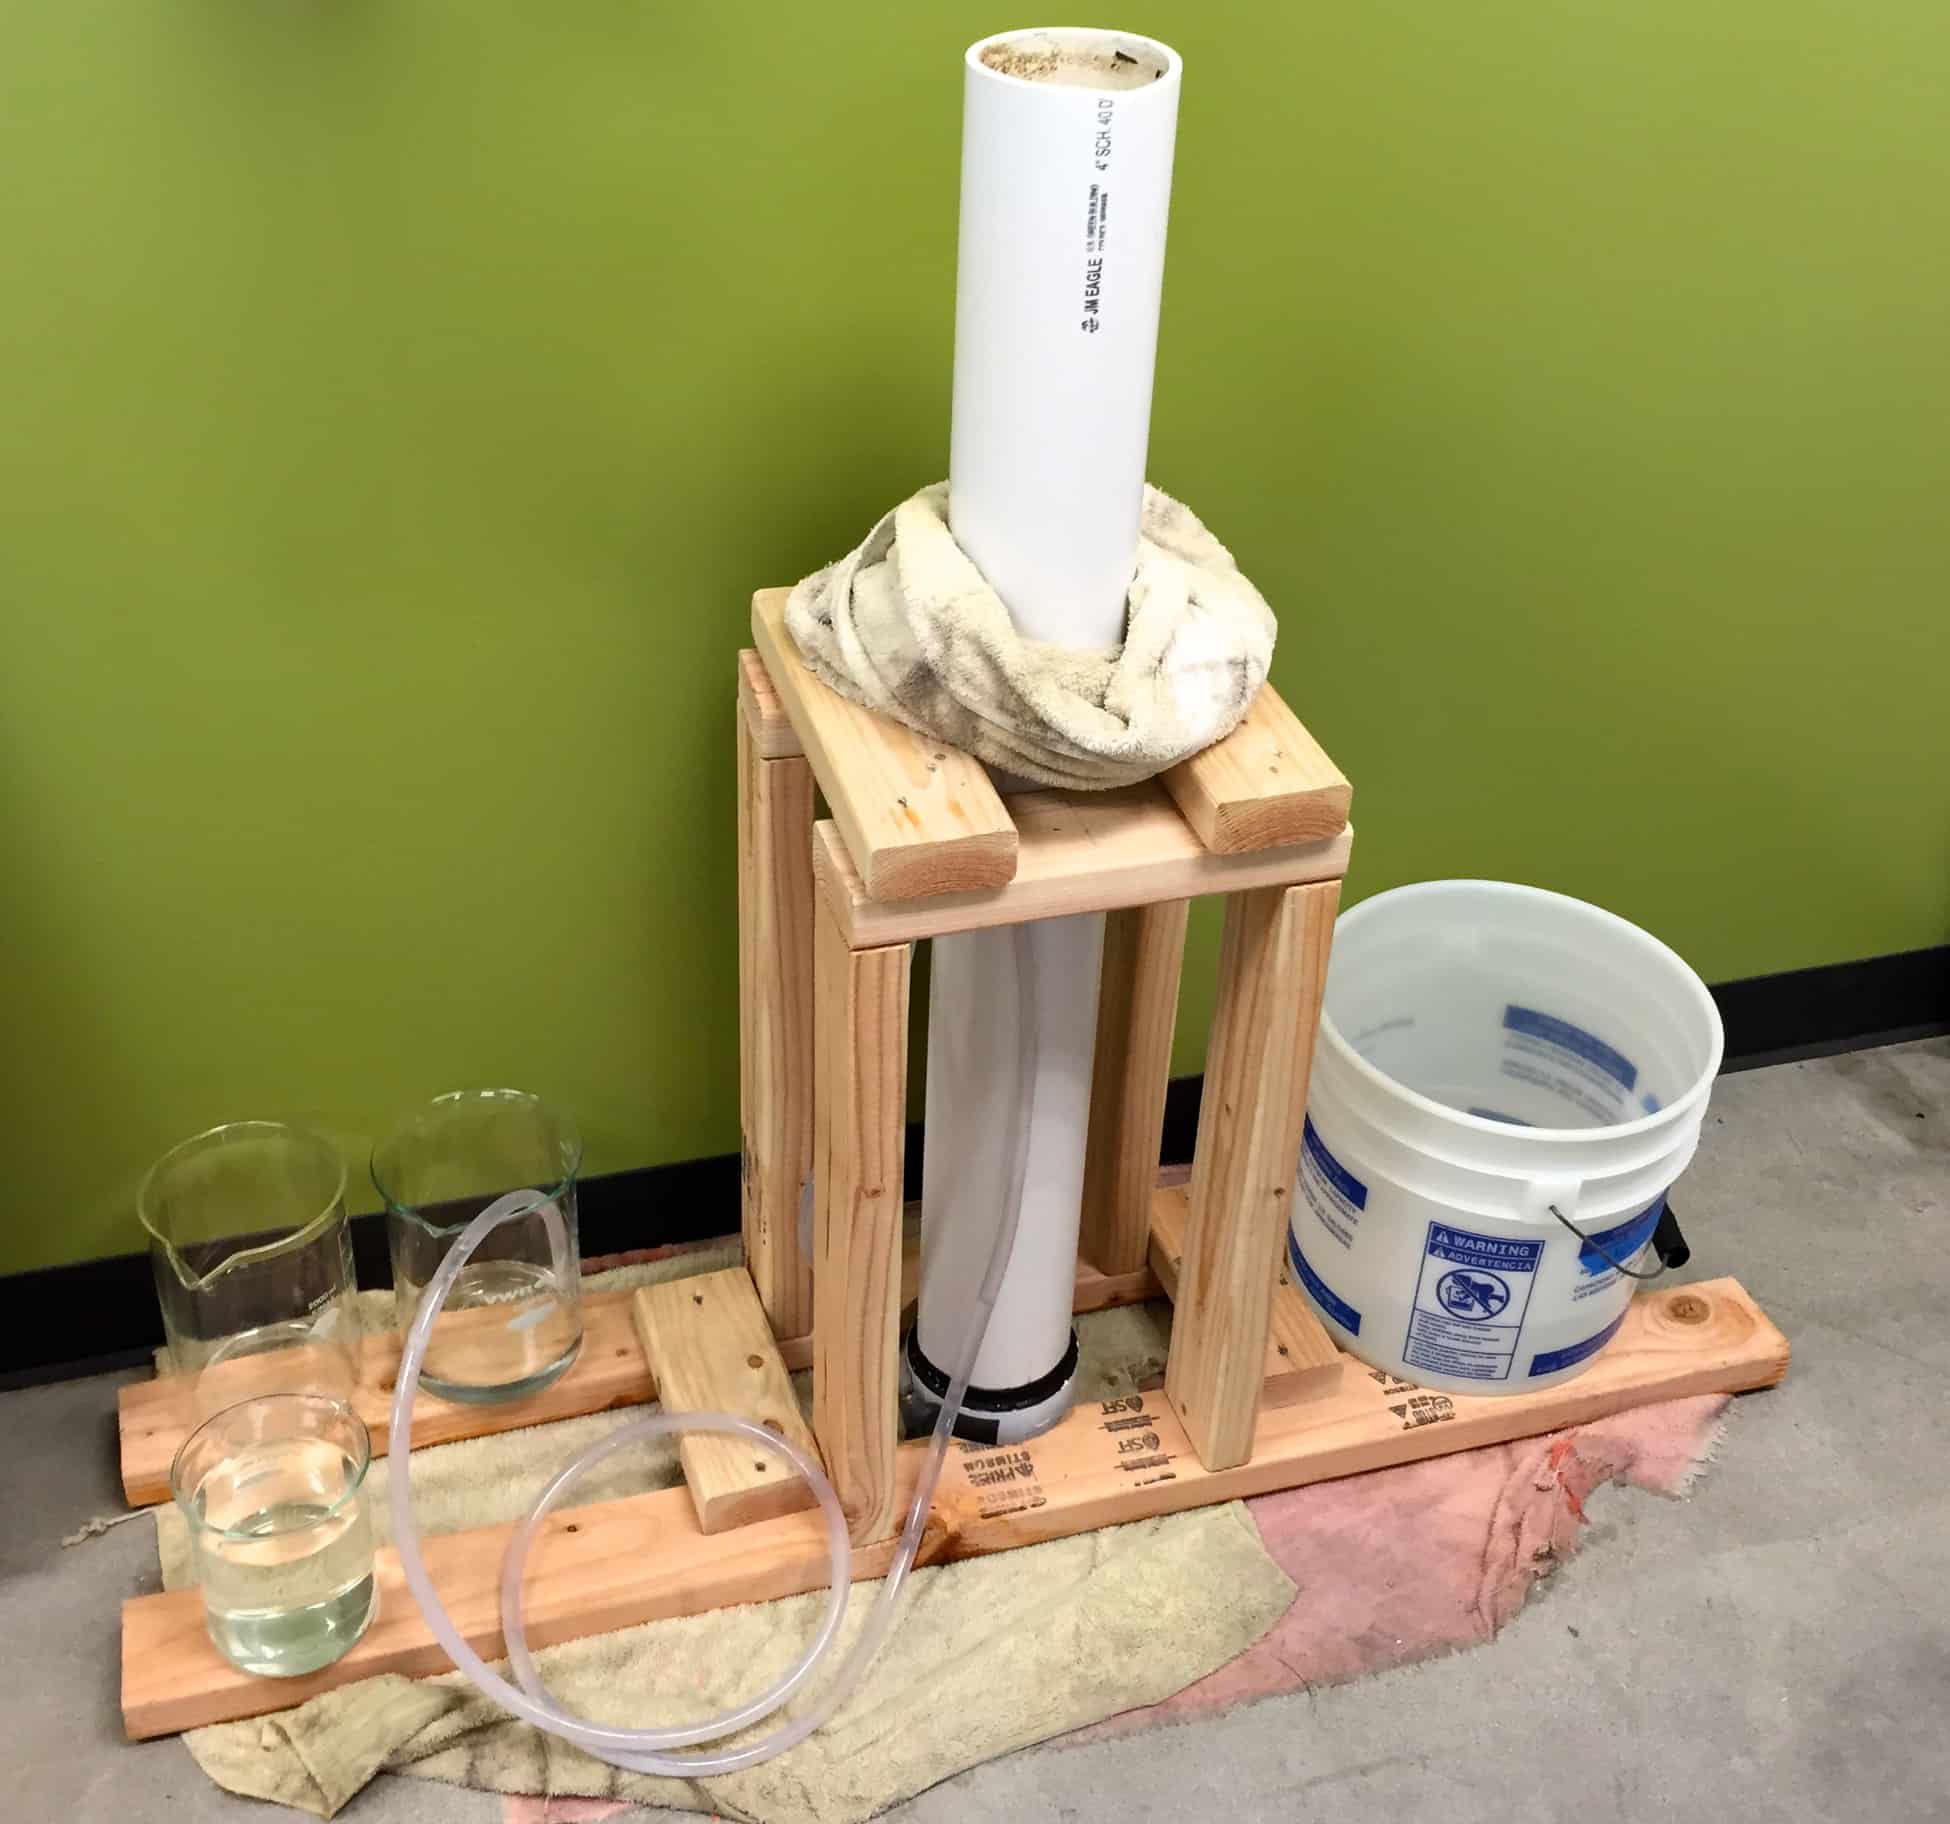
This was my 1st milestone for my main intensive project: a water purification and filtration system. This Slow Bio-Sand Filter relies on a biolayer of beneficial bacteria and other benevolent microorganisms to prevent dangerous pathogens or contaminants from remaining in water. The biolayer mechanically traps pathogens and contaminents, provokes predation and can induce natural death of pathogens.I continued to run water through the filter continuously to ensure that a sustainable biolayer forms. My favorite part of this milestone was when the water began to become clear when running water through after the full mechanical construction.
This has proven to remove up to 64% of heavy metals, 99.99% of turbidity and contaminants, 99.99% of bacteria, 95% of viruses (after 45 days of usage) and 99.9% of protozoa (Data from http://knowledgeweighsnothing.com/make-a-diy-bio-sand-water-filter-for-safe-drinking-water/). The more often and regularly the Slow Bio-Sand Filter is used, the more effective the biolayer will be at attacking, consuming and killing pathogens. Later on from this point when I had a water quality tester, I planned to gauge the effectiveness of my Slow Bio-Sand Filter.

The components of the portion of my milestone included 3 parts: the apparatus enclosure, inside of the apparatus and the stabilizing mechanism. The apparatus enclosure is composed of PVC piping, a PVC cap, PVC tubing, a brass elbow and gasket adhesive. Inside the apparatus is 270 cubic inches of washed pool filter sand, 25 cubic inches of small gravel, 25 cubic inches of large gravel and 4 PVC knockout caps (3 perforated diffuser plates to separate layers). Lastly, the stabilizing mechanism was built with several 2 by 4’s to support the heavy, precarious apparatus.
Here are my 3D Models and Mechanical Schematics for my Slow Bio-Sand Filter:


Eric B’s Starter Project: The Big Time Watch from SparkFun (June 10th, 2015)
This is my Starter Project, a Big Time Watch kit from spark fun, which included a fully hackable Arduino (the ATMega328).
All parts were included in the kit and were the following:
1) a crystal oscillator for keeping time, which rolls thousands of times each second and sends a precise counting signal to the ATMega328
2) 2 capacitors to hold charge and release energy for the watch
3) 1 resistor to dissipate excess energy and allow a small amount of energy past
4) “the brains of the watch,” the micro controller Arduino chip, which had the coding and signals to change the time on the 4-digit, 7-segment display according to the oscillator
5) A button, a battery and a battery holder
6) For the mechanical construction, the enclosure for included 4 pre-cut acrylic slates that held the components with screws and threaded brass inserts as well as a watch strap
My only challenge during this starter project had to do with soldering, because it was my first time. I quickly adapted and got on a roll. That was until I accidentally filled a hole with solder that shouldn’t have been filled. I learned to use a solder sucker and solder wick. After countless tries, I finally extracted the unwanted solder.
Then, I had my Big Time Watch and went on to work on my main intensive project of a water purification and filtration system.

A schematic for the Big Time Watch can be found at http://cdn.sparkfun.com/datasheets/Kits/BigTime.pdf
To buy a Big Time Watch kit from SparkFun, visit https://www.sparkfun.com/products/11734
I am very impressed Eric,
Congratulations and best wishes in your future projects. The world needs more young people like you.