
Hi! My name is Elliott and I am going to be a rising senior at Burlingame High School. I am extremely excited to show you what I have done at BlueStamp Engineering. The two projects that I built was the Exploding Star Color Organ Kit and the Arduino smart watch.
Final Project
Source Code: https://github.com/elliott234/Arduino-smartwatch.git
Bill of Materials:
https://docs.google.com/spreadsheets/d/1XyxrSlN_leP879c7w5XDgH85Qwm783oVQjjgzKqhwPI/edit?usp=sharing
This is my final milestone for the Arduino smartwatch. For this final step I finally converted my prototype to the Arduino Pro Mini and fitted everything into the watch case. Some troubles I had along the way was trying to solder the thin wires onto each of the components. The issue was that every time I bent the wire a little too much the wire would snap and I would have to spend extra time desoldering the wire and re-solder a new one in its place. Another issue I had was that the watch would cycle through the notification screens without me pressing the button. This was extremely frustrating because I could not tell if it was a software or hardware issue. I eventually solved this by adding an extra resistor to the button because the Arduino Pro Mini was lacking in a pull-up resistor. After all of these setbacks and issues I cam across my smartwatch, I am happy to say I accomplished what I set out to do and hope to improve on my smartwatch later on.
Milestone 2
My second milestone for my Arduino smartwatch was to build a case for all of its components to be housed in. Although this might seem like an easy task, this was a whole new challenge for me. Previously I had some experience with 2D CAD but designing a case using Autodesk Fusion 360 was a completely new experience. To design this case I first had to estimate the dimensions of my watch. This is very important because if the watch case was too small, some components would not fit. If the case was too big, I would have a very bulky watch. The second step was to learn how the watch bands fit on the case. For most watches, the bands are held in by spring bars. When designing this on the CAD program, I had to make careful measurements on where the holes for the springs to lock into and the distance between the two holes. My last two steps were to make a case aesthetically pleasing so that it would not only look nice but also feel and fit nicely onto a person’s arm. While designing this case I ran into multiple issues. The biggest issue I had was making the watch the correct size. I ended up printing the case multiple times because the case was too small or the cutouts for my button and mini usb were not in the correct position.
Milestone 1

Schematic:

This is my first working prototype of my smartwatch. Since a breadboard is easy to use and allows me to make mistakes without spending a lot of time desoldering, I chose to use a bigger Arduino board to start with because on the pro mini I cannot use a breadboard to connect components to it. The first issue I came across was importing the source code into the watch. I tried solving this issue at first by trying to manually fix the code, however I was unsuccessful. It eventually turned out to be a compatibility issue and I just reverted back to an older version of the Arduino IDE. The next issue I came across was trying to push information from my smartphone to my smartwatch. The first thing I did was to check the source code in the android app to see if there was a mistake. The next thing I did was to manually check if my bluetooth was working. I did this by downloading a separate app that tells the Arduino to turn an onboard LED on or off through the bluetooth. This worked perfectly so I knew the bluetooth was not the issue. Finally I compared the schematics of the Leonardo to the Pro Mini and realized that the pins did not match up. I ended up switching to a Uno board and the bluetooth worked perfectly.
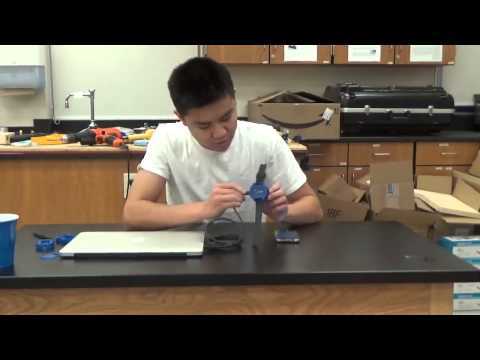
Starter Project
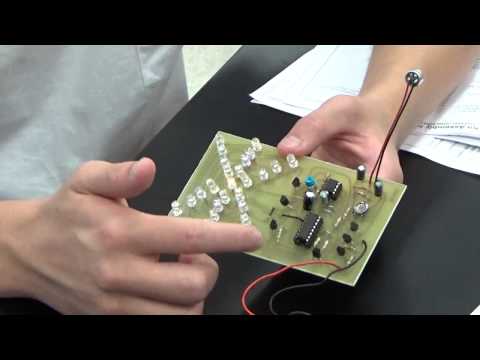
Hi my name is Elliott and my starter project is the Exploding Star Color Organ. This device is powered by a 9 volt battery which allows the user to take sound through the microphone and change it into bright flashing LED lights in a exploding star effect. As sound is picked up by the microphone, it is sent to the first 3 transistors. The transistors amplify the signal strength and it is then sent to the first IC unit. The first IC unit changes the sound signal to a precise and spaced change in voltage. It is then sent to the second IC unit which takes each pulse of voltage and determines which group of LED lights light up. There are also resistors and capacitors within the circuit which regulate the voltage so that nothing short circuits.