Retro Game Emulator

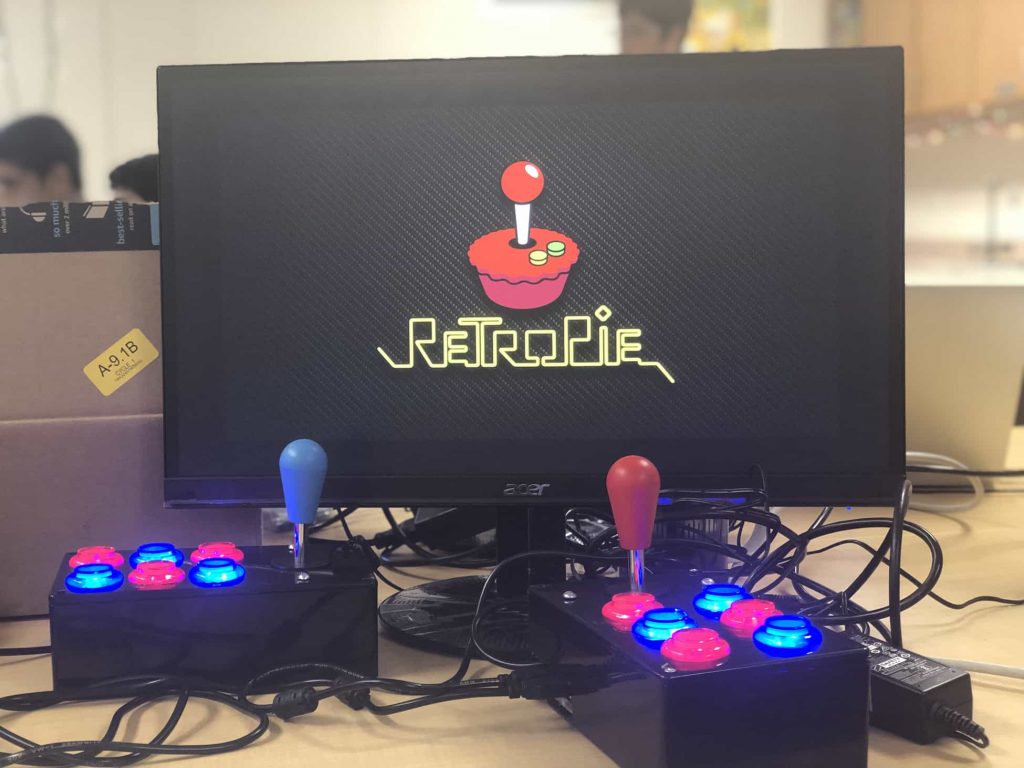
This Video Game Emulator uses Raspberry Pi and RetroPie to become a simple retro gaming system. The retro ROM games are downloaded on RetroPie and displayed on a monitor. Two controllers with joysticks and buttons helps play these games, including two-player games, easily!

Engineer

Divya D.

Area of Interest

Computer Science, Aerospace Engineering, Epidemiology

School

American High School

Grade

Rising Junior

RGB Nightlight

My Starter Project is the RGB Nightlight, which uses a photoresistor, potentiometer, and Arduino to power an LED light in the dark. When you put a finger on the photoresistor, it reduces the light around it, which causes it to have less resistance. The Arduino program is written so that when the resistance in the photoresistor goes down, the LED light turns on. The potentiometer is a variable resistor that has threshold values. When different analog inputs are put into these values, different sections of the potentiometer produce different colors, such as red, green, and blue, on the LED, meaning it changes color as the potentiometer is turned.

First Milestone

My first milestone of my main project is getting RetroPie and different games to work on the monitor, as well as configuring a controller. I downloaded RetroPie on an SD Card, which went in my Raspberry Pi, or a small computer. I then connected the Pi to the monitor, and configured the keyboard as a temporary controller. To download games, or ROMs, I used SFTP, which is an easy way to transfer files from my computer to RetroPie. I could then play the games using the keyboard.

Second & Final Milestone

My second and final milestone is two fully-built controllers which can replace the keyboard from before. I first had to drill and dremel various holes in the boxes for each button and joystick, as well as for the ports of the Raspberry Pi. It was my first time drilling and dremeling, but, after a while, I got better at it. After that, I had to wire all the buttons and joysticks to a relay board, which has many wire ports. I then connected the relay board to the Pi, making the controllers able to configure with RetroPie.

Reflection

My experience at BlueStamp Engineering has fueled my passion for

computers and I learned many new, useful skills in

both hardware and software. I feel that I know more

about engineering now than I did when I first walked

in. I will definitely try to use my new skills to code

games or apps in my free time to build on my computer science skills.

STEM Summer Camps Coding & Robotics Classes For Kids San Francisco Coding & Robotics Classes For Kids New York Coding & Robotics Classes For Kids Denver Coding & Robotics Classes For Kids Palo Alto STEM Summer Camps For Kids in New York STEM Summer Camps For Kids in Palo Alto STEM Summer Camps For Kids San Francisco STEM Classes For Kids in New York STEM Classes For Kids in Palo Alto STEM Classes For Kids in San Francisco Code Classes For Kids Code Classes For Kids in New York Code Classes For Kids in Palo Alto Code Classes For Kids in San Francisco STEM Summer Camps For Kids

Leave a Comment

Start typing and press Enter to search

Bluestamp Engineering