
Hi, my name is Deja and I am a rising sophomore at KIPP: Sunnyside High School. For my starter project, I decided to do the Light Seeking Microbug Robot because I am very interested in robotics and how it uses sensors and LEDs to help operate it. For my main project, I decided to make a solar powered speaker system because I wanted to try something new. I’ve never did anything other than robotics, so I wanted to try working with solar energy, which is a lot of fun. Working more independently on major building projects is something Bluestamp taught me because that is what I have to get used to in the future, not only in engineering, but in life.
Reflection
When I first started working on my final project, I only had the skills of soldering from working on my starter project. I didn’t know what to do or where to begin, mainly because I was doing this by myself. The most challenging part for me was making an accurate SketchUp model for the speaker system. I made a total of four 3D models, the first three being drafts because I didn’t put in the accurate lengths, widths, and diameters for the stereo. Plus, the lengths provided by SketchUp were measures in 1/16 of an in., so I had to do a lot of conversions. While working on both my starter and final project, I learned a lot about the electrical side of engineering and about how solar panel works. I gained a good learning experience this summer here at Bluestamp.
This is my Bill of Materials (BOM) for the entire six weeks
BOM-Deja Clay
Instructions for the Solar Powered Speaker System
1.Check if the stereo works and if you have all your parts.
2.Once you know your stereo works, charge the battery, just to make sure.
3.Take the speaker apart and unscrew the circuit board from the top of the speaker.
4.Cut the end of the solar panel wire so the red and black wires are showing.
5.Solder the red wire to the 6V opening and the black wire to the ground opening.
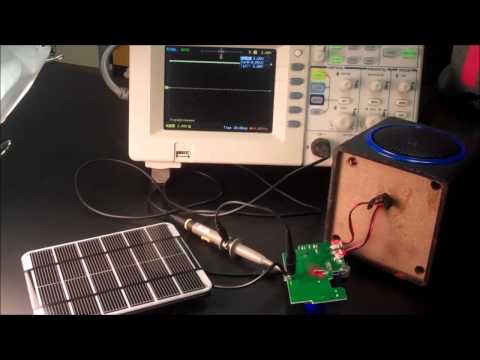
6.Test the voltage of the solar panel under a 100 watt light bulb. The voltage should be about 3-5V under a light bulb and 6V under actual sunlight.
7.Once you know the voltage, then test the current of the solar panel energy to the charging inport.
8. When you have the right amount of voltage and current flowing through the circuit board, desolder the red and black wire from the circuit board and connect the top together.
9.Measure the length and the width of the stereo and solar panel, and find the diameter of the screws under the solar panel. It is important that the measurements are accurate because you need to cut a portion of a plastic plate to place between the solar panel and the stereo. Use SketchUp modeling to get accurate dimensions for the stereo and solar panel.
10.Once you have accurate dimensions, cut the plastic plate in the correct length and width, so that it can be proportional to the solar panel.
11.Based off the diameters of the screws, you can drill four holes towards the edge of the plastic plate, so it can be screwed onto the solar panel.
12.Next, drill four holes close to the center of the plate so you can screw it down to the stereo.
13.Drill four slightly smaller holes close to the center of the stereo so you can screw the plate to the stereo tightly.
14.Drill a hole on the side of the top then file it down to make a slot opening for the solar panel wire to go through.
15. Solder the red wire back on the 6V opening and the black wire to the ground opening.
16.Glue the top back to the stereo with Crazy glue or super glue.
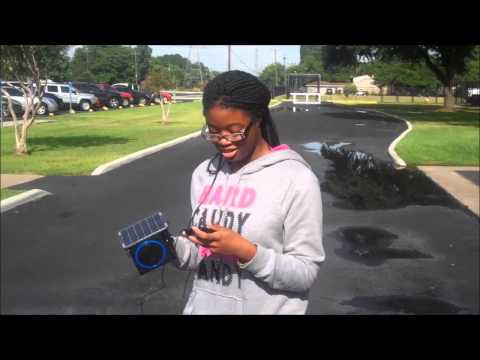
My Final Project- Solar Powered mp3 Player with Speaker
I made my first and final drafts of schematics for my speaker so I can have the circuit plans of the USB cable and circuit board. At first I didn’t know what a schematic was, I was very confused on how to draw it, and I didn’t know which picture to use to represent the parts I had. My instructor explained everything to me and now I understand it more.

This is my first draft for my speaker schematic.

This is my final draft of my speaker schematic.
I also made mechanical drawings (Sketch-up Drawings) of my stereo so I can have accurate dimensions for my solar panel and stereo. It is important to have accurate dimensions so you can have good measurements just in case you want to drill, cut, saw, etc. on your project.


My Final Project- Solar Powered mp3 Player with Speaker (Final video)
I have completed my final project, the solar panel is mounted on the stereo and is able to power and charge the battery with solar energy. Since my project is complete, I am trying to figure out if the solar panel is able to charge my Android phone while playing music at the same time.
My Final Project-Solar Powered mp3 Player with Speaker ( Milestone #1)
For my final project, I am building a solar powered mp3 player with speaker. My first milestone I achieved is that the solar panel is able to power the speaker without the battery with a 100 watt light bulb. My next steps are to see if the solar panel can actually charge the battery and can produce enough voltage to power the system in actual sunlight.
Here is my first milestone video:
My Starter Project-Light Seeking Robot
For my starter project, I created the light seeking robot which can move towards nearby light sources and stop in complete darkness. A challenge that I had was paying attention to the resistor and transistor parts because each resistor was color coded and each transistor was numbered. I didn’t notice it at first and put the parts in the wrong places. Once I realized what I’d done, I switched them back together and it started to work correctly. Here is my light seeking robot working:
