Reflection:
Going into BlueStamp, I did not know if I wanted to pursue engineering in college and as a career, but I knew that I loved science. After working on this project, I found that I enjoy the combination of the two and the way in which I can serve others as well, so I wish to continue expanding on my interest in Biomedical Engineering.
Final Milestone

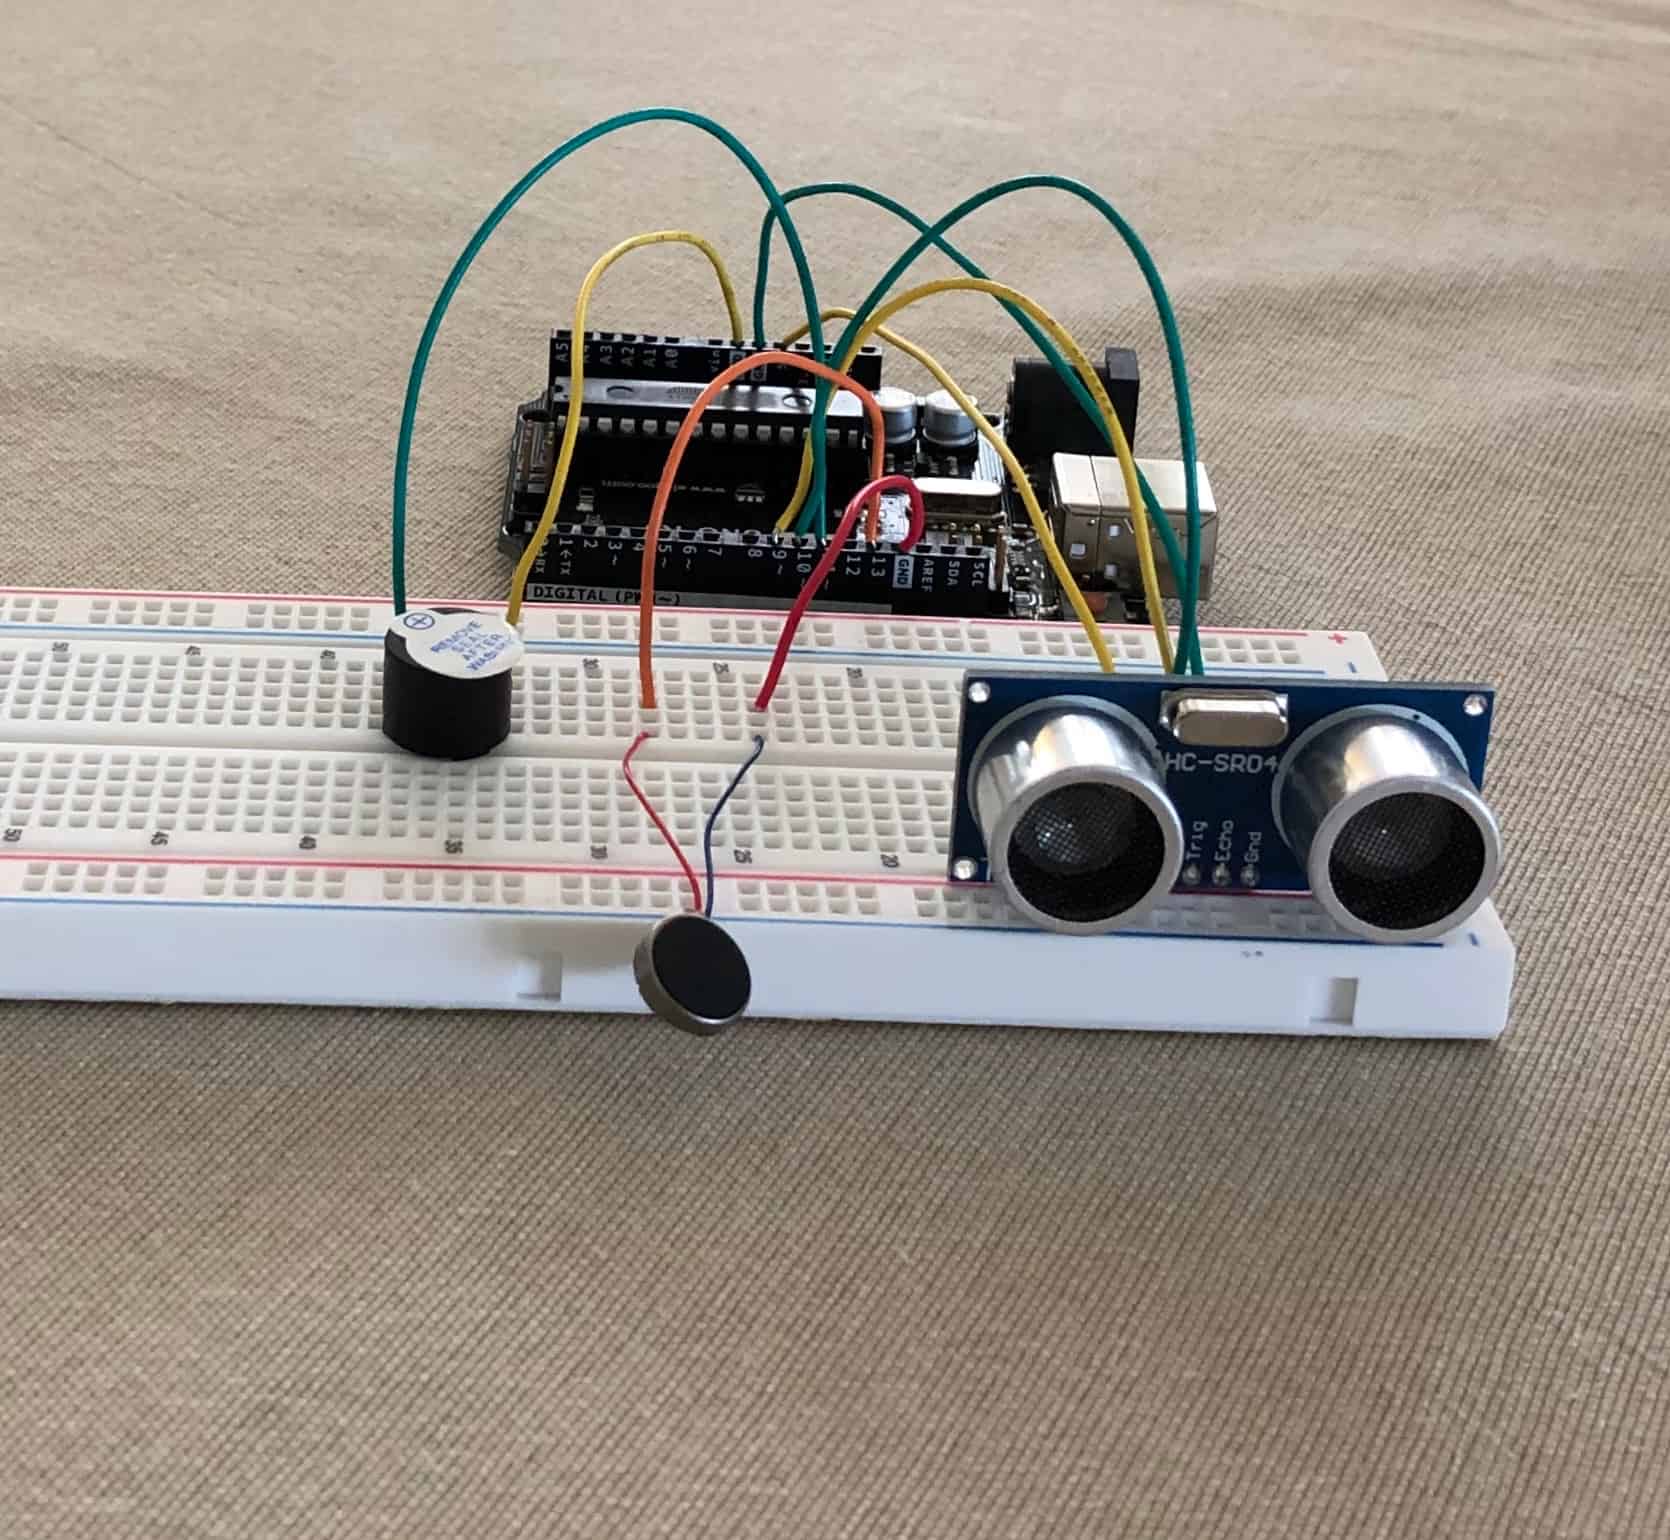
For the last milestone, I added a second vibrator motor. The two vibrator motors were utilized to give a sense of direction. This would happen by the vibrator motor on the right being at full power while the vibrator on the left being at zero at 180 degrees on the right. As the ultrasonic sensor moves to the left towards 0 degrees, the right vibrator motor would decrease in power while the left vibrator motor would increase. After figuring out the code, I then moved all of the components to the perfboard. I had a hard time soldering, so at first many of the connections that I made were not strong enough, causing a few machines to not work. I finally got all of the pieces on the perfboard, but encountered another issue that I needed to debug. Through many trials, I found that the vibrator motors that I soldered on the PerfBoard were connected, so the original intent of the vibrator motors is not capable of being executed.
// Library to control Servo Motor
#include <Servo.h>.

// Defines pin numbers
const int trigPin = 11;
const int echoPin = 10;
const int buzzer = 8;
const int vmotorleft = 9;
const int vmotorright = 3;

unsigned long previousMillis = 0;
const long interval = 1000;


// Defines variables
int p = 0;
long duration;
int distance;
int buzzerdelay = 100;
int outputvalue = 0;
int angle = 0;
int leftpower = 0;
int rightpower = 0;
boolean sweepRight = true;

// Sets Servo as object
Servo motor;

void setup() {
pinMode(trigPin, OUTPUT); // Sets trigPin as OUTPUT
pinMode(echoPin, INPUT); // Sets echPin as INPUT
motor.attach(12); // Says with pin the Servo is attched to
pinMode(buzzer, OUTPUT); // Sets the Buzzer as Output
pinMode(vmotorleft, OUTPUT);
pinMode(vmotorright, OUTPUT);
Serial.begin (9600);
}

void loop() {

distance = calculateDistance();
distance = duration * 0.034 / 2;
distance = constrain(distance, 0, 300);
outputvalue = map(distance, 0, 300, 0, 1000);

unsigned long currentMillis = millis();


if (currentMillis - previousMillis >= buzzerdelay) {
previousMillis = currentMillis;
digitalWrite(buzzer, !digitalRead(buzzer));
}

// Changes the buzzer delay based on the distanced detected by the Ultrasonic Sensor
buzzerdelay = map(distance, 0, 300, 100, 1000);

leftpower = 255 - map(angle, 0, 180, 0, 255);

rightpower = map(angle, 0, 180, 0, 255);

Serial.print(rightpower);
Serial.print("rightpower");
Serial.print(leftpower);
Serial.print("leftpower");
Serial.print(angle);
Serial.println("angle");

if (sweepRight) {
angle++;
delay(10);
}
else {
angle--;
delay(10);
}

if (angle == 0 || angle >= 180) {
sweepRight = !sweepRight;

}
motor.write(angle);
Serial.println(angle);
}

int calculateDistance() {

//Clears the trigPin
digitalWrite(trigPin, LOW);
delayMicroseconds(2);

digitalWrite(trigPin, HIGH);
delayMicroseconds(10);
digitalWrite(trigPin, LOW);

duration = pulseIn(echoPin, HIGH);

distance = duration * 0.034 / 2;
distance = constrain(distance, 0, 300);
outputvalue = map(distance, 0, 300, 0, 1000);

return distance;
}
Second Milestone
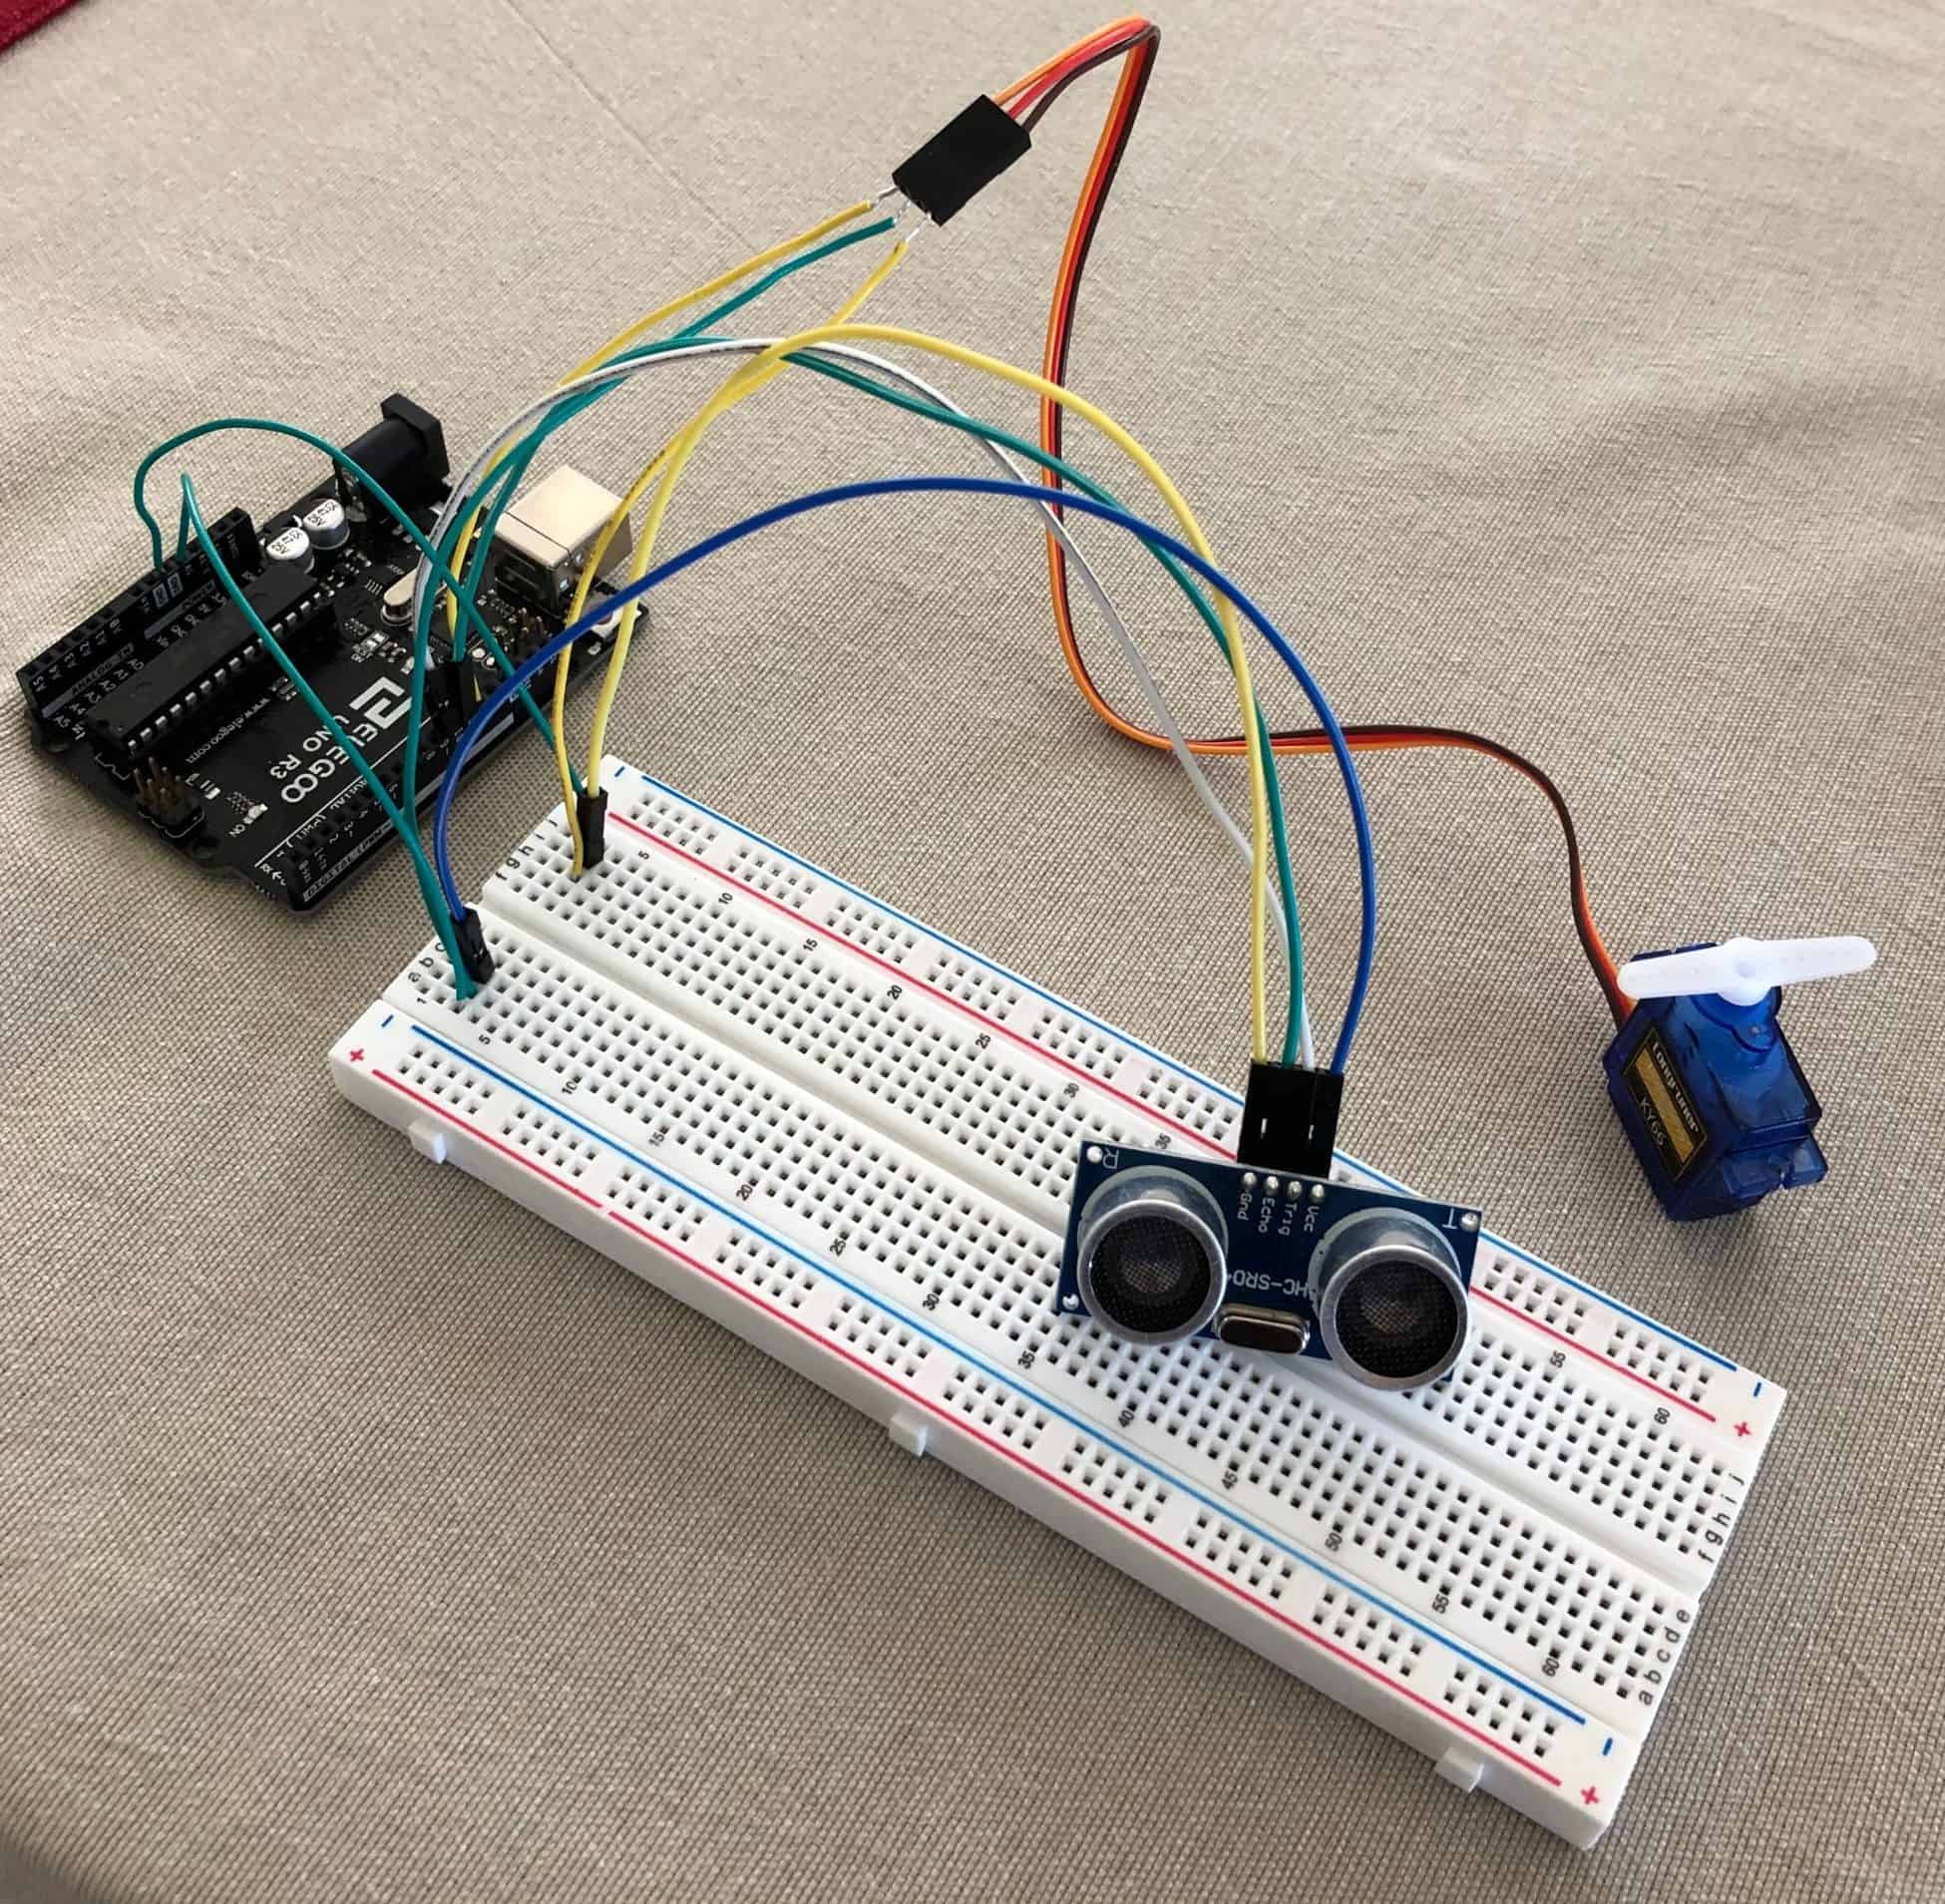
The second milestone included the Vibrator motor, the Map function on Arduino, and the Servo motor. Once I received the Vibrator motor, I replaced the LED on the breadboard with the Vibrator motor. I successfully got the Vibrator Motor and buzzer to function, changing delay times based on distance. I utilized a similar code as the LED and buzzer except changed the variable LED to Vmotor. After accomplishing this step, I began to work on the Arduino Map function. The map function which correlates the range of one component to the range of another part. For instance, I mapped the distance of the Ultrasonic Sensor to the output value of the buzzer. The Ultrasonic Sensor has a range of 0 to 300 yet the buzzer’s range is 0 to 1000. Simply, the map function related the two separate ranges, so that if an object is 75% in distance from the Ultrasonic Sensor, the buzzer will output a value that is 75% of its range. This aspect was challenging. With not having much experience with coding, it was hard to understand all of the parts of the function. I then tested the code with the Arduino and noticed a slight issue. At a far distance, the Ultrasonic Sensor began to read large numbers, such as 1000, instead of 300. I realized that I need to utilize the Constrain function. This function limited the reading of the Ultrasonic Sensor to be within a range of numbers, that is 0 to 300. This successfully fixed the issue.
Next, I moved on to getting the buzzer to beep and then delay based on the distance that the Ultrasonic Sensor detected, using the Mapping function. This was quite challenging as well. I needed to remember that the variable I wanted to alter was the delay of the buzzer, rather than the buzzer itself. It took awhile to understand, but after writing the code, I tested it. It worked. Next, I wanted the Vibrator motor to produce an OUTPUT at the same time as the buzzer. I used the same structure as the buzzer map code; however, I changed the buzzer delay to be vibrator delay. Lastly, I decided to incorporate a Servo Motor. With this device, the Ultrasonic Sensor is capable of having a 180 degree view of its surroundings.
// Defines pin numbers
const int trigPin = 10;
const int echoPin = 9;
const int buzzer = 11;
const int vmotor = 12;


// Defines variables
long duration;
int ultra = 0;
int distance;
int outputvalue = 0;
int buzzerdelay = 100;
int vmotordelay = 100;

void setup() {
Serial.begin(9600);
pinMode(trigPin, OUTPUT); // Sets the trigPin as Output
pinMode(echoPin, INPUT); // Sets the echoPin as Input
pinMode(buzzer, OUTPUT); // Sets the BuzzPin as Output
pinMode(vmotor, OUTPUT); // Sets the vmotor as Output
Serial.begin(9600); // Starts serial communication
}

void loop() {
// Clears the trigPin
digitalWrite(trigPin, LOW);
delayMicroseconds(2);

// Sets the trigPinn HIGH after 10 micro seconds
digitalWrite(trigPin, HIGH);
delayMicroseconds(10);
digitalWrite(trigPin, LOW);

// Reads the echoPin, returns the sound wave travel time in microseconds
duration = pulseIn(echoPin, HIGH);

// Calculating the distance cm
distance = duration * 0.034 / 2;
distance = constrain(distance, 0, 300);
outputvalue = map(distance, 0, 300, 0, 1000);

// Changes the buzzer and vibrator motor delay based on the distanced detected by the Ultrasonic Sensor
buzzerdelay = map(distance, 0, 100, 100, 1000);
vmotordelay = map(distance, 0, 100, 100, 1000);
digitalWrite(buzzer, HIGH);
digitalWrite(vmotor, HIGH);
delay(buzzerdelay);
delay(vmotordelay);
digitalWrite(buzzer, LOW);
digitalWrite(vmotor, LOW);
delay(buzzerdelay);
delay(vmotordelay);

// Changes the buzzer delay based on the distanced detected by the Ultrasonic Sensor
buzzerdelay = map(distance, 100, 200, 1000, 2000);
digitalWrite(buzzer, HIGH);
delay(buzzerdelay);
digitalWrite(buzzer, LOW);
delay(buzzerdelay);

// Changed the vibrator motor delaybased on the distanced detected by the Ultrasonic Sensor
vmotordelay = map(distance, 200, 300, 2000, 3000);
digitalWrite(vmotor, HIGH);
delay(vmotordelay);
digitalWrite(vmotor, LOW);
delay(vmotordelay);
}
// Library to control Servo Motor
#include <Servo.h>.

// Defines pin numbers
const int trigPin = 10;
const int echoPin = 11;

// Defines variables
int p=0;

// Sets Servo as object
Servo motor;

void setup() {
pinMode(trigPin, OUTPUT); // Sets trigPin as OUTPUT
pinMode(echoPin, INPUT); // Sets echPin as INPUT
motor.attach(12); // Says with pin the Servo is attched to
motor.write(180);
}

void loop() {
// Scan from 0 to 360 degrees
for(p=0;p<360;p++)
{
motor.write(p);
delay(10);
}

// Scan back from 360 to 0 degrees
for(p=360;p>=1;p--)
{
motor.write(p);
delay(10);
}
}
First Milestone
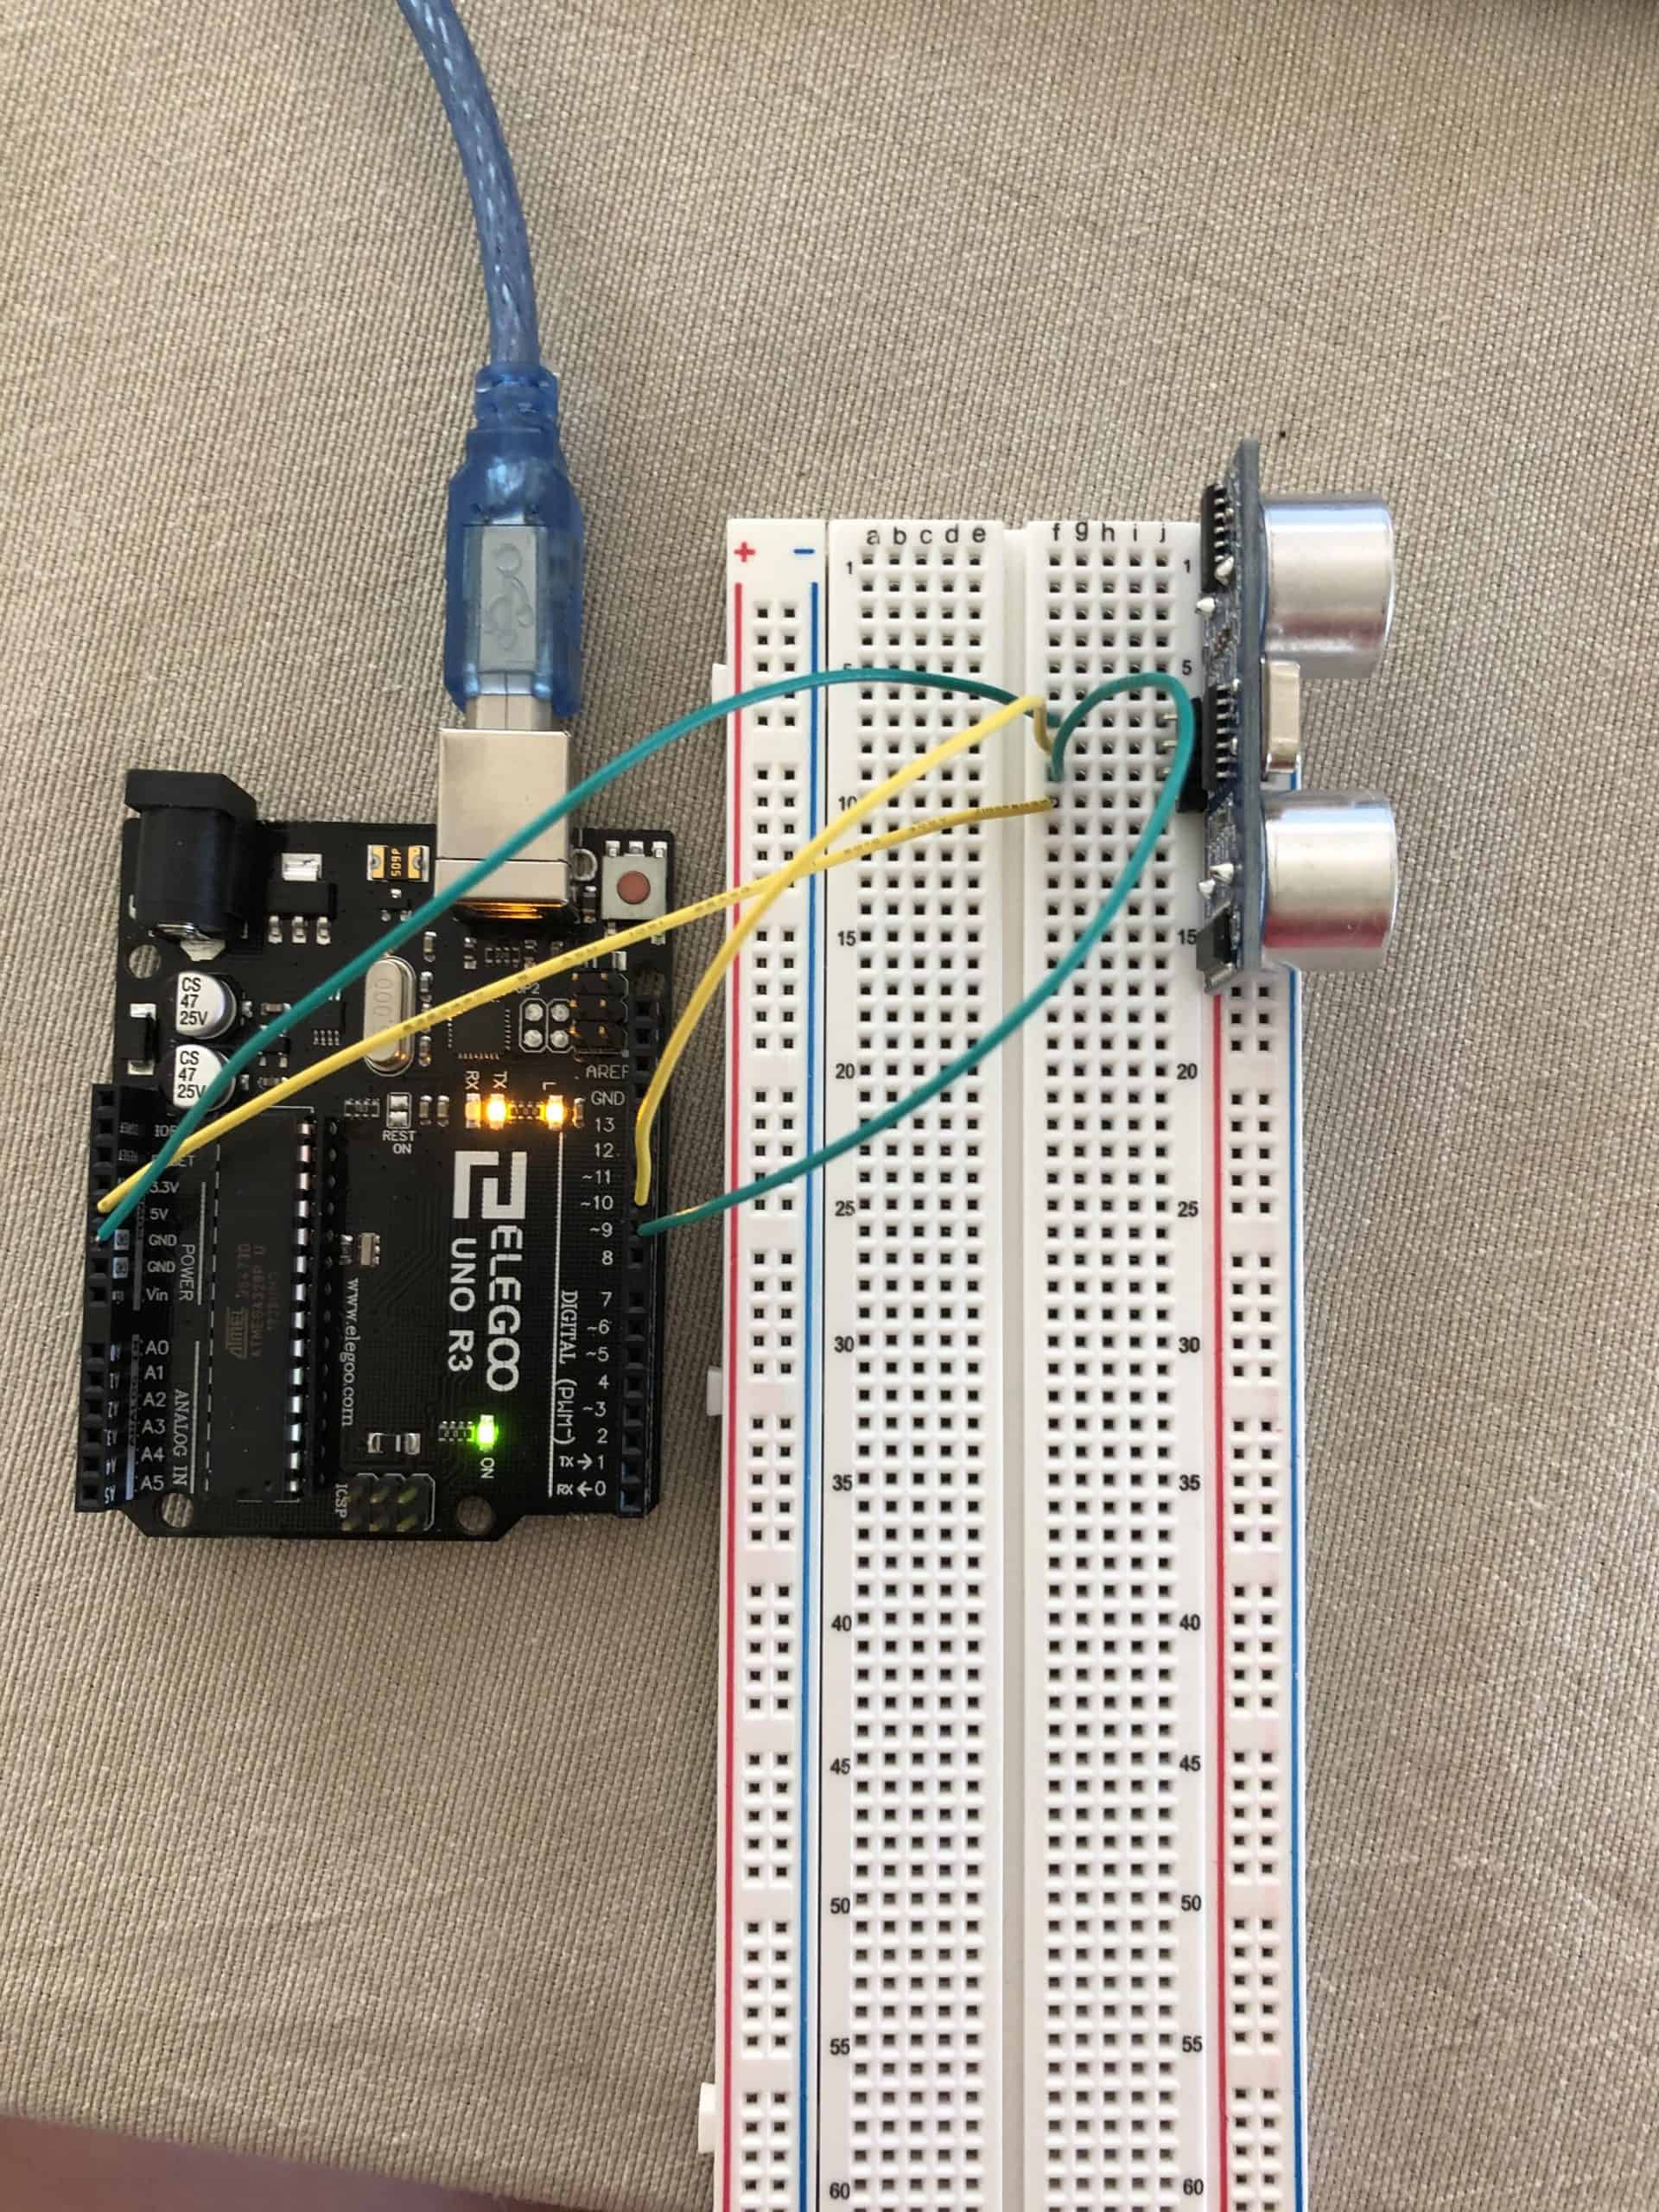
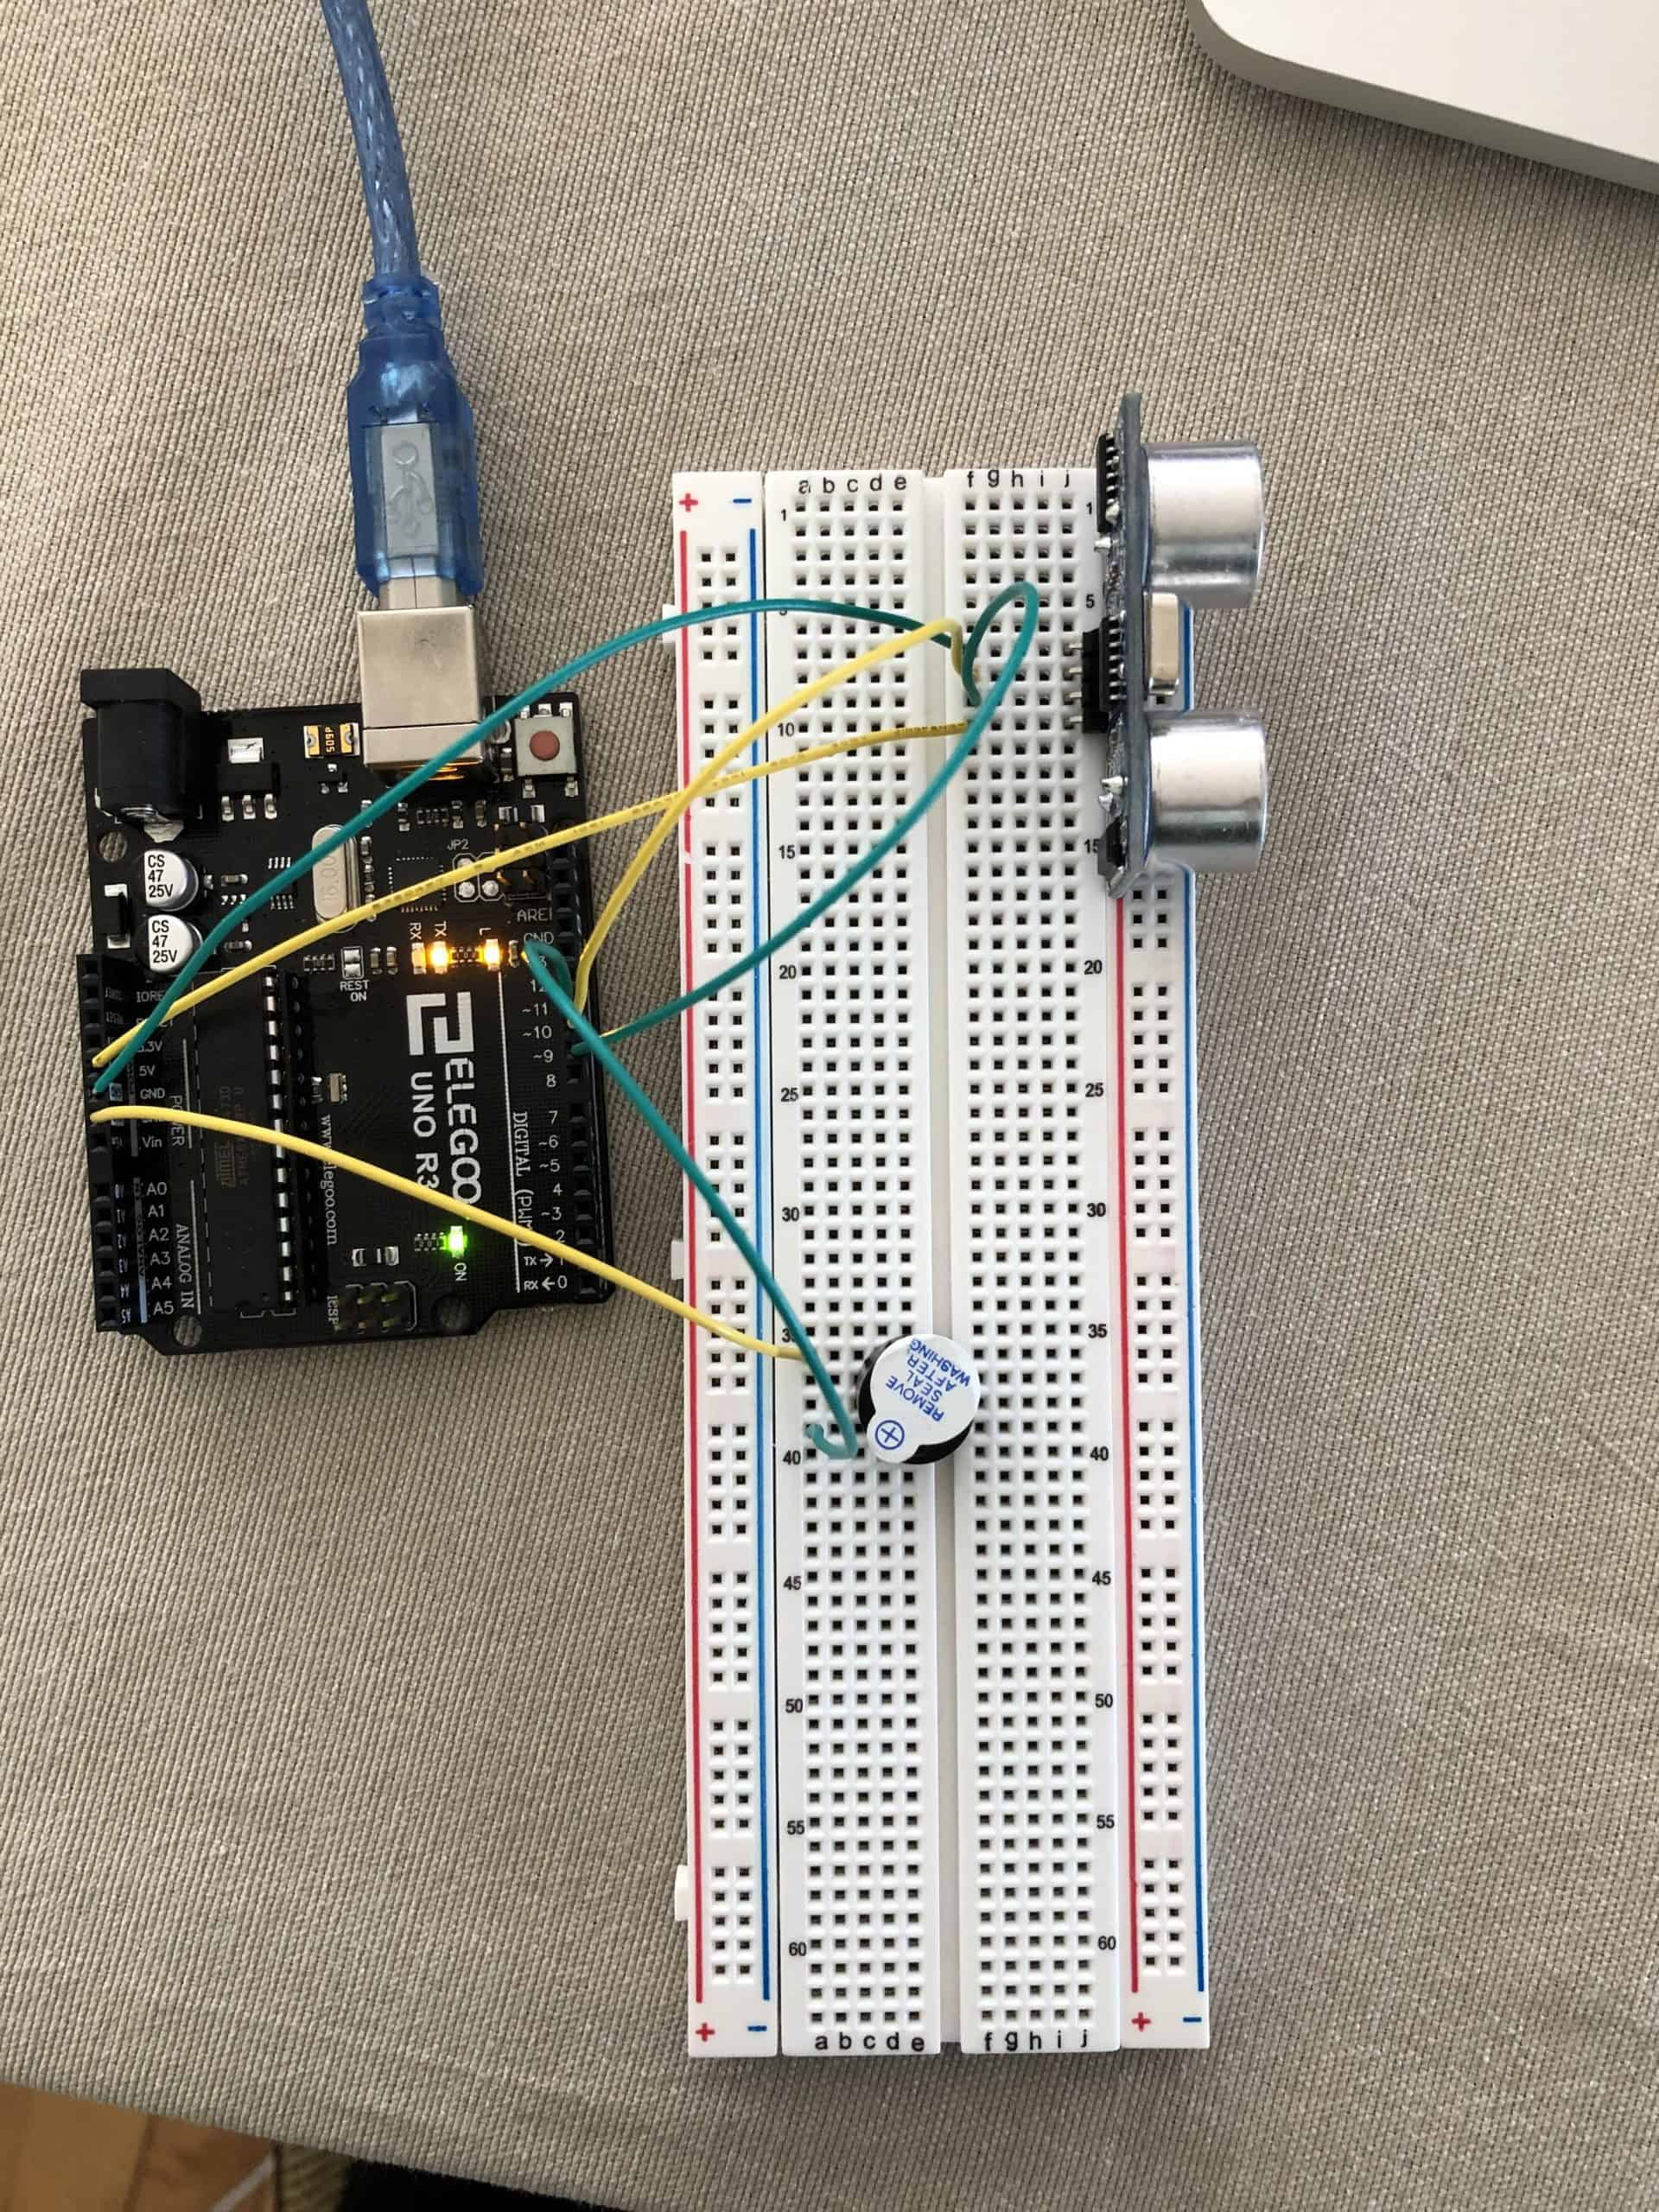
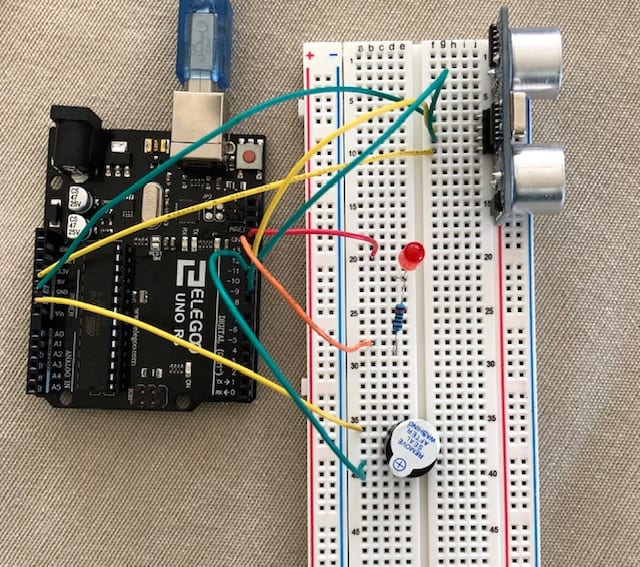
For the first milestone, I connected the Ultrasonic Sensor to a Buzzer and LED. I started by getting acquainted with a breadboard and an Arduino. This was achievable through building a simple blinking LED circuit. Then, I researched the function of the Ultrasonic Sensor, discovering that it uses sound waves, similar to a bat, to determine the distance of an object placed in front of it. Next, I connected the Ultrasonic Sensor to the Arduino and then tested the code and the wire connections. I struggled a bit with the code, as I have not used Arduino a great deal. I then wired the buzzer, altering the frequency of the output as an object changes its distance. For example, as an object moves closer to the buzzer, the rate of the output increases, but as the item moves farther away, the output rate decreases. After completing that stage, I added the LED, programming it to the same frequencies as the buzzer. Later, I will switch the LED with a vibrating motor. This part of the first milestone was on the more challenging side. I had to break down the Arduino code to better understand it and program it correctly.
// Defines pins numbers

const int trigPin = 9;
const int echoPin = 10;
const int buzzer = 11;
const int Led = 13;

// Defines variables
long duration;
int distance;
int safetyDistance;

void setup() {
pinMode(trigPin, OUTPUT); // Sets the trigPin as Output
pinMode(echoPin, INPUT); // Sets the echoPin as Input
pinMode(buzzer, OUTPUT); // Sets the BuzzPin as Output
pinMode(Led, OUTPUT); // Sets the Led as Output
Serial.begin(9600); // Starts serial communication
}

void loop() {
// Clears the trigPin
digitalWrite(trigPin, LOW);
delayMicroseconds(2);

// Sets the trigPinn HIGH stater 10 micro seconds
digitalWrite(trigPin, HIGH);
delayMicroseconds(10);
digitalWrite(trigPin, LOW);

// Reads the echoPin, returns the sound wave travel time in microseconds
duration = pulseIn(echoPin, HIGH);

// Calculating the distance cm
distance = duration*0.034/2;

safetyDistance = distance;
if (distance <= 20) {
digitalWrite(buzzer, HIGH);
digitalWrite(Led, HIGH);
delay(100);
digitalWrite(buzzer, LOW);
digitalWrite(Led, LOW);
delay(250);
}

else if ( 21 <= distance && distance <= 100) {
digitalWrite(buzzer, HIGH);
digitalWrite(Led, HIGH);
delay(100);
digitalWrite(buzzer, LOW);
digitalWrite(Led, LOW);
delay(800);
}

else if ( 101 <= distance && distance <= 160 ) {
digitalWrite(buzzer, HIGH);
digitalWrite(Led, HIGH);
delay(100);
digitalWrite(buzzer, LOW);
digitalWrite(Led, LOW);
delay(2000);
}

else if ( 161 <= distance && distance <= 2000 ) {
digitalWrite(buzzer, LOW);
digitalWrite(Led, LOW);
}

// Prints the distance on the Serial Monitor
Serial.print("Distance: ");
Serial.println(distance);
digitalWrite(Led, HIGH);
}


