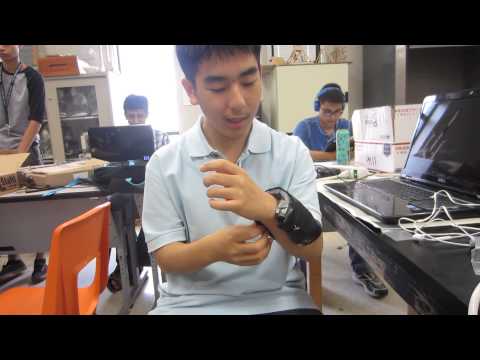
I’m Andrew, and I finished working on a voice changer for a starter project and a wearable forearm bracelet that will be able to detect various things like location, temperature, and light during my time in Bluestamp.
Reflection
Working on this project was, shall I say, difficult at times. I chose this project because it incorporated many different things, like programming and circuitry. I had problems in all of these fields, but who doesn’t? Things broke, didn’t compile, errors, etc. But I was never unhappy about it. It was just another problem to be solved. The overall program was amazing, with great instructors and fellow pseudo-engineers. I expect to see all of us making an impact on the world.
Final video
Documentation
Bill of Materials: BOM
Hints and Tips:
- Stock up on those Pro Micro Boards, they break easily.
- If your OLED isn’t working, try unplugging and plugging the data cables (SDA, SCL) back into the breadboard, if you are using one.
- All sensors usually share data, ground, and power cables, so it is easier to make a connection between them.
- The Pro Micro is used instead of the other Arduino boards because of it’s size and capability.
- When trying to display data onto the OLED, make sure to use display.print or display.println. floattostring and dtostrf don’t work.
- If nothing is showing up, check the placement of your display.clearDisplay function, because that can screw things up.
- On a similar note, if all your data is overlapping (like the numbers eventually become like boxes or something) check the placement of display.clear Display.
Arduino code
The entire bracer revolves around the Pro Micro Development Board, which is handily Arduino-compatible. The first code has the sensors print to the serial monitor, if wired correctly. The second allows the sensors to print to your OLED screen. (To use either, you need to have the specified libraries found in Sparkfun and Adafruit)
Serial Print code
Display Print code
Schematic

ISEB2 schematic for eagle
Milestone 2
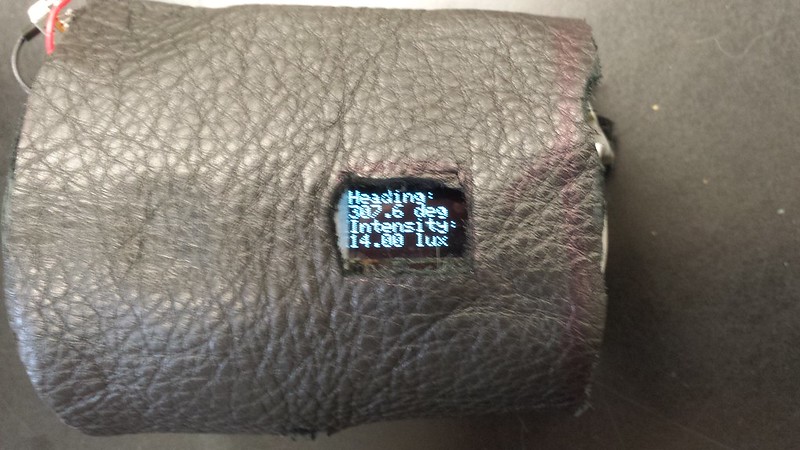
Now, my second milestone has been reached. Remember before, when I got the two sensors to print to the serial monitor? Well now I got them to print to my OLED. It’s real neato. At first, I needed to make a connection between all the components, such as wiring the data cables (SDA, SCL) or ground. I used the code from the previous milestone and modified it to print to the OLED, using an example for the OLED to help. To display the data, I needed to use the display.print and display.println commands so the data would flow from the sensors to the OLED.
Milestone 1
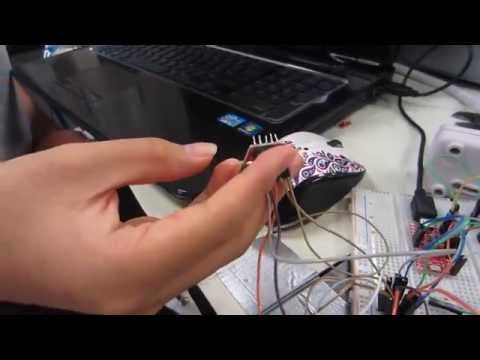
I have reached my first milestone, in which I wired two sensors to my Pro Micro Dev Board, and got them to print to my serial monitor. I had to solder jumper wires onto the sensors, and make a connection on the breadboard according to what I needed. At first, I started with the lux sensor, and it printed its information, so I removed it and replaced it with a compass sensor, which did the same. After getting both to work, I combined both of their programs, so that in the beginning everything for both sensors were defined, and that both sensors were running during the void loop. This way, both sensors would print their data at the same time.
1st Milestone
I have finished my starter project, which is a voice changing module that can raise or lower the pitch of your voice, among other things, by soldering various components together, like the buttons or the microphone. However, various problems occurred throughout the project. For example, two ends of two different resistors were accidentally soldered together. Attempts to unsolder them were unsuccessful, until a closer look at the schematic revealed that the ends of the resistors could be soldered together, effectively eliminating the problem at hand. At the end, after the project was shown to be somewhat of a success, as if one speaks into the microphone, sound similar to the voice comes out of the speaker. However, if the volume is set too high, a high pitch sound will emerge, due to the feedback of every sound in the room.
Starter Project Video
Inspired by :
http://planetstephanie.net/2012/05/27/integrated-sensors-electronic-bracer/
