
Hi, my name is Amy I am a rising Junior at Memorial High School. I will be working on 5 starter projects which include a Theramin: an electronic musical instrument, a Digital MetroGnome, a Light Organ, a MintyBoost, and an Electronic Die.
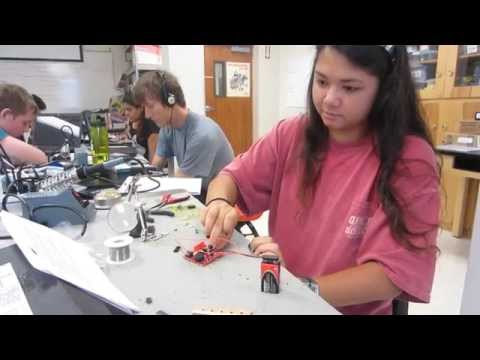
My first completed project was the Theramin. It is composed of 7 resistors, 3 capacitors, 4 LEDs, an aerial wire, 2 pushbuttons, 1 regulator, a PIEZO piece, a NE555 IC and a PIC12F508 IC (both with sockets) powered by a 9V battery. Assembling the Theramin was simple by soldering each part into its correct place using a soldering iron. The aerial wire responds to the movement of your hand towards and away from it causing a change in pitch of the note it plays. The two pushbuttons control the mode in which the Thermin works – continuous or discrete. While in discrete mode, the pushbuttons allow you to raise the octave by pressing the button marked (+) or lower the octave by pressing the button marked (-).
Next, I completed a Digital MetroGnome. This project was probably the simplest however, twice I soldered a part on incorrectly causing me to have to unsolder and then resolder them correctly. Despite these setbacks, I successfully completed the MetroGnome and it works perfectly. The MetroGnome consists of 1 resistor, 1 diode, an on/off switch, 2 pushbuttons, a buzzer, a 2 decoupling caps, 2 displays, a batter holder and a ATMega microcontroller.
My third completed project is the MintyBoost which works as a portable charger with a USB port. The MintyBoost is composed of a LT1302CN8-5 IC with a socket, 4 capacitors, 5 resistors, 1 Schottky diode, 1 inductor, 2x AA battery holder as a power source and type A USB jack. Each part is assembled onto a circuit board. The project comes with a small tin which is used to store the circuit and battery holder. By cutting out a small notch in the side of the tin, the USB port sticks out slightly in order to be accessed.
Another project that I completed was the Exploding Light Organ. This Light Organ is made up by 4 capacitors, an NE555 IC with a socket, a HCF4017 IC with a socket, 25 LEDs, a microphone, 2 trimming resistors, 7 transistors, 11 resistors, 7 jumper wires and a battery snap. This assembly was easy as everything was labeled on the parts layout. The Light Organ works by using the microphone to register sound and change the color of thelights.
I had only planned on completing 4 starter projects since I am only a 1-week student, however, I finished the first four within 2 days so I started/completed a fifth one.
My fifth starter project was a Dice Kit which is an electronic die. The die’s construction consists of 6 resistors, 7 LEDs, a 12F675 PIC chip, 1 diode, a battery holder, PIEZO sensor, an acrylic base, and a 3V battery. Each piece was soldered onto its respectively labeled position and the PC board was screwed onto the acrylic base. The die works by using a PIEZO sensor which reads the impact against the die as analog voltage which the PIC recognizes and converts to decimal value and then takes the last significant decimal of the voltage amount and uses it to light the LED in a random order from 1-6.
Even though I did not have a main project, by creating all of these starter projects I learned how to solder and the basic functions of resistors, capacitors, transistors, diodes and IC chips.