Main Project – A 2D Unity Game
For my main project, I wanted to make a 2D game using the Unity game engine. It will feature a moveable player and enemies that can attack the player. The player will also be able to shoot at the enemies. There will also be a scrolling feature called parallax scrolling as well as a menu and music to go with it all.
Engineer
Alexander B
Area of Interest
Computer Science
School
KIPP NYC College Prep
Grade
Rising Sophomore
Reflection
My time at Bluestamp was great. I had a lot of fun working on my project and celebrating the accomplishments of my classmates. Even though I would run into problems in my project I would always be able to persevere and fix them. I learned during my time at Bluestamp that if you’re having problems with your project then you should use your resources to slove that problem. I would often ask for help from the instructors or use google but when my problem was solved I would be so relieved. With a problem solved I can make more progress.
Modifications
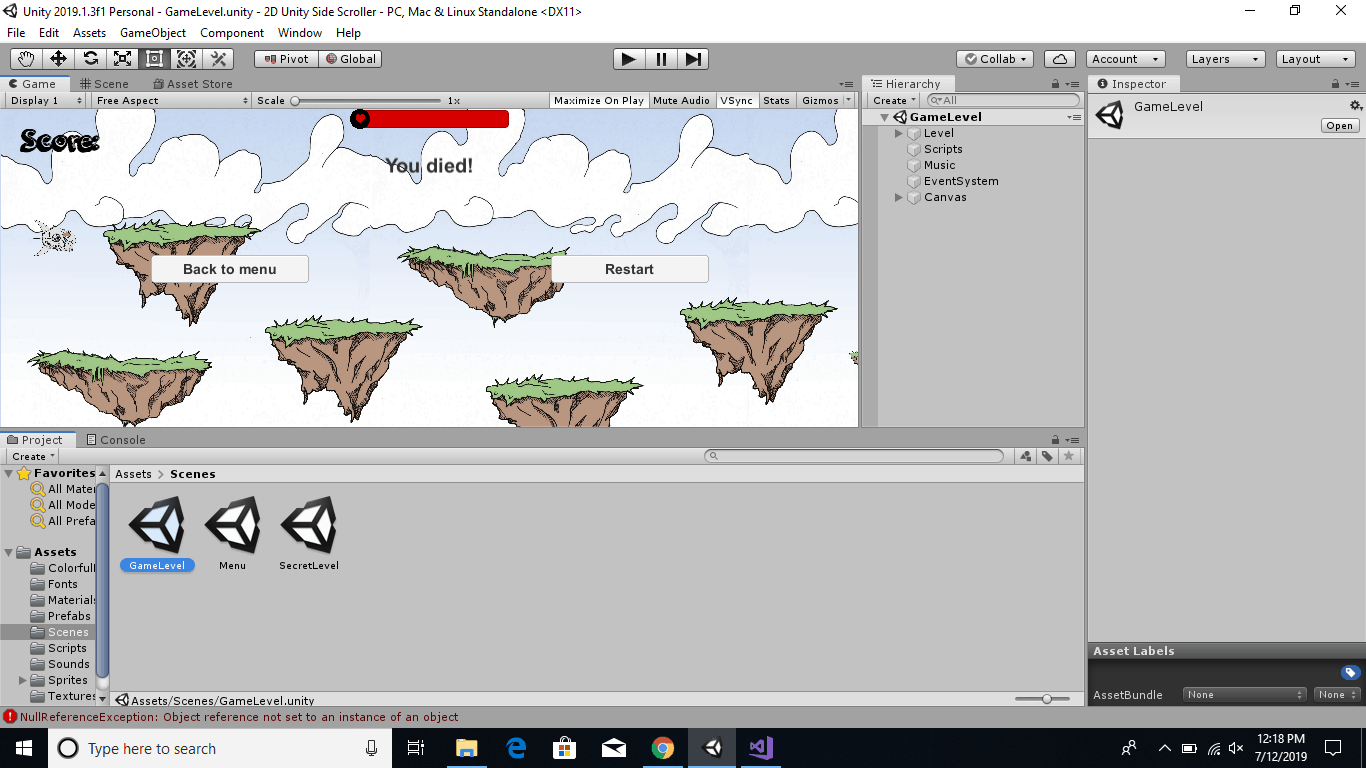
For modifications I have added a healthbar, score, enemy spanwers, and a secret level. To add the healthbar and score I added new game objects. The healthbar is a slider which can show change. The score is a text game object with a score manager script attached to it. The enemy spawners are sprites withhout a sprite in the sprite renderer with a spawner script attached to it. For the secret level I made the “You died!” text a button and when you click on the button it takes you to a new scene.
Final Milestone
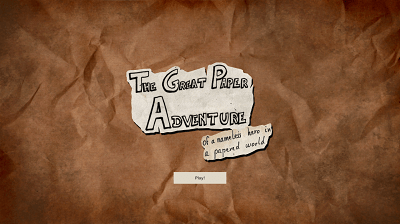
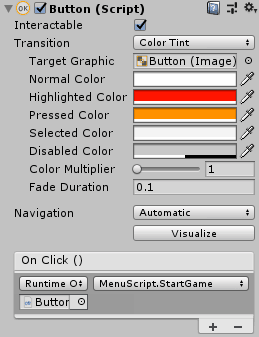
For my third milestone, I made a menu for my Unity game. In order to do this, I made a new scene. A scene is where the objects in your game go and you can design the interface and add features like a health bar. Within the new scene I made, I added a canvas to the scene. The canvas is where you can put other game objects like buttons and a panel that will be part of the interface. Then I added an image that would hold the background of the menu. After that, I added another image which would hold the logo of the game. I also needed to add a button which would say “Play!” For the button to actually work I needed to set the load scene function that would be executed whenever you click the button. To see the inspector view for the button see Figure 2. Finally, I added a menu script that would load the main scene which would be the play area. To see the menu see Figure 1. To see the transition between the menu and the main game scene see Figure 3. Below is the menu script.
public void StartGame()
{
// “GameLevel” is the name of the first scene created.
SceneManager.LoadScene(“GameLevel”);
}
In this function, I needed to call upon the scene manager and have it load the gameplay scene which is named “GameLevel”. Once this is executed then the scene would load and you would be able to play the main game. While trying to make this menu, I encountered a problem where the button would not function. To fix this, I added an event system to the scene to recognize clicks. When the user clicks the button it functions as it should. Since this is my last milestone I am extremely proud of my final project and I will make modifications to it in the future.
Second Milestone
Figure 1

Figure 3
During my experience of making the scrolling feature work, I encountered a bug where when the player sprite moves toward the platform sprite the player sprite would disappear behind the platform sprite. To fix this problem, I put all of the platforms in the player sorting layer and put the platforms in layer -1 and the player in sorting layer 1. Overall, I’m enjoying my experience making this game in Unity. I’m mostly enjoying it because I have more freedom than other programs like Scratch which I have used in the past. For my next milestone, I’m going to be creating a menu for my game.
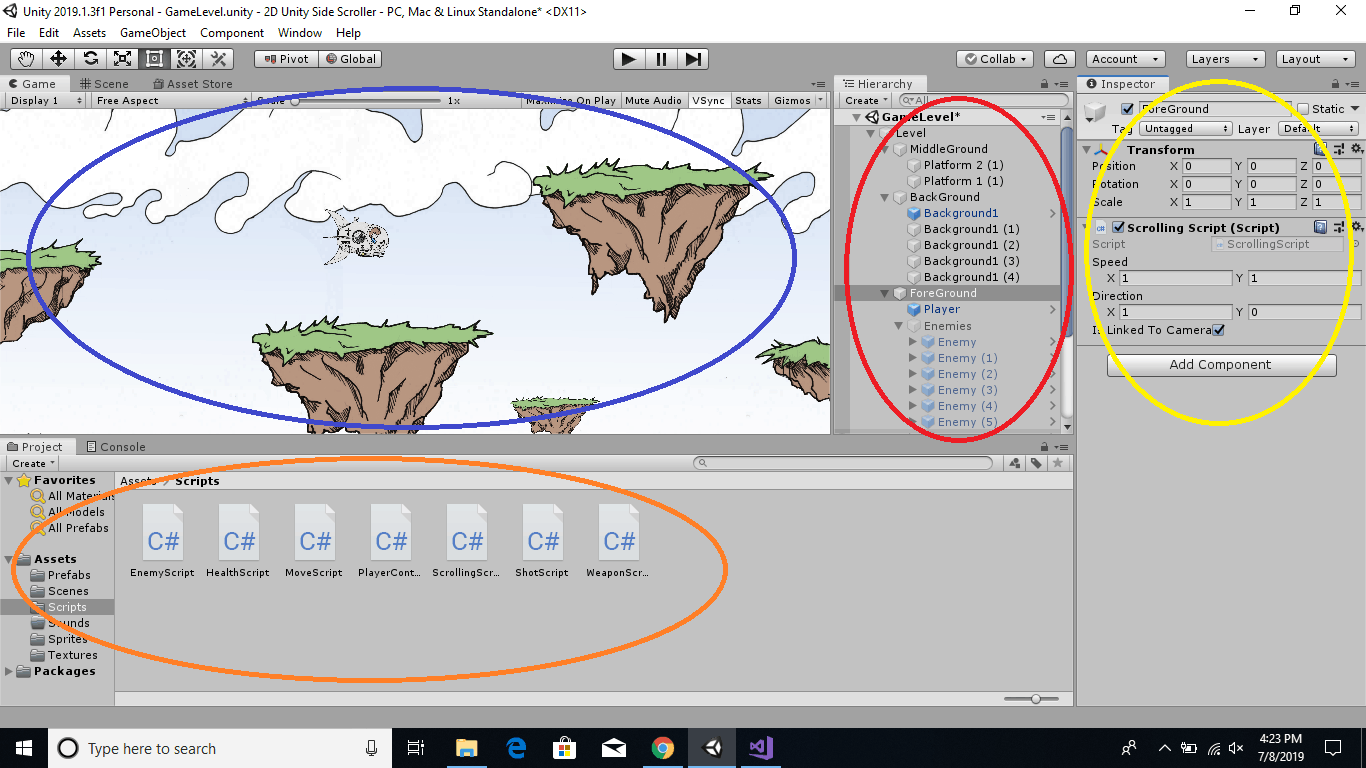
For my second milestone, I added the parallax scrolling feature to my game. When I test my game the platforms and the sky in the background scroll past the player. See full results in Figure 2. In order to make this happen, I separated all the sprites in my scene into different folders which are layers. These layers were the background, middle ground, foreground, and background elements. With all the sprites separated into different layers, I made a scrolling script. This script would move all the sprites in one direction which was past the player. Below is the script’s code for scrolling. To see the layout of Unity see Figure 3.
/// <summary>
/// Parallax scrolling script that should be assigned to a layer
/// </summary>
public class ScrollingScript : MonoBehaviour
{
/// <summary>
/// Section 1: Scrolling speed
/// </summary>
public Vector2 speed = new Vector2(2, 2);
/// <summary>
/// Section 2: Moving direction
/// </summary>
public Vector2 direction = new Vector2(-1, 0);
/// <summary>
/// Section 3: Movement should be applied to camera
/// </summary>
public bool isLinkedToCamera = false;
void Update()
{
// Section 4: Movement
Vector3 movement = new Vector3(
speed.x * direction.x,
speed.y * direction.y,
0);
movement *= Time.deltaTime;
transform.Translate(movement);
// Section 5: Move the camera
if (isLinkedToCamera)
{
Camera.main.transform.Translate(movement);
}
}
}
Section 1: This is where we make a speed variable for the scrolling.
Section 2: The direction variable is made here to set the direction the layer is moving.
Section 3: This boolean checks if the layer moving should have the camera moving as well.
Section 4: This is the way the layer is all moved by using speed multiplied by direction.
Section 5: This if statement checks for if the boolean is true and if it is then the camera moves with the layer that it is linked to.,
In order to make the layers actually move, I attached the scrolling script to the foreground, background, middle ground, and background elements folders I made within my scene. Doing that applied the movement that made the scrolling happen. See full results in Figure 1.
First Milestone
Below is the enemy’s movement script.
/// <summary>
/// Simply moves the current game object
/// </summary>
public class MoveScript : MonoBehaviour
{
// Section 1 – Designer variables
/// <summary>
/// Object speed
/// </summary>
public Vector2 speed = new Vector2(10, 10);
/// <summary>
/// Moving direction
/// </summary>
public Vector2 direction = new Vector2(-1, 0);
private Vector2 movement;
private Rigidbody2D rigidbodyComponent;
void Update()
{
// Section 2 – Movement
movement = new Vector2(
speed.x * direction.x,
speed.y * direction.y);
}
void FixedUpdate()
{
if (rigidbodyComponent == null) rigidbodyComponent = GetComponent<Rigidbody2D>();
// Apply movement to the rigidbody
rigidbodyComponent.velocity = movement;
}
}
In section 1 there are public variables for speed and direction that can be edited from within the Unity inspector.
In section 2 This makes movement by multiplying the speed of the enemy sprite by its direction.
Something that I that I found difficult while performing this milestone was trying to understand the code that I was writing. Moving forward with my other milestones I will make sure that I understand the code by using the Unity Scripting API website to see the purpose of the code that I ‘m using and what that code can do.
My first milestone for my project was to create the player and the enemies. In order to do this, I have to make a new sprite within Unity. A sprite is a graphic that becomes part of the scene and they can represent either the player or other characters. Then under the Sprite Renderer component, I selected the sprite option and imported the images I would use for my Player and Enemy sprites. In order for the player to move, I had to make a Player Controller script. Below is the script for the player’s movement.
/// <summary>
/// Player controller and behavior
/// </summary>
public class PlayerController : MonoBehaviour
{
/// <summary>
/// Section 1 – The speed of the ship
/// </summary>
public Vector2 speed = new Vector2(50, 50);
// Section 2 – Store the movement and the component
private Vector2 movement;
private Rigidbody2D rigidbodyComponent;
void Update()
{
// Section 3 – Retrieve axis information
float inputX = Input.GetAxis(“Horizontal”);
float inputY = Input.GetAxis(“Vertical”);
// Section 4 – Movement per direction
movement = new Vector2(
speed.x * inputX,
speed.y * inputY);
}
void FixedUpdate()
{
// Section 5 – Get the component and store the reference
if (rigidbodyComponent == null) rigidbodyComponent = GetComponent<Rigidbody2D>();
// Section 6 – Move the game object
rigidbodyComponent.velocity = movement;
}
}
In section 1 this is a public variable that is able to be seen in the inspector. This is the speed of the ship.
In section 2 this is the movement and component that is needed for the movement of the player.
In section 3 this is retrieving the input information inside Unity to make the controls of the game so something like the arrow keys.
In section 4 this is multiplying the speed of the player by the direction of the player.
In section 5 we store the Rigidbody component reference inside of the script to avoid referencing it multiple times.
In section 6 this changes the velocity of the game object telling the physics engine to move the player around when the arrow keys are touched.
Starter Project
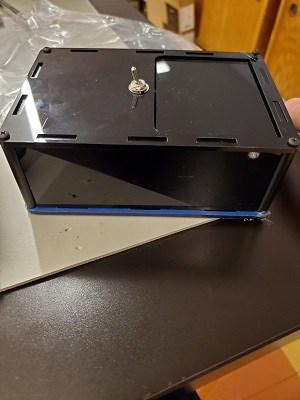
My starter project is the Useless Machine. When the machine is turned on the arm connected to the motor would move up towards the switch and flip it. This project uses an H bridge circuit which switches the polarity of a voltage when applied to a load. When the toggle switch is flipped on the batteries give an electrical current that powers the motor to move counter-clockwise and it flips the toggle switch back. With the switch off the current is reversed and the arm moves clockwise into the box where it connects with the limit switch and the motor turns off. In order to build this project I used a soldering iron to connect the wiring to the circuit as well as the switches and resistors. The circuit was then placed onto the motor. In order to place this in a box I had to connect the motor to the bottom plate I had to place posts at the corners of the bottom plate where the walls and roof were connected to. During this project I learned how to use a soldering iron to make all the parts connect together. A mistake that I made was that my LED wasn’t connected correctly causing the motor to not receive any electricity. In conclusion this project allowed me to understand more about how electricity and circuits work.


