Third Milestone
Demonstration
Milestone:
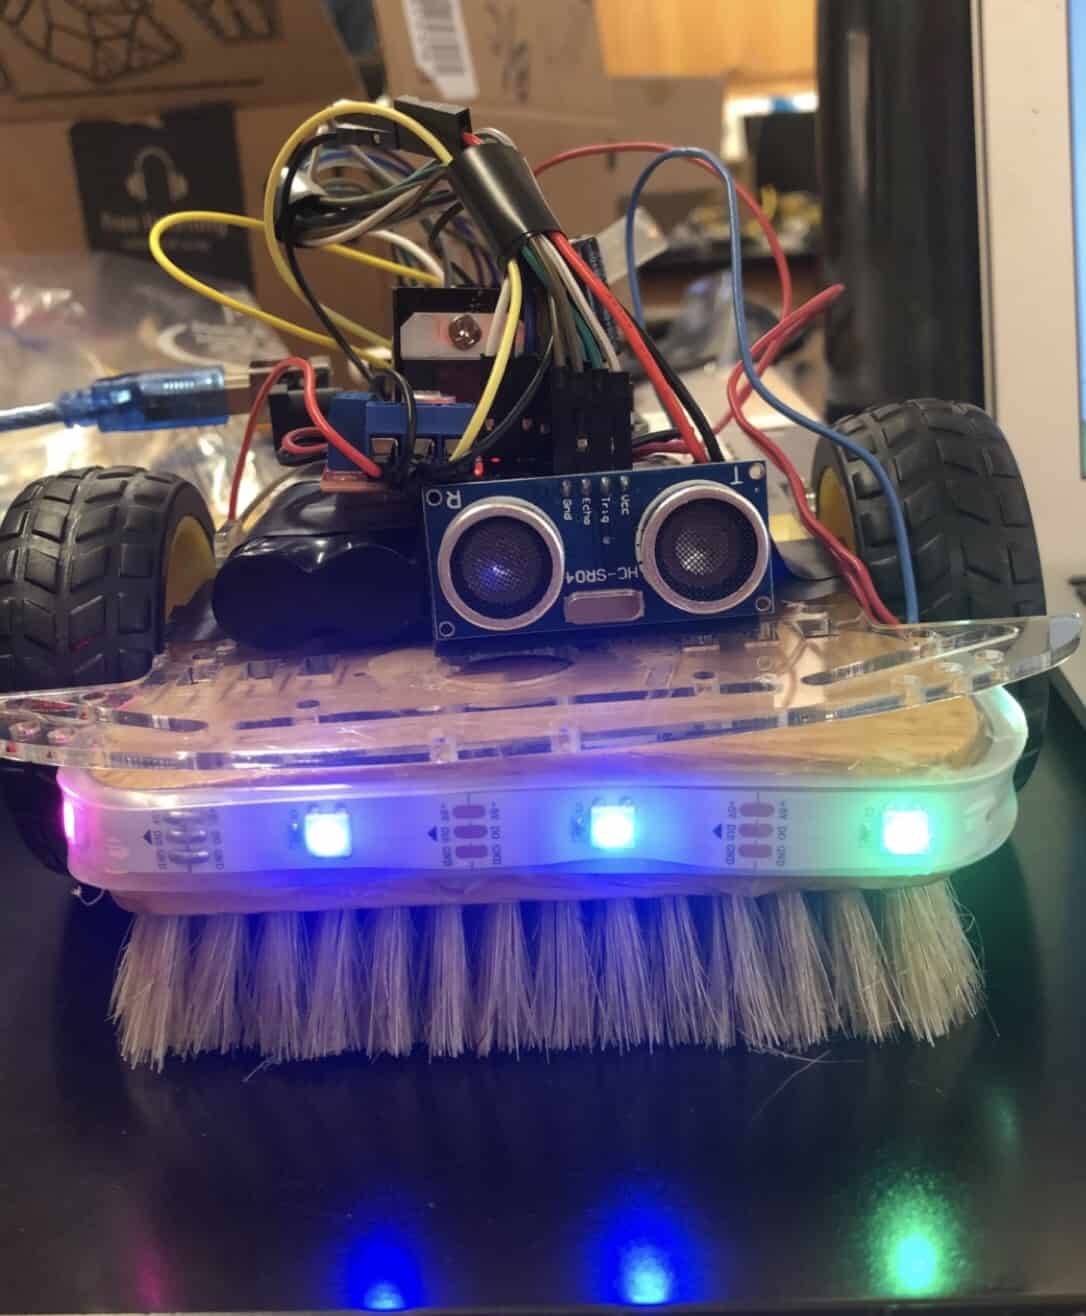
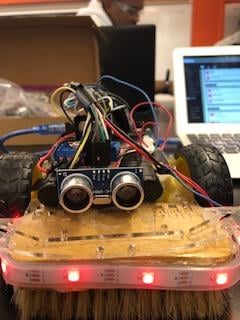
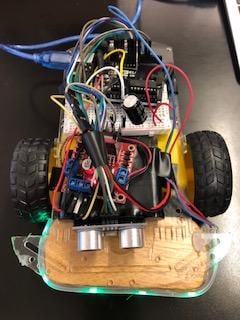
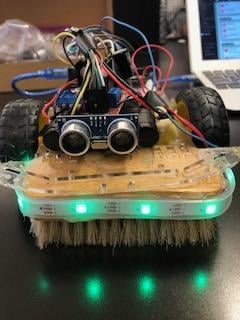
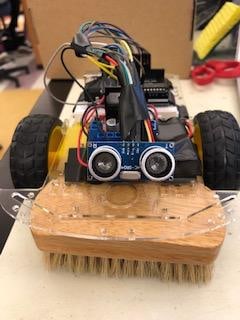
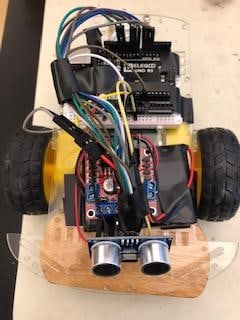
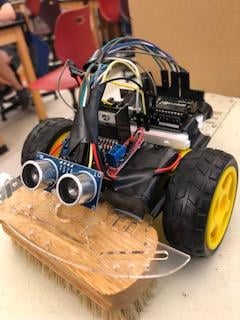
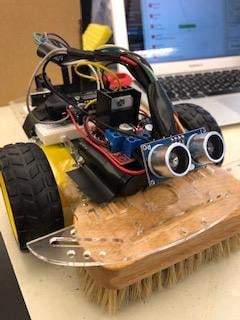
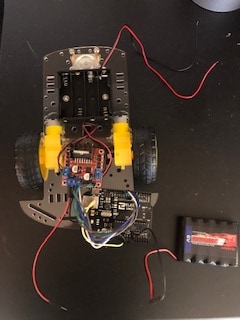
I implemented the RGB neopixel LED strips as a modification to my floor cleaning robot, and my robot is fully working with everything now.
What it does:
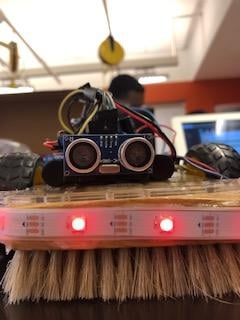
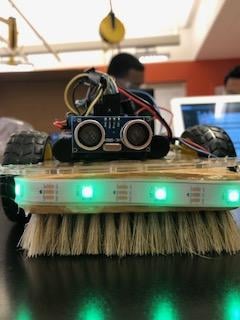
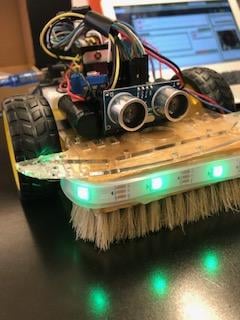
The neopixels change color to what I want from the code I use for them. I made the neopixels turn to the color green when going forward and when there is nothing in front of the robot, and then I made it turn red when there is an object in front of the robot so it will proceed to stop, go backwards, and turn around. I connected the neopixels to the arduino so I coded it through there, and the information goes to the neopixels. Also, since the ultrasonic is connected to the arduino and that is what senses the object in front of it, and the light color changes if there is an object in front of it, they all work together to move the robot. An example of the code I used is that in order to make the neopixels the color I needed them to be, I had to put in integers from 0-255. This is because there are 4 values, the first 3 are red, green, and blue, and the last value is brightness. Therefore, in order to make it green, I did (0, 255, 0), 50), to make the color 100% green when it is going forward, and the brightness 50.
Outcomes & Difficulties:
Something I found difficult was that I couldn’t leave the color on the neopixels to be rainbow because the code took too long to run and so this made the light color changing take too much time, which is not what I wanted. However, I found out that my robot was not the issue in the way it was moving. In my last milestone, I said that it was moving diagonally; it was moving diagonally, but it was because the robot was not on a level surface. When I tried it out on the table it worked well. After making this video, I added a buzzer to the robot so when it sensed an object, it beeped and then it stopped, backed up, and turned around.
Second Milestone
Demonstration
Milestone:
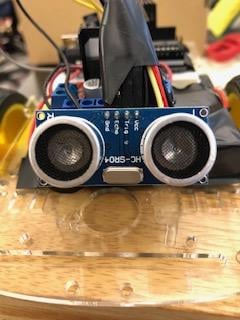
I implemented the ultrasonic sensor. The ultrasonic sensors job is to sense an object a specific distance from it, and when connected to my robot, I make the robot turn around when an object is too close to it. This is important in my project because if my robot is going to clean the floor, it cannot bump into objects on the floor.
What it does:
The sensor contains trig and echo pins and they work hand in hand because the trig pin sends out a high pitch sound and when that sound finds and reaches an object, the sound is reflected back out and the echo pin receives that, and calculates the distance between the object and itself. Afterwards, my robot will stop, back up, turn, and continue moving forward if there isn’t another object detected.
Outcomes:
One hardship I faced was making the robot go straight because it moved in a diagonal direction, so I wanted to add sensors to make it go forward. While doing this, I learned a lot of coding because in order to make the robot move the way I want it to based off of what the ultrasonic senses, I needed to code for the directions I needed it to move.
First Milestone
Demonstration
Parts of Milestone:
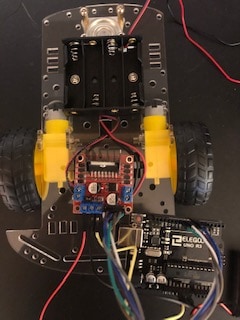
For my first milestone, my robot is able to move because of the motor driver, the Arduino, and the Arduino library.
What they do:
The motor driver acts as a bridge to make both of the motors work in unison, and the inputs are connected to the motors which influence the speed and direction the robot goes. Furthermore, I also use an Arduino that is connected to the battery pack and the motor driver and this helps pass electricity to make the robot work. It also has a microcontroller that can be re-coded to whatever speed or direction I want the robot to move in. Lastly, I downloaded the Arduino library to the motor driver to give me the code for one of the motors to move, so I tested it to see if it worked, and I built off of that code to make the second motor work at the same speed and direction as the other motor.
Starter Project
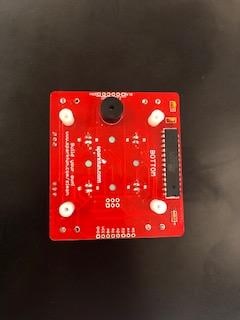
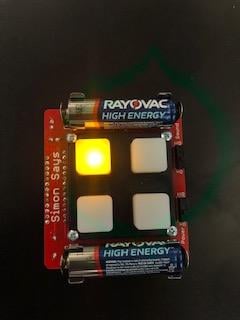
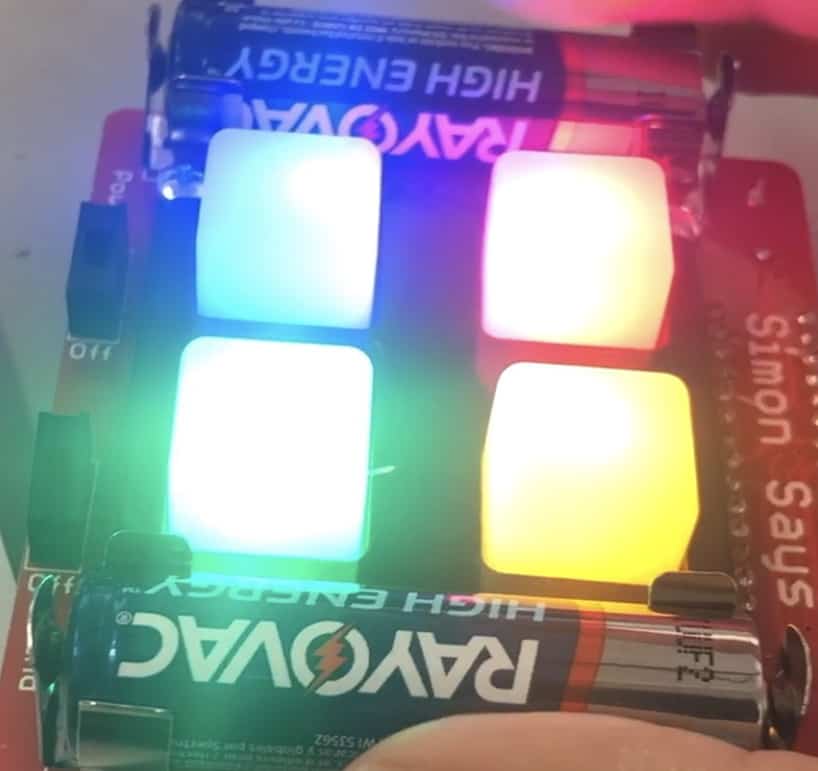
As my starter project, I chose to do the simon says game. Simon says is a memorization game, and when the LED lights blink their colors, you have to press the buttons in the correct pattern. In creating this project, I learned how to solder and I learned what capacitors and microcontrollers are. The microcontroller is a very large part of this project because it contains the pre-programmed chip that is actually designing the game, and without it, the game wouldn’t even work.


