Reflection
Over the course of creating this project, I have learned quite a lot. I learned how a Raspberry Pi worked, effective ways to use the Raspberry Camera module, using a dremel, and many more technical things. The most striking and surprising thing that I learned was how there will almost always be unexpected problems that were not originally expected in your plan. For example, here is my build plan as an overview for my main project. At first glance it seems very straightforward with no problems involved. However, some commands just simply don’t work and I’ve learned that as an engineer, one will have to work around or solve these unexpected problems. Through this program, I have experienced what being an engineer is like first-hand. This experience has shown me that engineering is something that I truly love and I will most likely pursue engineering in the future.
During my demo presentation, I took a video of the audience live. This video, with audio included, can be found right here on the right.
Modification 2
Modification 1
Final Milestone!
For my final milestone, I am transferring the dewarped video over to YouTube. This is a fairly straightforward process. Firstly, I can put the dewarped video on a program called GoPro VR to preview it as a 360 degree video before uploading it to YouTube. Then, I had to download something called MetaData Injector from the YouTube website. This is a simple program that slightly modifies a video file and makes a new copy of it. This slight modification allows YouTube to know that the video is a 360 degree video and uploads it as such. If there was no MetaData Injection on the video file, YouTube would just show a really wide video that would look weird. So after injecting the video file with MetaData Injector, I could upload it to YouTube and look around within the video.
Milestone 3
The third milestone in my project is acquiring the fully dewarped video. Although I previously stated in my video that I was going to create web controls next, I eventually decided to skip that step because it was taking too much time without success. This was fine because the web controls are not necessary and are just an extra luxury. So instead, I manually took a warped 360 degree video using a ‘raspivid’ command. Then I inserted code into a file using a ‘nano’ command. This code can be found here. This code was supposed to dewarp my recorded video. However, this dewarping code did not fully work. After a while, I eventually figured out that I needed to change the permission settings of a file, using the ‘chmod’ command, in order to allow the code to perform all of its functions. So after overcoming this challenge, I transferred the video via USB onto my laptop. However, I discovered that I could not play the dewarped video on my laptop and that the video created was dysfunctional. Luckily, I found a great work around for this problem. Instead of transferring a video to my laptop, I transferred all 200+ dewarped frames to my laptop. Then I used a video editor called VSDC to create a really fast slideshow out of the frames to recreate my video. This finished video looks like a really long strip and is not quite a 360 degree video yet, but is very close to being one. For my next and final milestone to finish my base project, I plan on turning the dewarped video into a full 360 degree video accessible through YouTube.
Milestone 2
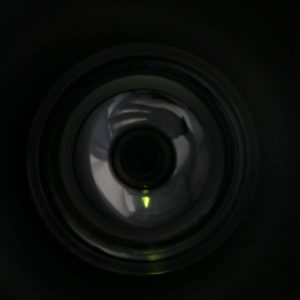
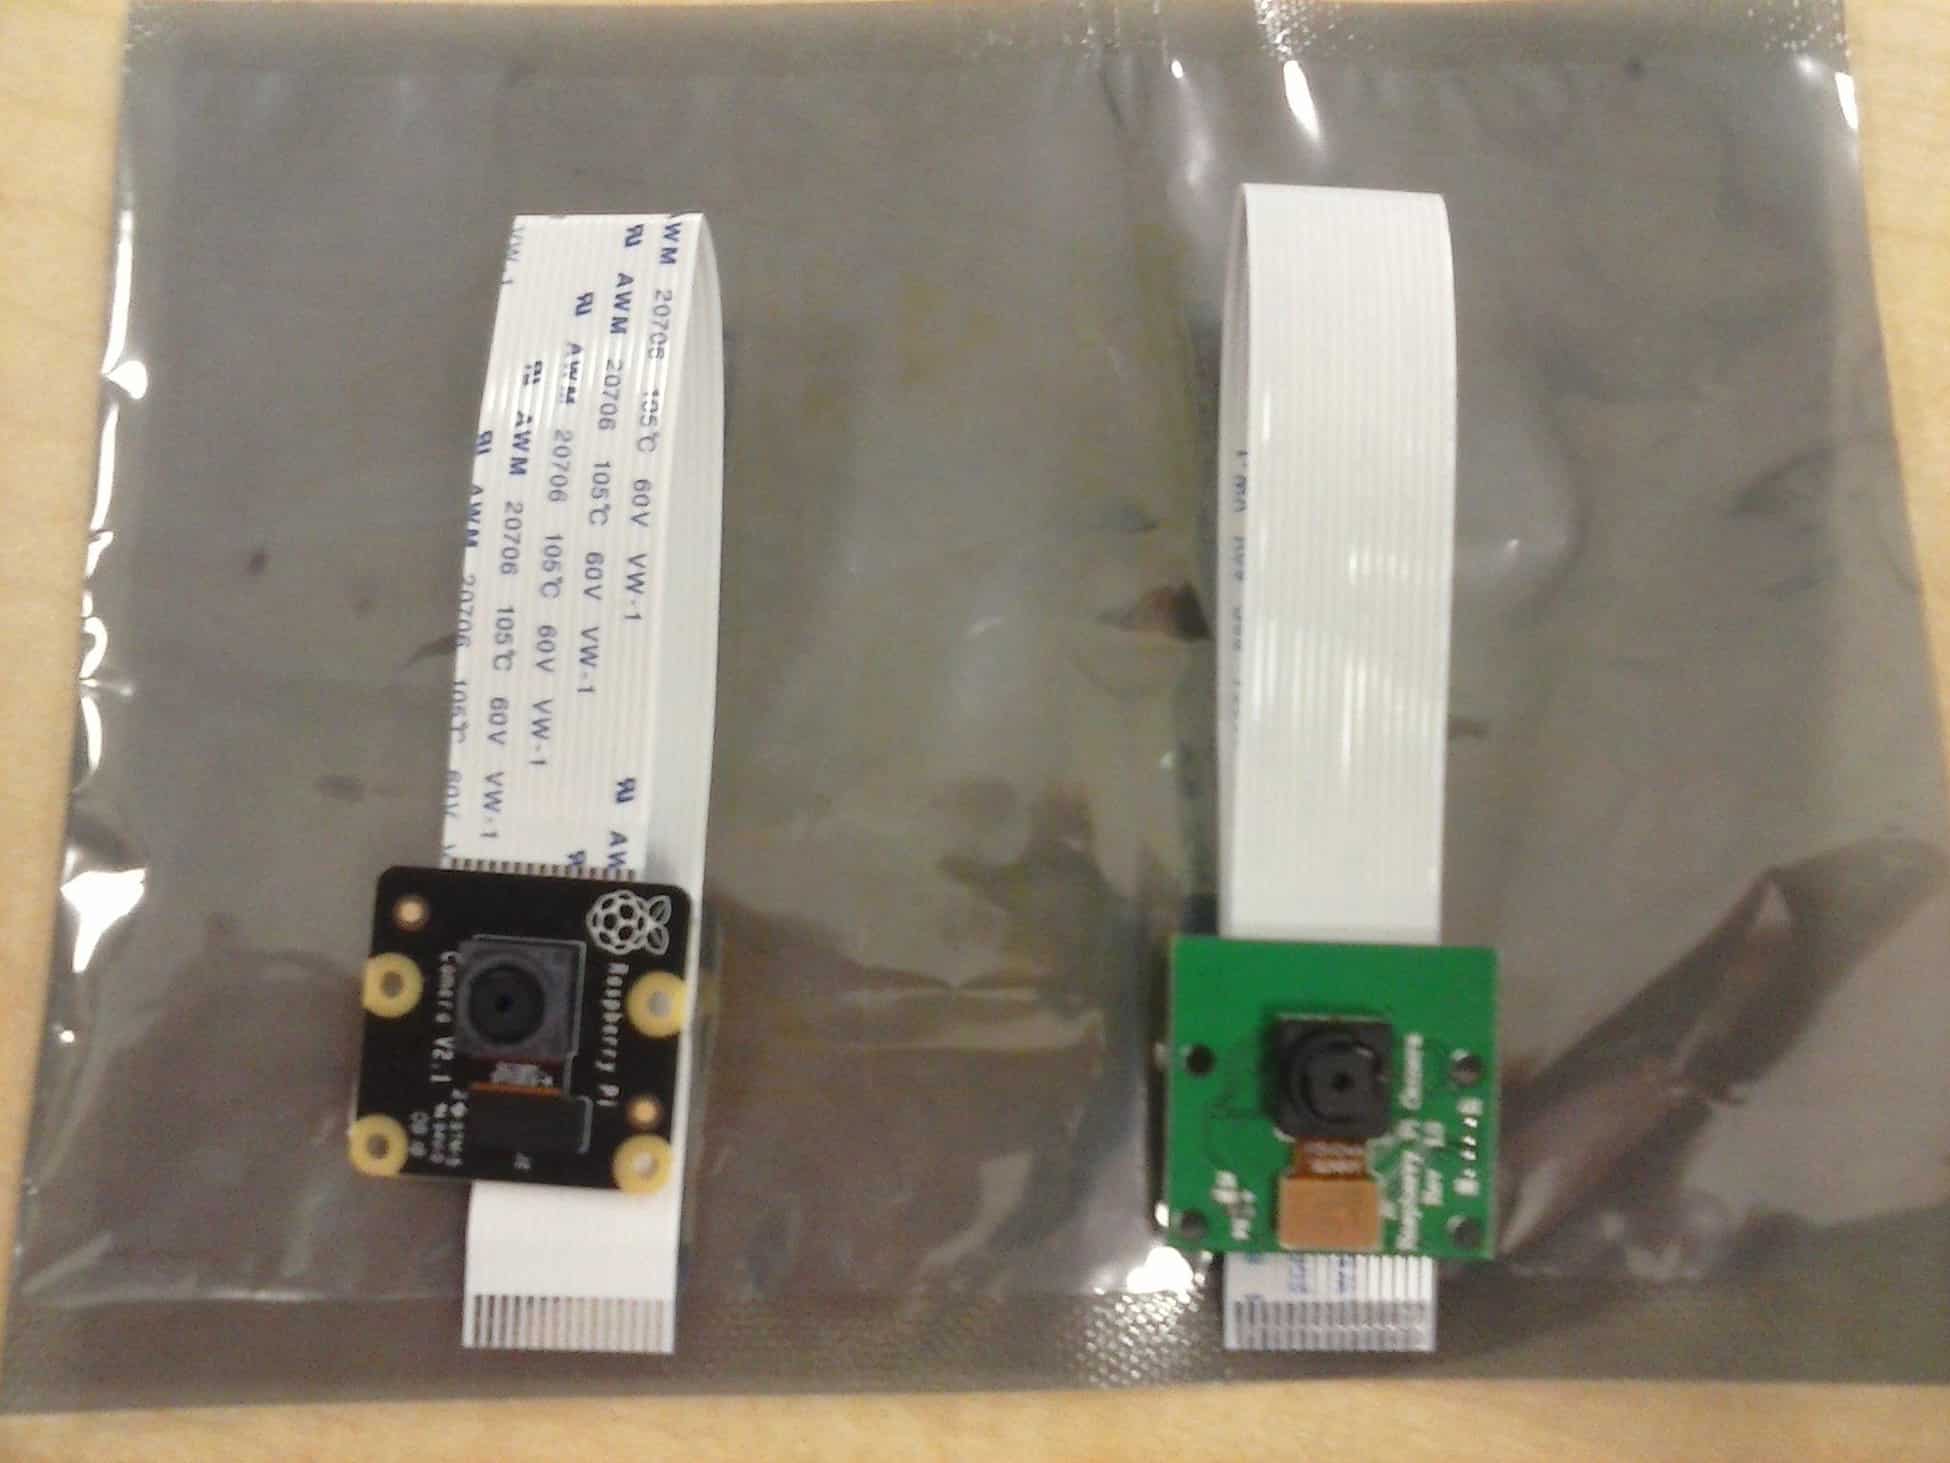
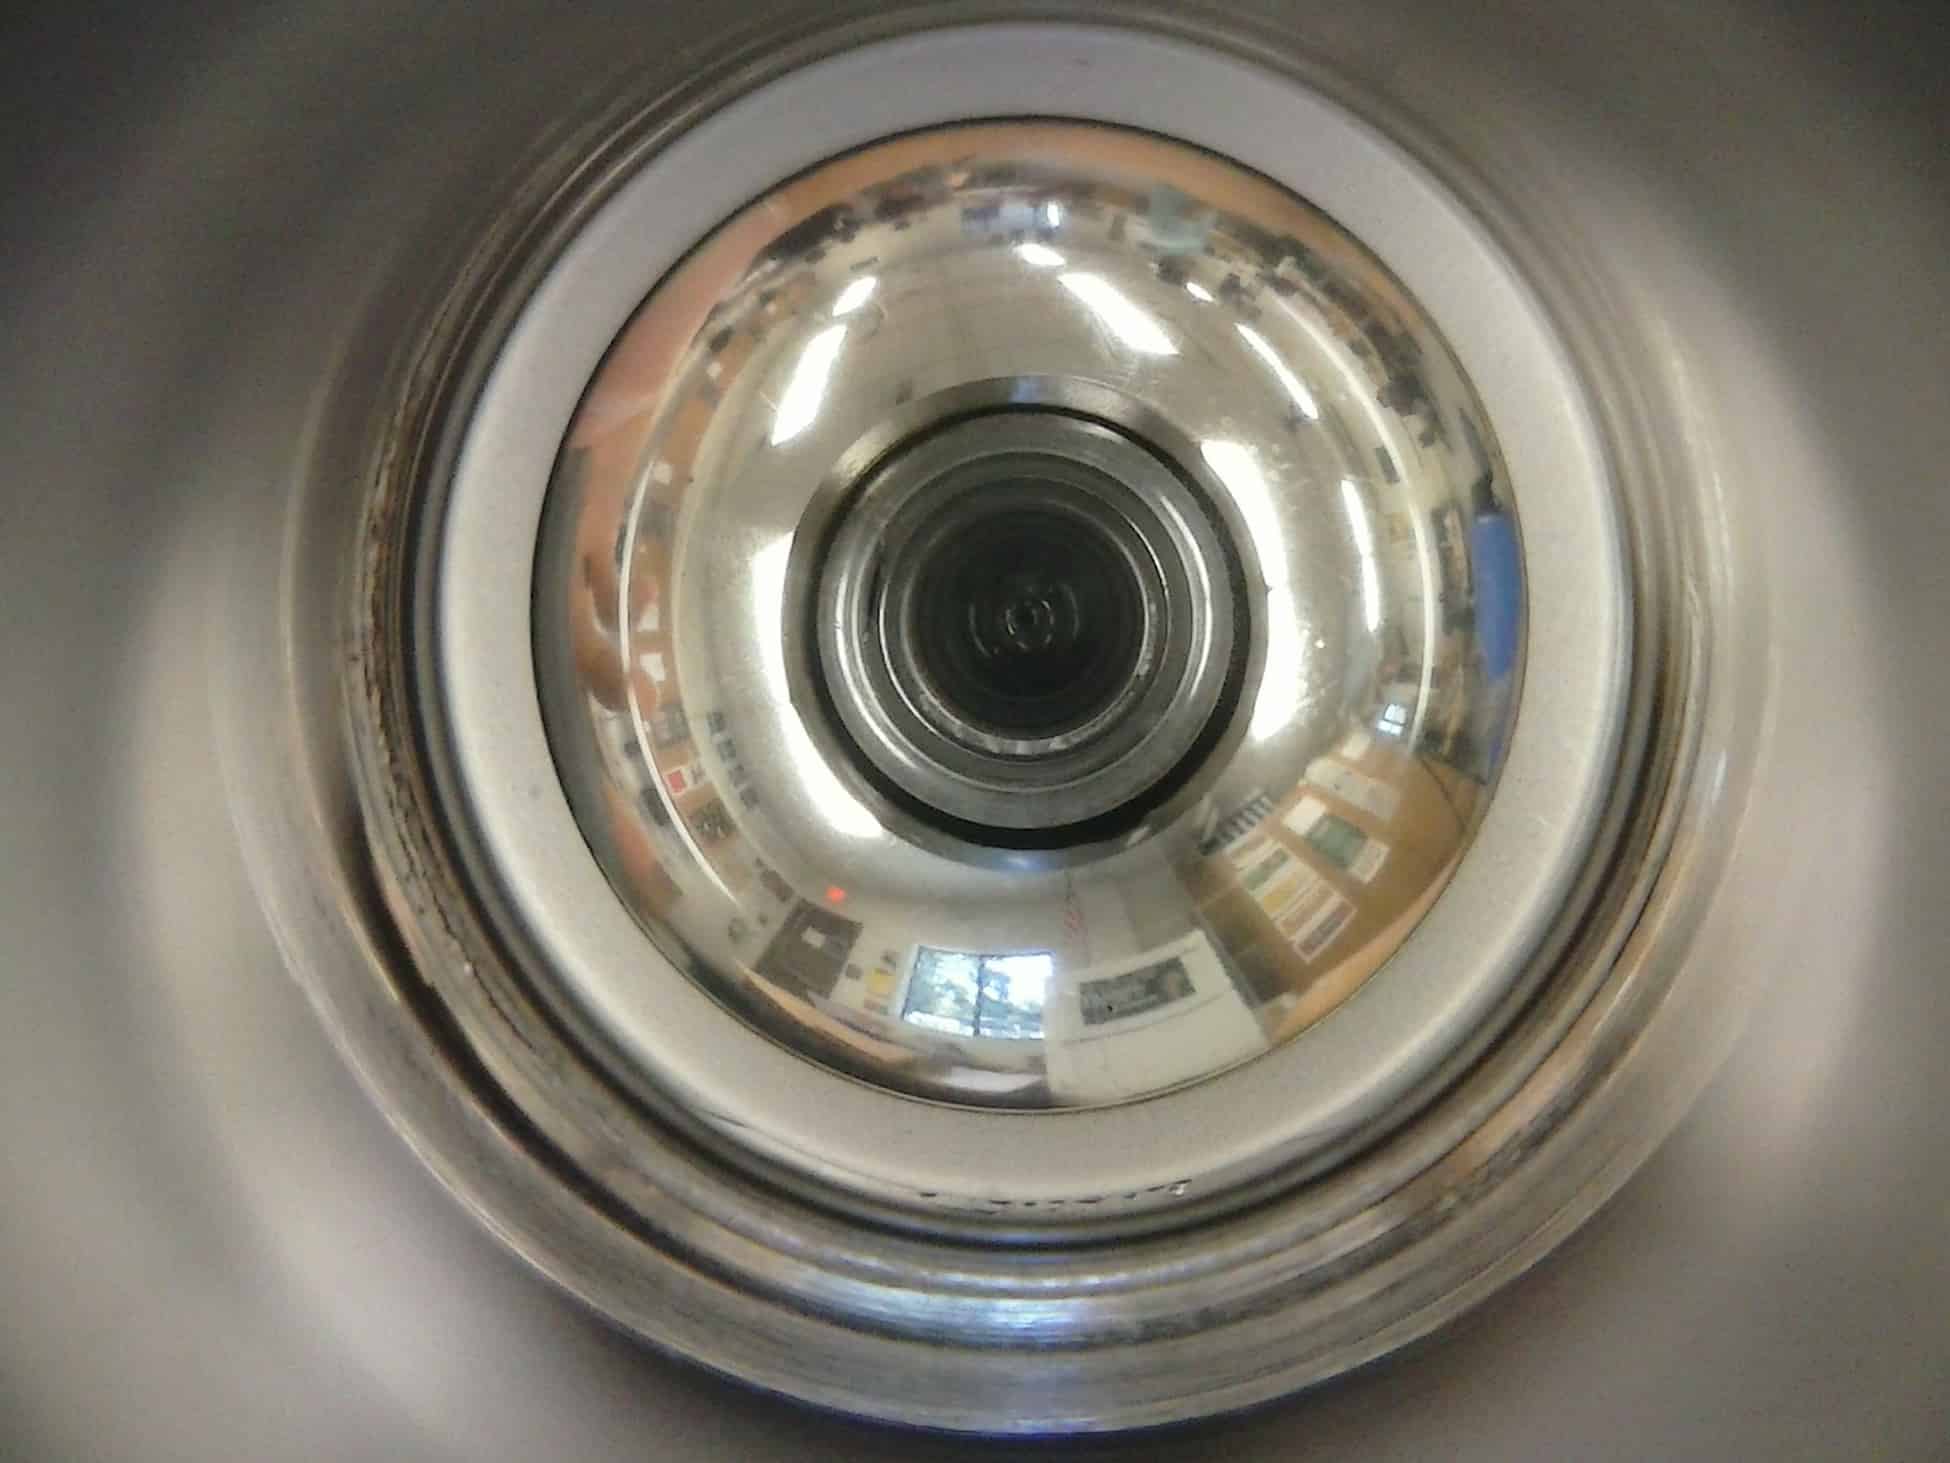
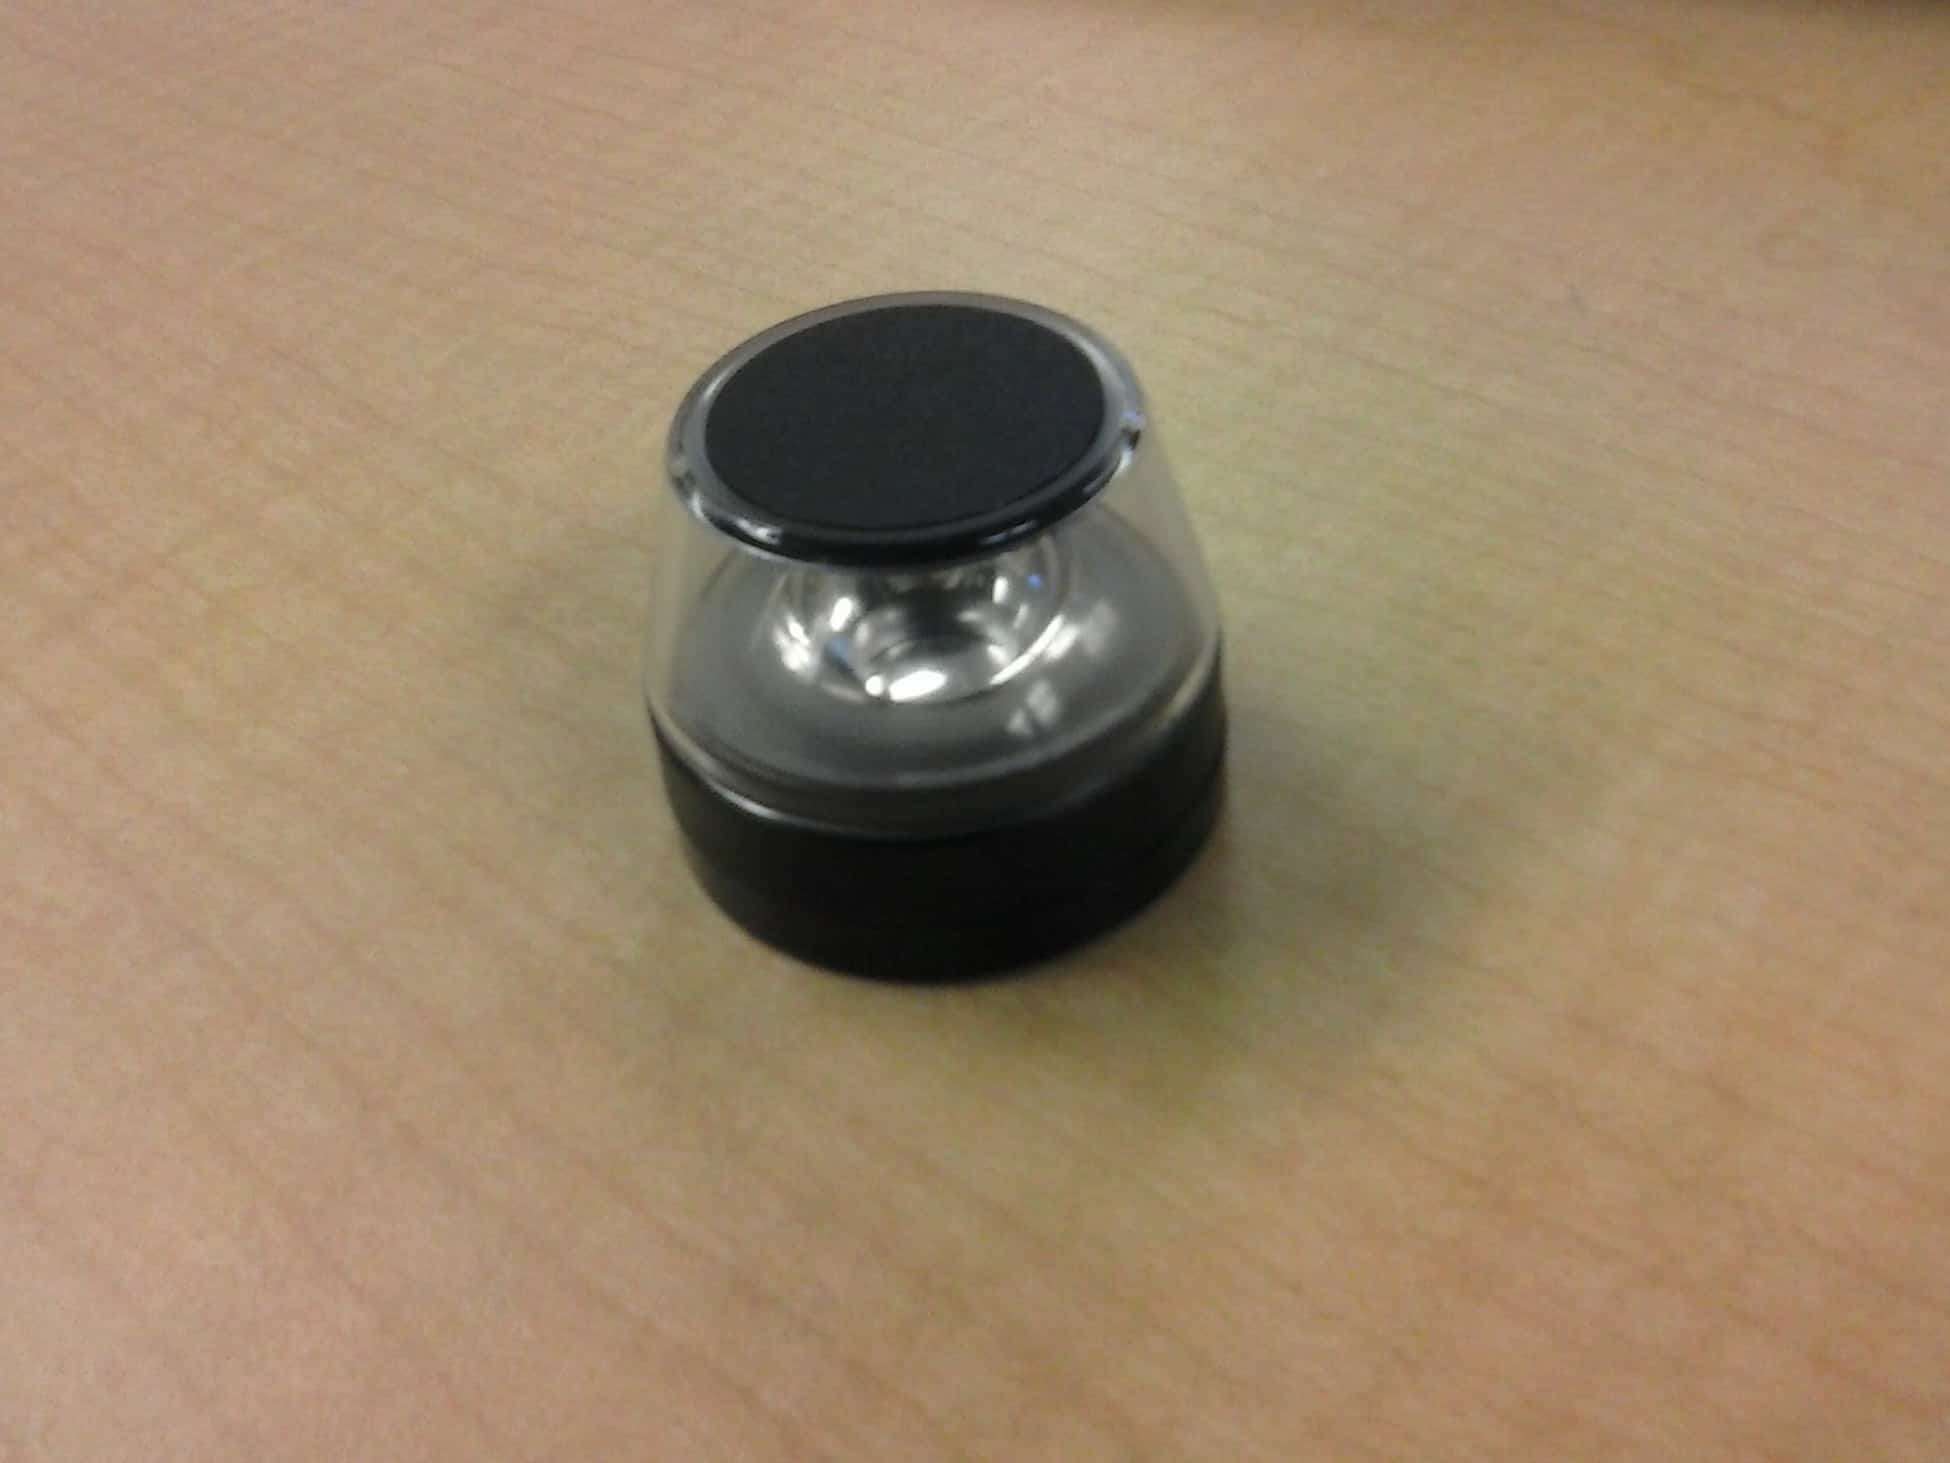
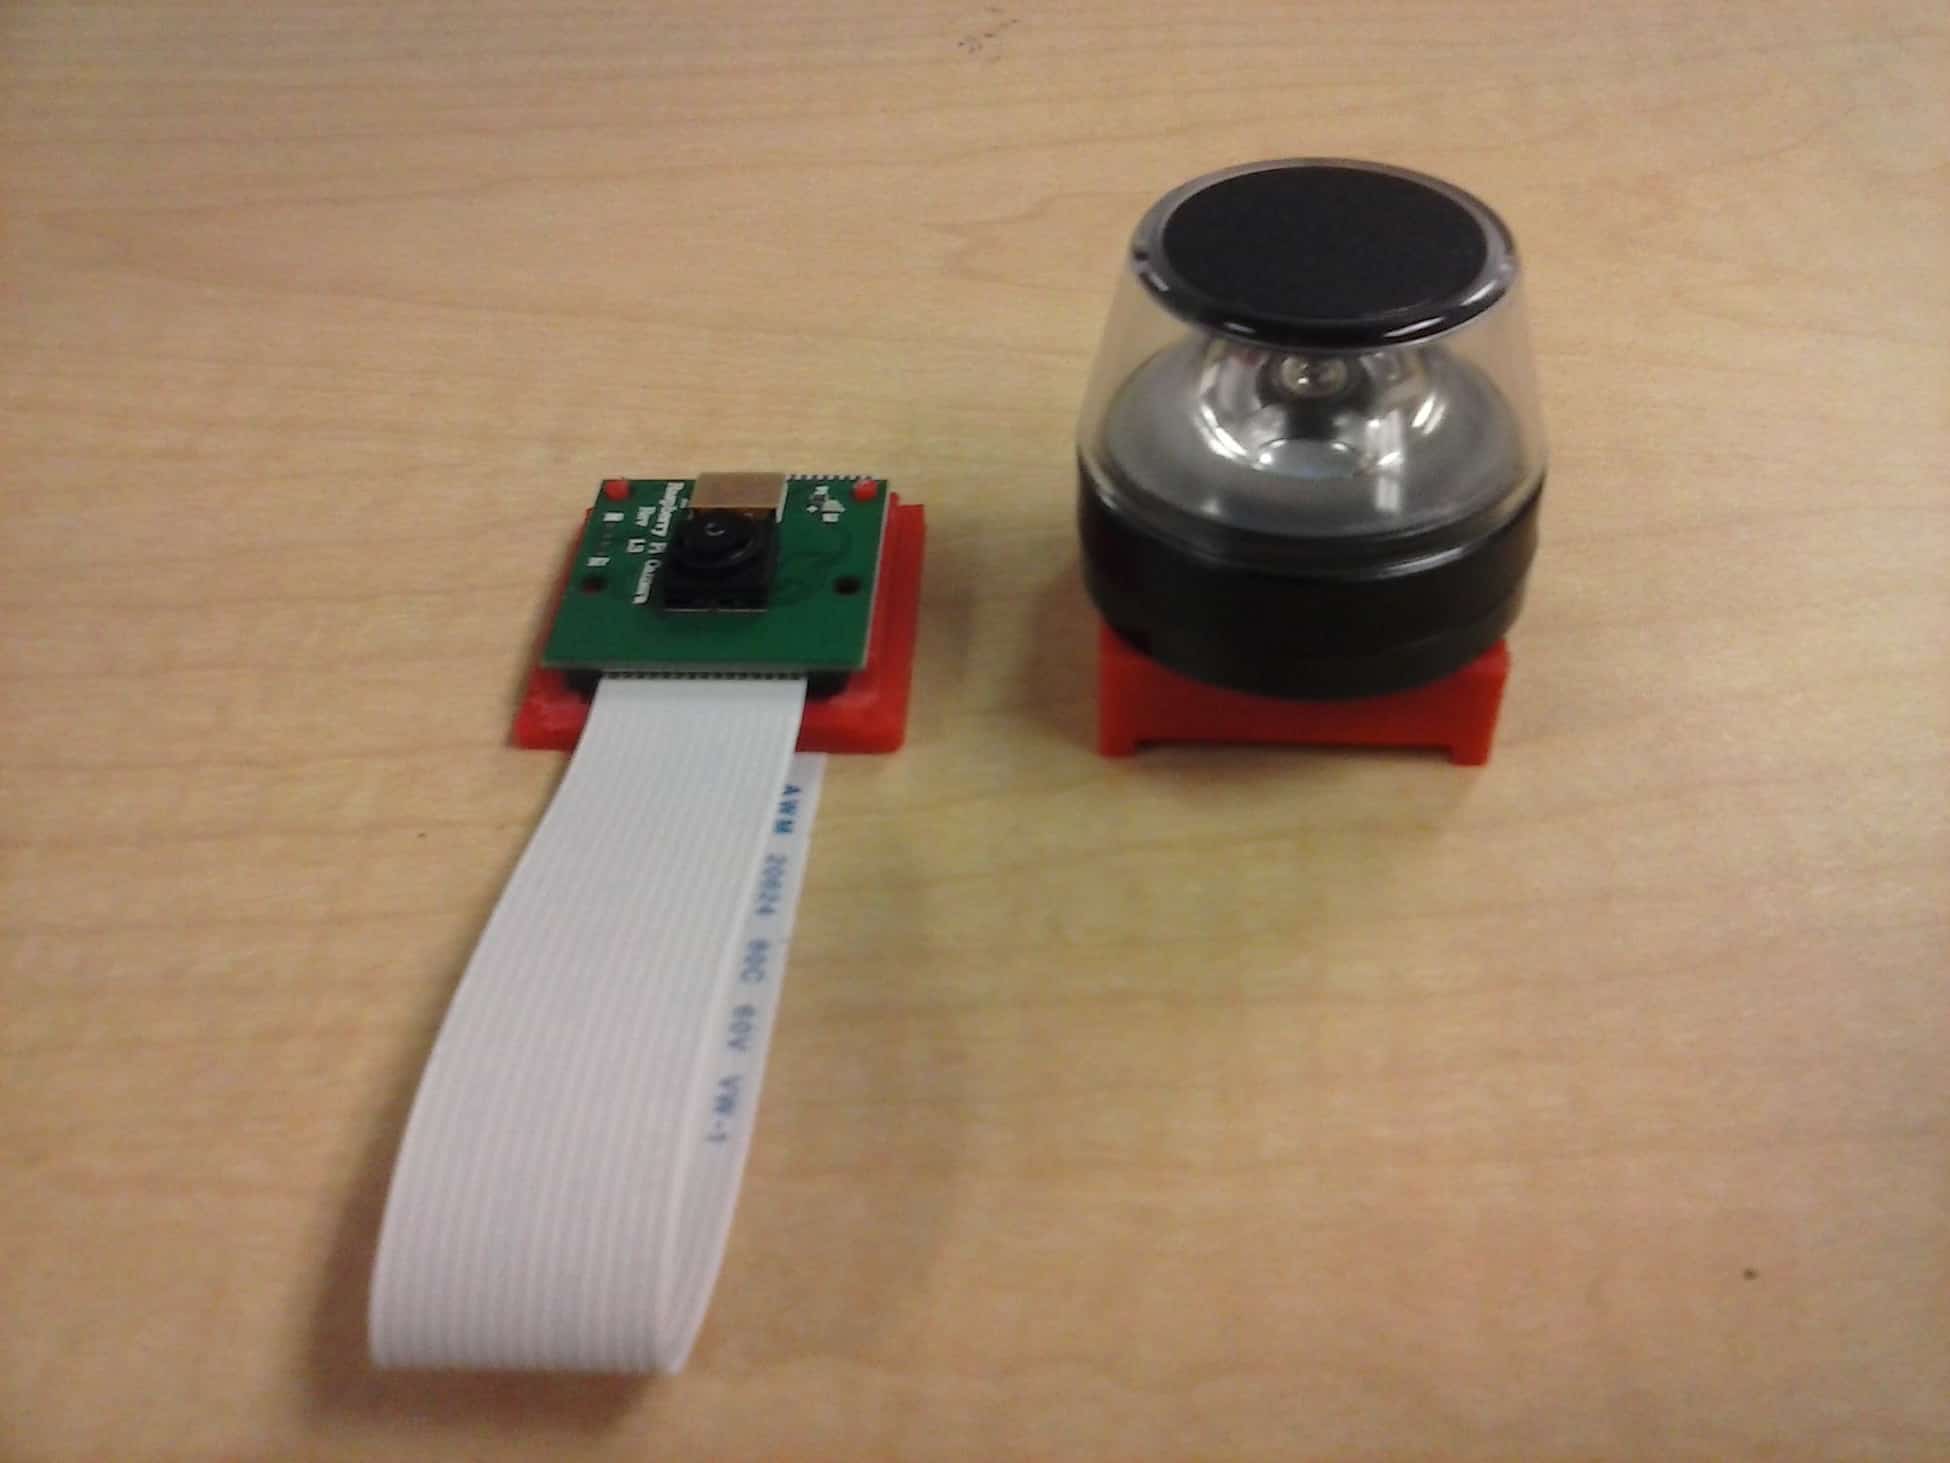
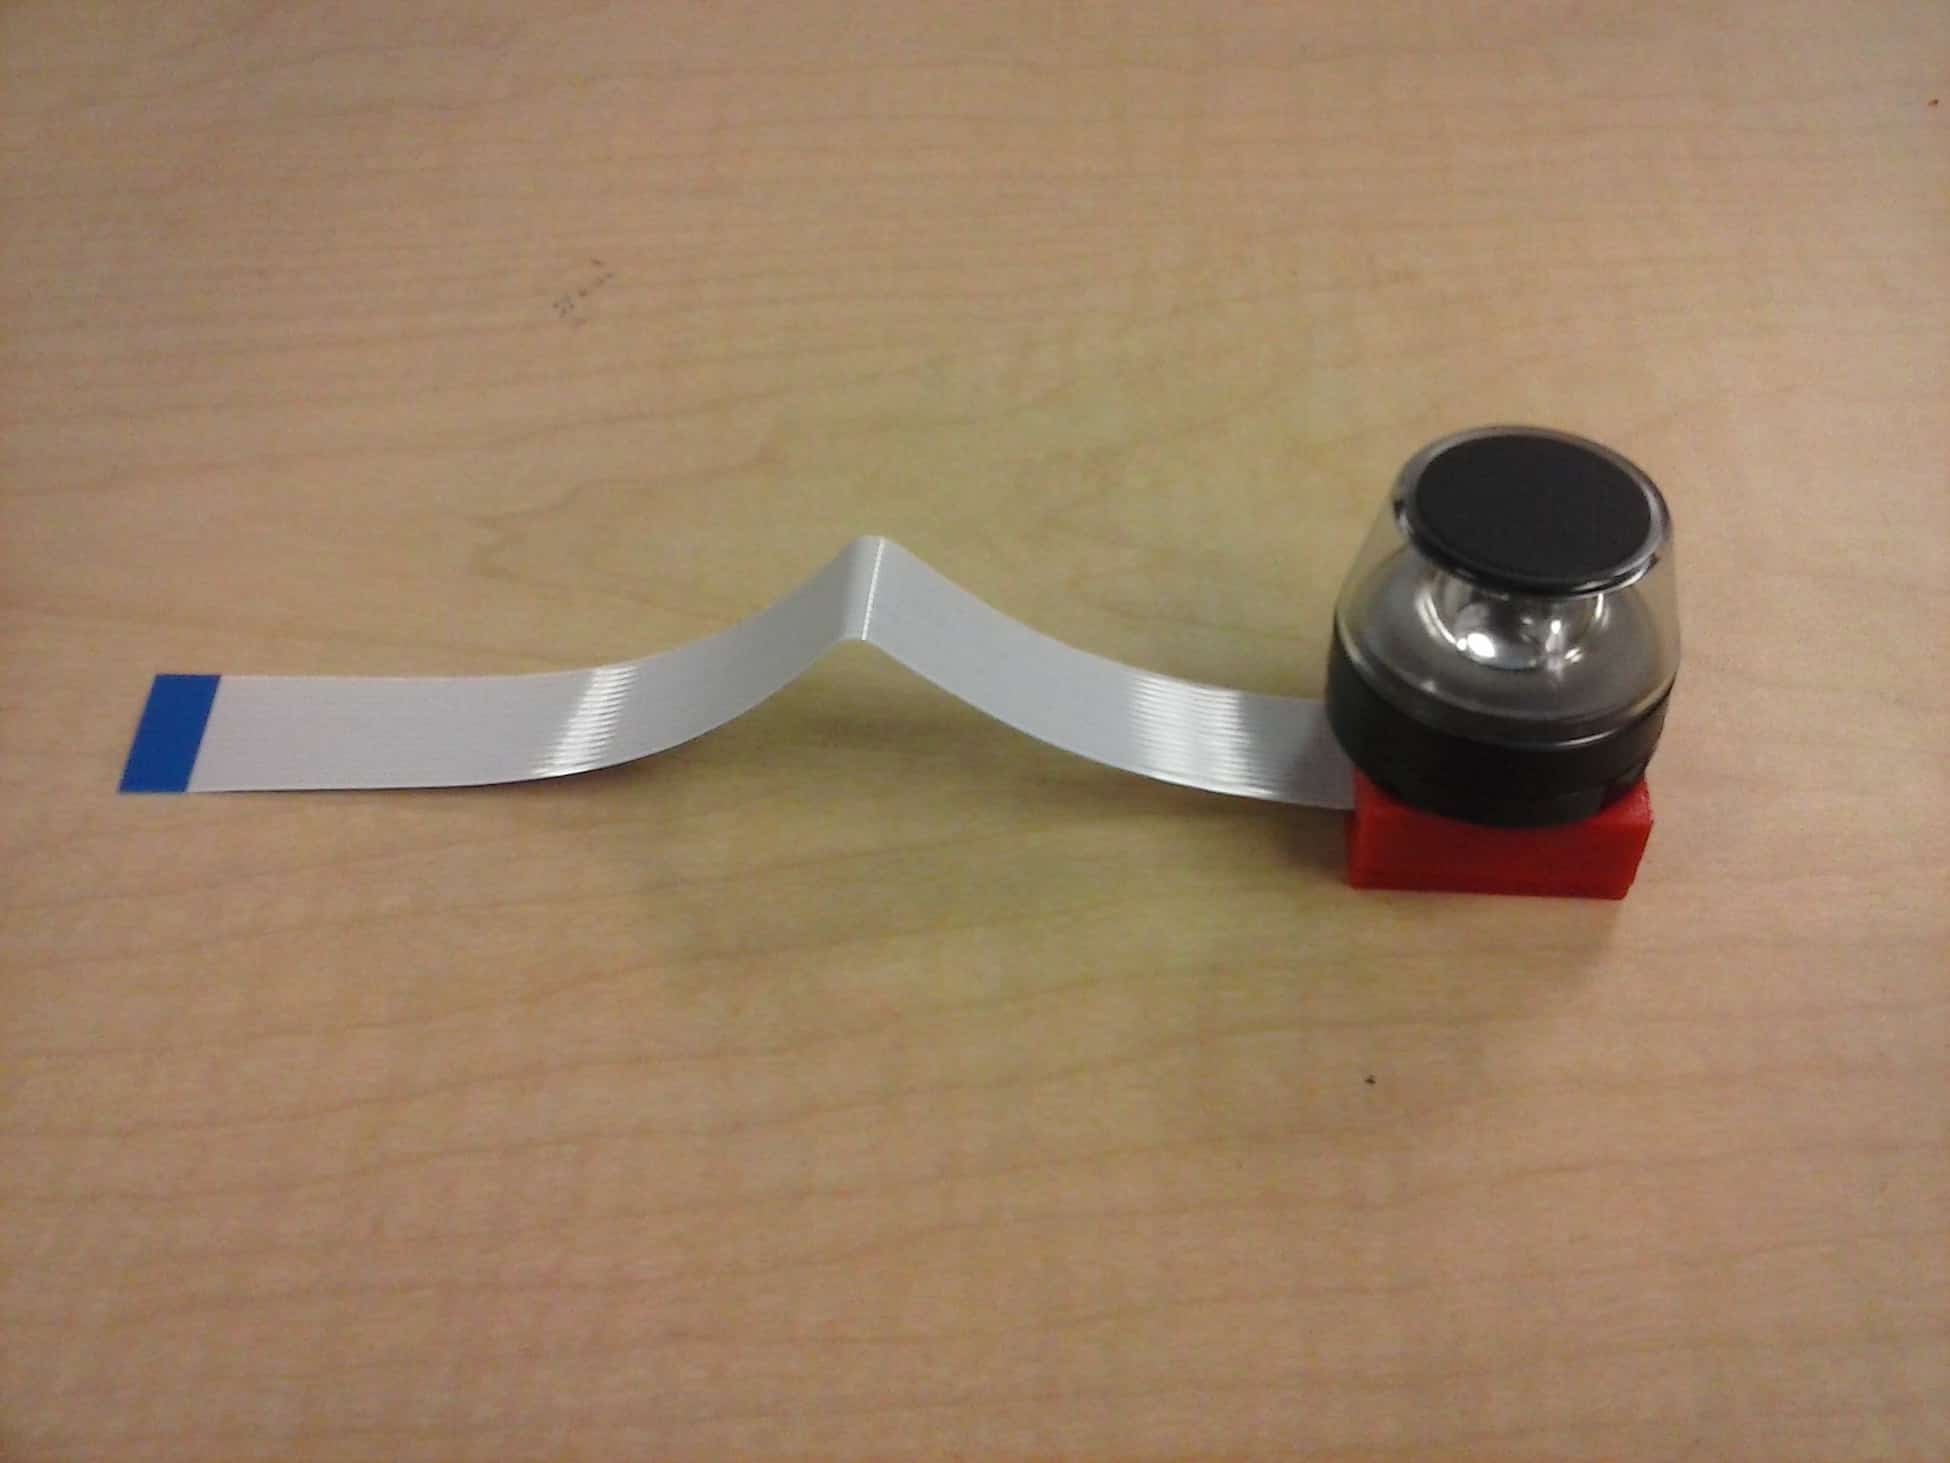
The second milestone for completing my main project is trimming an I-Phone case called the Kogeto Dot and placing it on the Raspberry Pi camera. This Kogeto Dot case is basically a mirror that will allow the camera to see in all directions. After learning how to use a dremel for the first time, I used it to cut the excess casing off of the Kogeto Dot mirror. Then, I tested out the camera to see if it works by taking a picture with it using a ‘raspistill’ command. The camera functioned perfectly. Later, however, the camera was no longer being detected for some reason. After looking up potential problems, I came to the conclusion that this camera was dysfunctional. This was most likely due to how Raspberry Pi cameras are extremely sensitive to static electricity and I was not taking many precautions to protect it. I got a new camera and am now taking precautions to not break it. As expected, the new camera worked perfectly just like how the previous used to. Also, for the Kogeto Dot to be situated right above the camera in place, I got a 3D schematic of a case to fit them almost perfectly.
Milestone 1
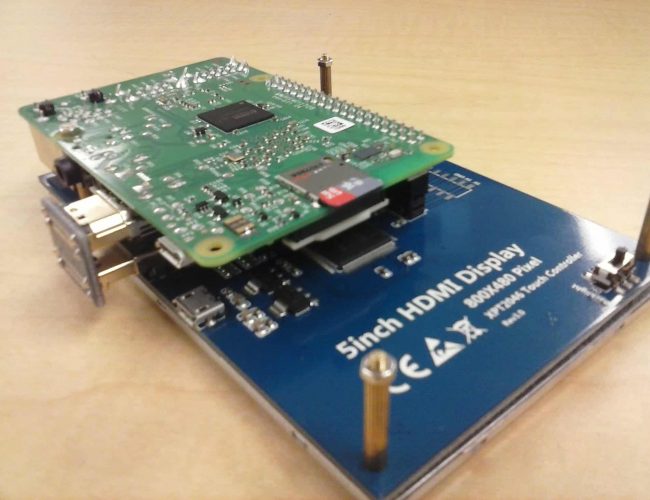
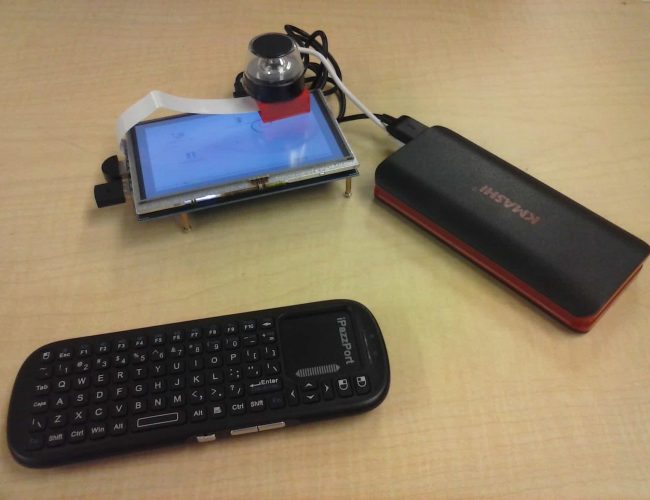
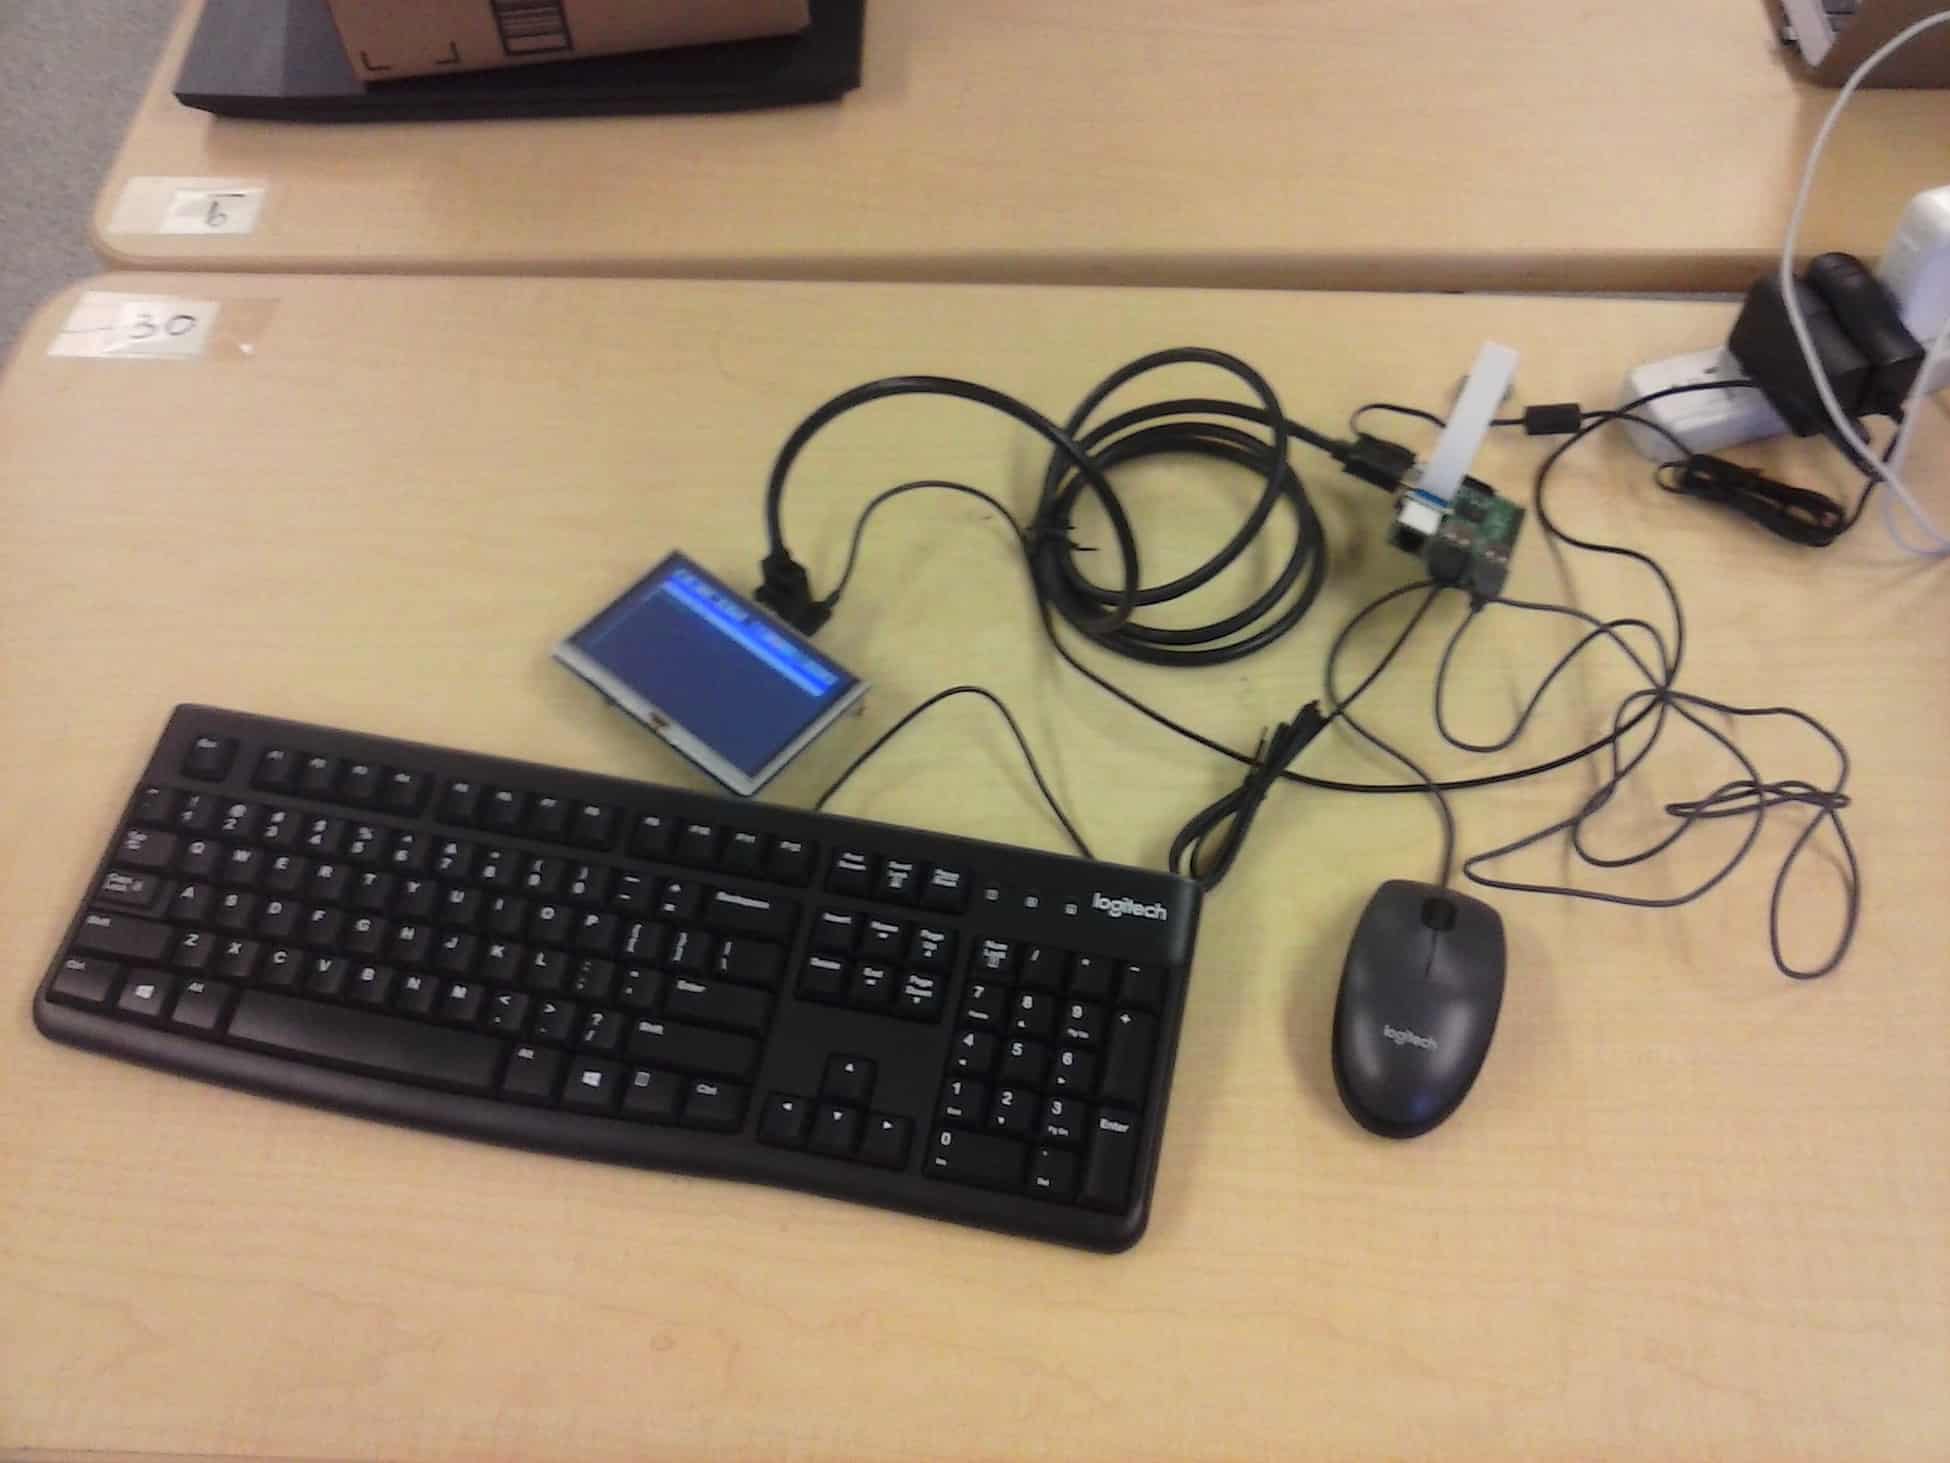
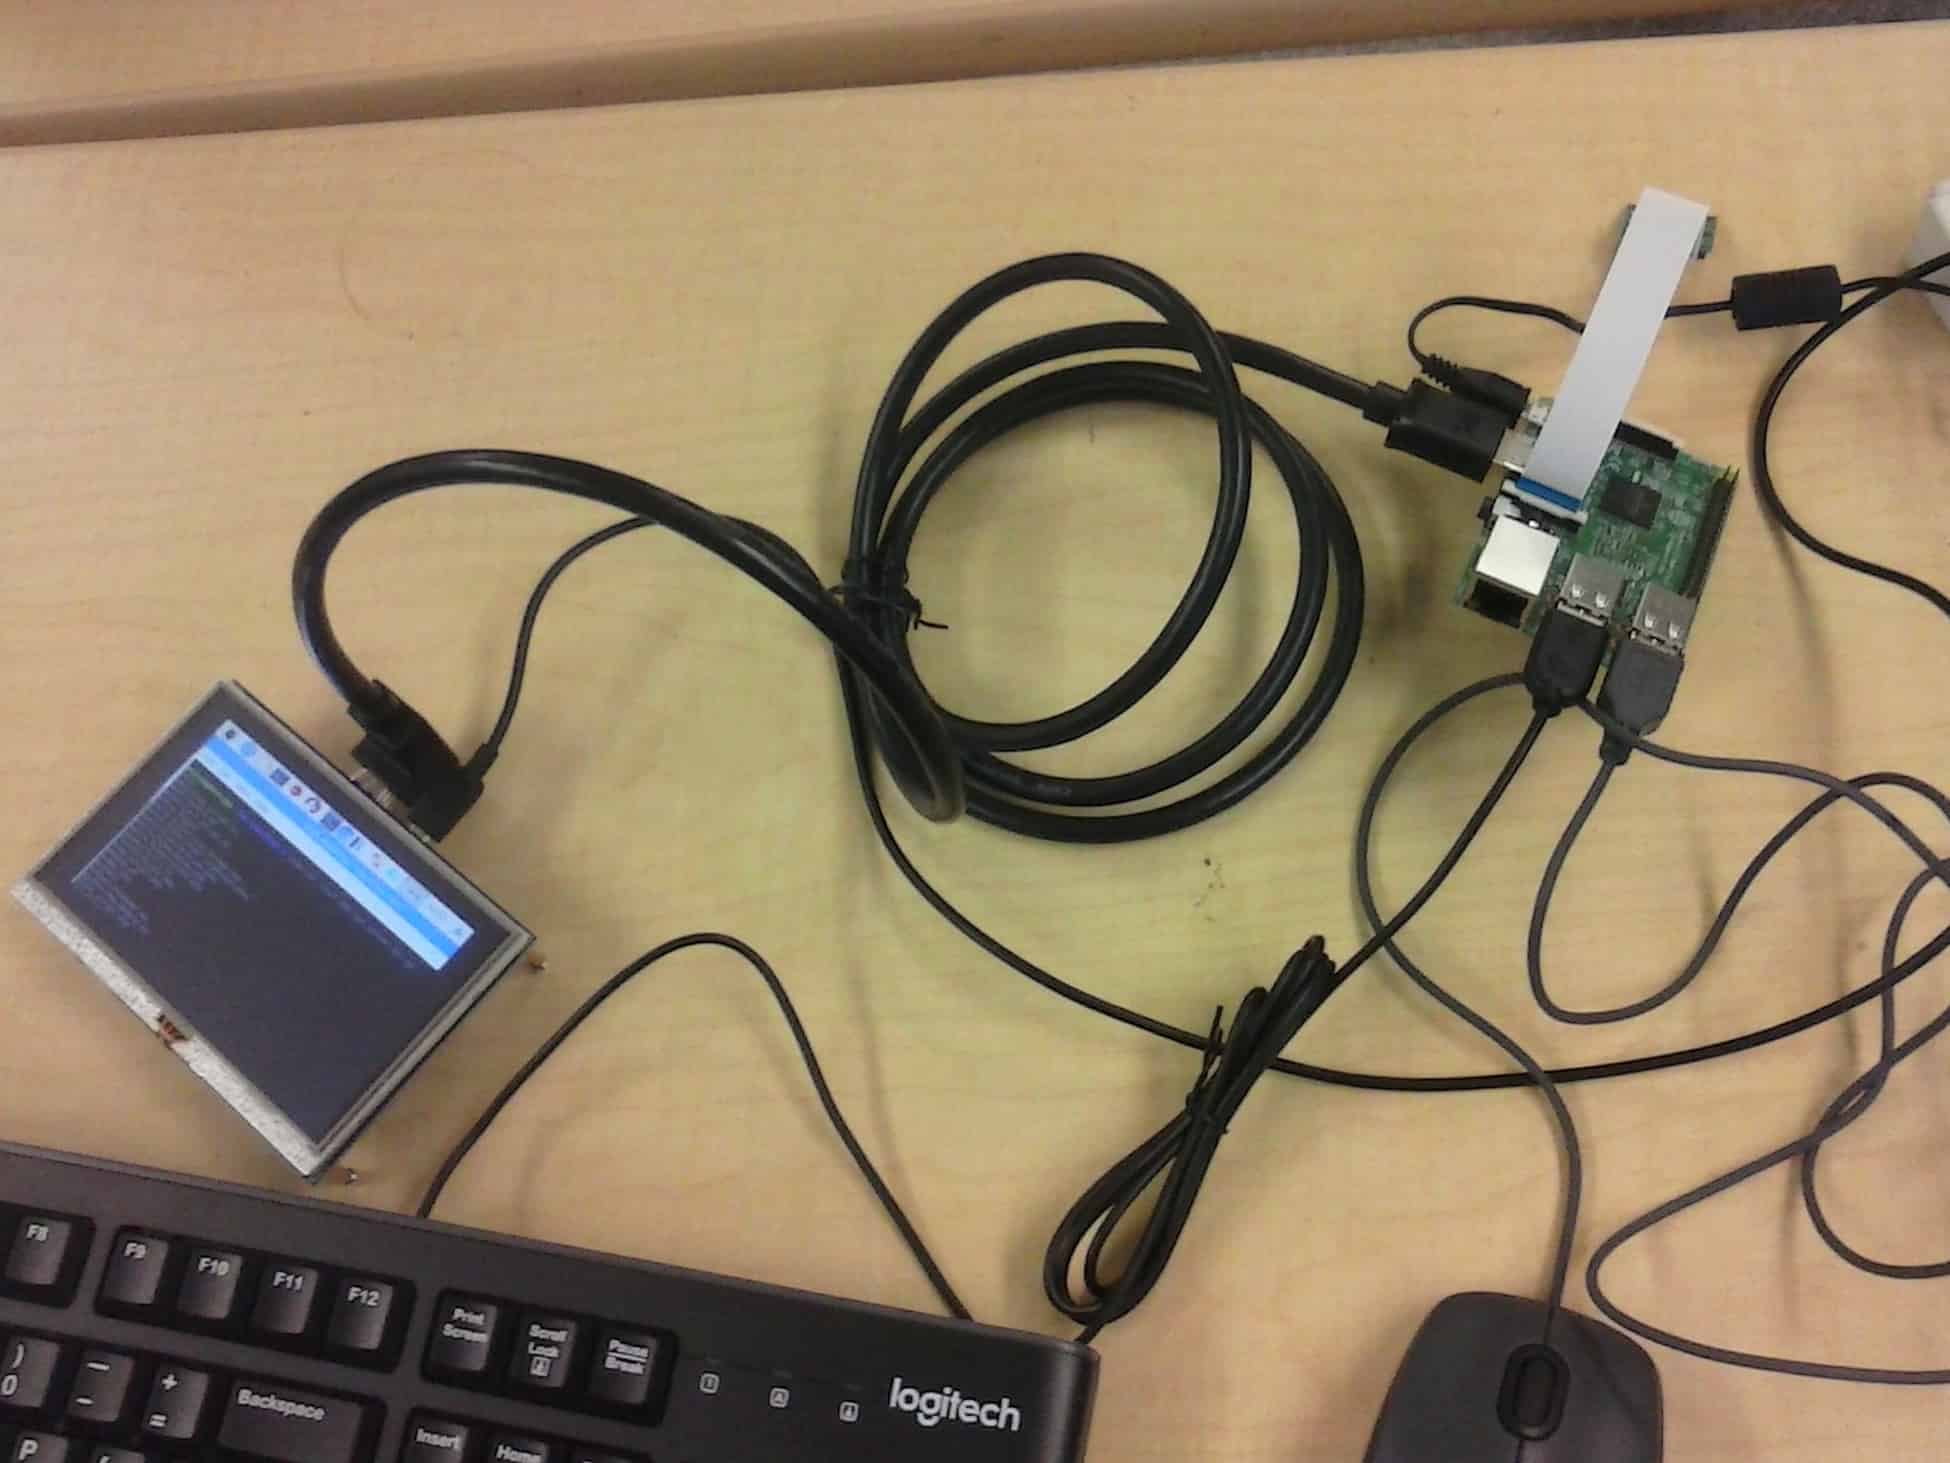
The first milestone in my main project is setting up the Raspberry Pi. So after acquiring all the materials, I started by putting the Raspbian operating system on an SD card, which was then inserted into the Raspberry Pi. Then I learned how a Raspberry Pi must be plugged into a power source and appropriately did so. After plugging in the keyboard and mouse into the USB ports, I also had to figure out how to plug in the Raspberry Pi camera and monitor. The Raspberry Pi camera was pretty straightforward as you lift the connector on the computer board to insert the camera into. The monitor, however, was slightly more challenging to plug into the Raspberry Pi. After plugging in an HDMI cable between the computer board and monitor, the monitor was not turning on. Thankfully, all that it needed was another power cable attached to the monitor as the HDMI cable did not transfer power.
Starter Project
Greetings from Mexico, this is interesting