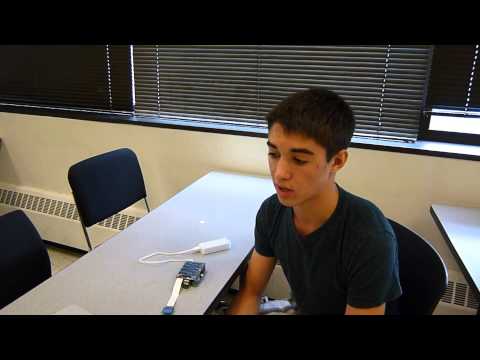
Hi! I’m Aaron. I’m going into my junior year at Denver Jewish Day School. For my starter project, I made the Big Time Watch by Sparkfun. For my first intensive project, I made a Raspberry Pi Touchscreen Camera, mostly because I love photography. Since I finished my RasPi camera so fast, I moved on to a Robot Tank that I can control from my computer or move autonomously.
A little bit more about me – I love electronics, reading, and cars.
Final Video:
Intensive Project #2: Robot Tank
Final Product
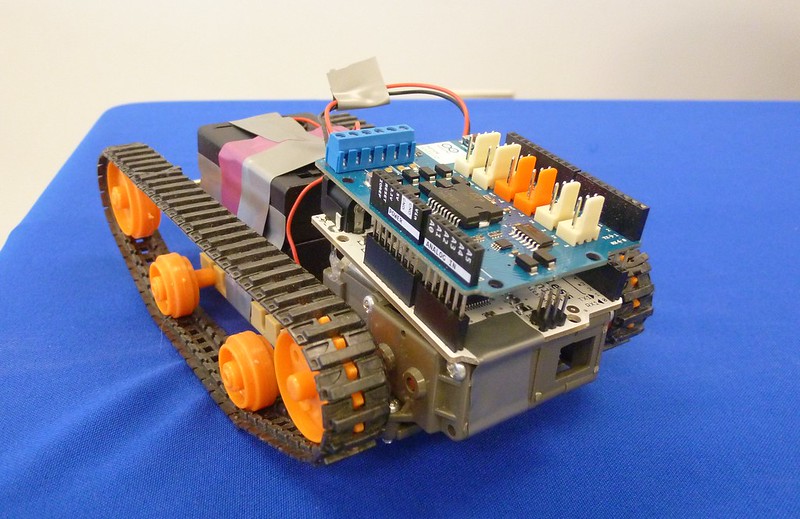
I just reached my final milestone for my Robot Tank! It can move from serial command or simply autonomously! At home, I will probably connect it to a PS2 Controller.
Final Documentation
Here are the links to the tutorials I used: Tank , PS2 (I didn’t have time to connect my tank to a PS2 Controller, but this is the tutorial to look at)
Here is the link to my Bill of Materials: BOM
Milestone #1
For my second intensive project, I chose the Remote Controlled Tank, and I just reached my first milestone for it. I have the chassis and gearbox assembled, the motors put in place, and the arduino and motor shield all set up and coded. My biggest problem I’ve had so far is that my PS2 controller’s receiver somehow broke and I couldn’t control the tank with that, so I am currently controlling it is with the W, A, S, D, and X buttons on my laptop’s keyboard.
Next, I will connect the PS2 controller to control my tank.
I can’t wait to see my final product!
Intensive Project #1: RasPi Touchscreen Camera
Final Product

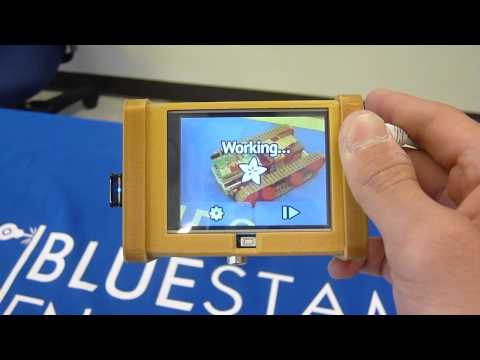
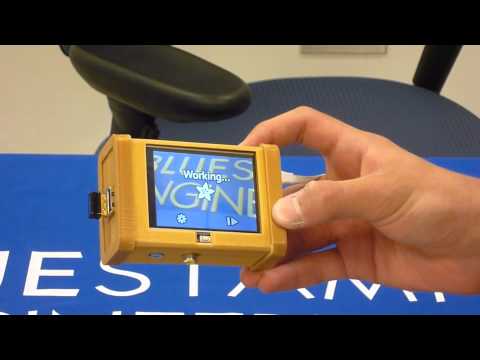
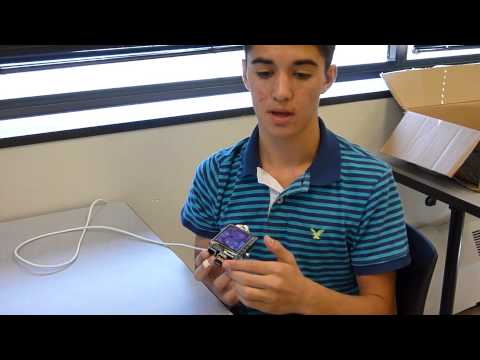
I just reached my final milestone for my RasPi Touchscreen Camera! It is entirely completed – it takes pictures, uploads them to dropbox automatically, and is even enclosed in a nice, gold, 3D printed case!
It is fully functional, and boots straight up to the camera application.
Final Documentation
Here is the link to the AdaFruit tutorials I used: Tutorials (Follow it very carefully)
Here is the link to my Bill of Materials: BOM
Milestone #2
I have now reached my second milestone for my Raspberry Pi touchscreen camera! I’ve been working on it for just under 2 weeks, and I’m pretty proud of it. It’s now a fully functional camera that automatically uploads the pictures taken to Dropbox. Downloading and installing the camera software was simple, and plugging in the camera software was even easier! However, I ran into trouble with automatically uploading pictures to Dropbox. I made a Dropbox Developer’s App, and connected it to my Pi – I was able to manually move files from my Pi into the uploader directory which would send them to Dropbox, but I couldn’t figure out how to have the pictures auto-upload. After about a week of tireless tinkering and troubleshooting, I managed to remake my Dropbox app about three or four times, even reformat my SD card with a version I had saved right before connecting anything with Dropbox, and extremely frustrate myself.
After reformatting my SD card though, I was messing around with manually uploading files to dropbox, and, on a slight whim, I made it so that my photo directory on my Pi uploads to Dropbox, and now the camera auto uploads!
For my final milestone, I will next complete my project by putting it in a case that was designed specifically for this camera and 3D printed.
Milestone #1
For my intensive project, I am making a Raspberry Pi touchscreen camera. Today (6/20/14), I reached my first milestone! For a little more then a week, ever since I finished my starter project, I have been working on it. With any project, there are bumps along the way, but I finally made it here. I burned the Raspbian Wheezy image onto my SD card, which proved to be a problem because I couldn’t burn it from my laptop. I ended up doing it on one of my instructor’s laptops, and even more so, I had to do it about three or four times. I configured my Raspberry Pi’s settings to my liking, which also took a while for I had to reconfigure them every time I got a new Raspbian image. But finally I began the work. I soldered the TFT touchscreen shield onto my RasbPi, downloaded certain Kernels for my touchscreen software and started coding. I learned a lot of basic Linux Terminal commands and also wrote some Nano scripts, which gave me some grief. But finally, I configured and calibrated the touchscreen.
I’m really excited for my next step – getting all of the camera hardware and software ready! By the end, I will have a fully functioning touchscreen camera that can upload and back up pictures to Dropbox.
I can’t wait to see my final project!
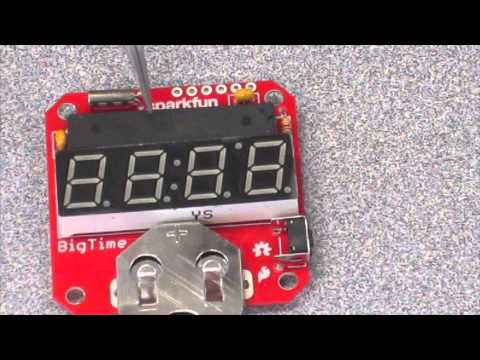
Starter Project: Big Time Watch
For my starter project, I put together the “Big Time Watch” by Sparkfun. It came as a kit with a board, a resistor, two capacitors, a crystal, microcontroller, display, button, battery holder, battery, and enclosure for the watch. Onto the board, I soldered everything but the battery and enclosure. The resistor would be used only if I would want to hack the microcontroller later by bringing down the voltage on the reset pin. The capacitors, two little yellowish caps, are used like miniature batteries to hold charge for when the display or micro controller needs a lot of energy instantaneously. The crystal is a little metal piece used to count the time. The microcontroller, a black rectangle above the display is the “brain” of the watch that runs the clock program. The display, the piece in the center with the numbers, displays the time. The button, on the bottom right, when clicked, shows the time on the display. Finally, a battery holder is used to hold the battery that powers the watch.
After soldering everything together, inserting the battery, and setting the time, I set up the enclosure for the display, finishing the gigantic watch.