Ghost Runner: My 2D Endless Runner Unity Game
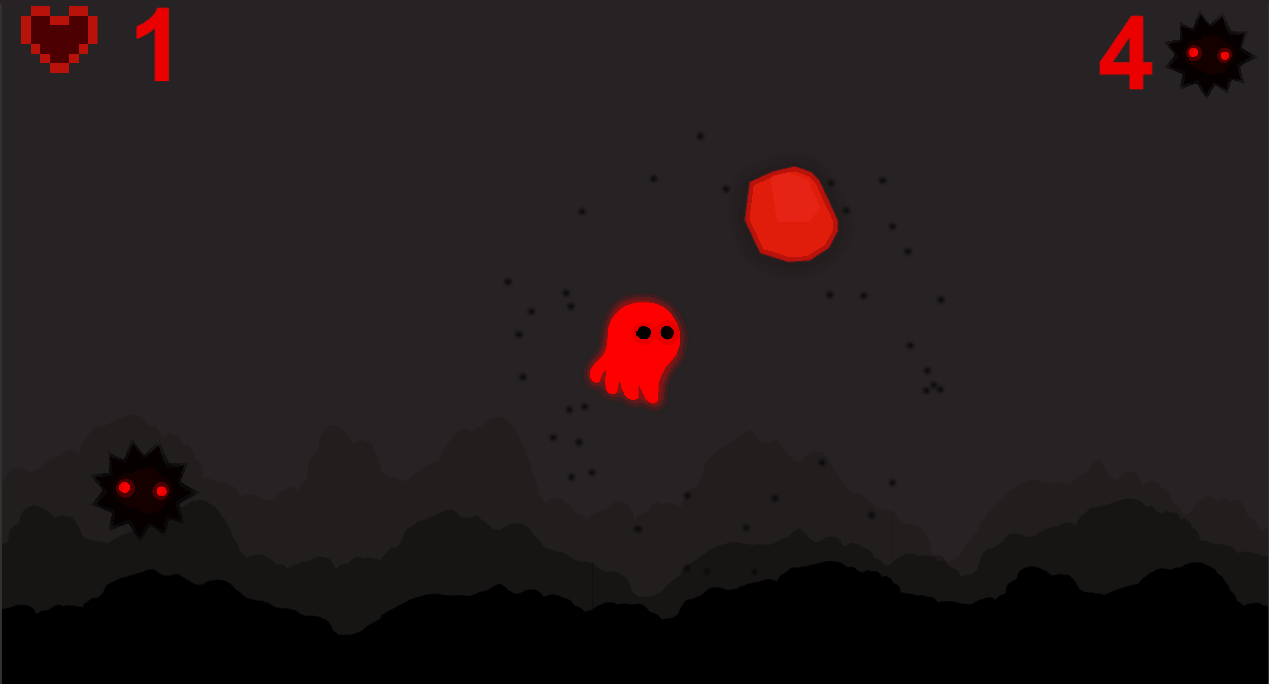
I am making a 2D Endless Unity Game. In my game, a ghost controlled by the player will navigate through a course of spikey obstacles. The ghost only has three lives, so try not to get hit! The goal is to stay alive for as long as possible.
Engineer
Aarav S
Area of Interest
Game Developement
School
Trinity School
Grade
Rising Freshman
Final Milestone
For my Final Milestone, I developed power-ups that the player can hit to get extra lives. For each power-up, the player gets one extra live. Initially, I had too many power-ups spawning and that make the game super easy. The player would get 20 lives and then would never die. Therefore, I only started spawning power-ups in one position so they would spawn less frequently. This made the game shorter, while not making it too short. I had also found an issue with my score manager that I fixed for my final milestone. Initially, the players score would disappear with the game over scene. I inserted a new script for my game that maintained and transmitted the players score from one scene to another. By doing so, the player could still see their score in the final game over scene and they could know what their score was.
HOW IT WORKS
To create the power-ups, I used the same approach and code I used for my obstacles, but with one small tweak. For the obstacles, the damage amount, which was 1, would be subtracted from the player’s health. For the power-ups, I changed the amount of damage to -1 instead of 1. Therefore, the player receives an extra life instead of losing one.
Third Milestone
For my third milestone, I attempted to complete my base project by adding a start menu and a game over scene. By doing so, my game feels more professional and complete. Initially, I had issues with continuously changing the position of different texts to account for the different camera sizes. However, after changing the text positions to be relative to the screen size, I no longer have to account for different screen sizes and I can easily make edits to text, allowing me to make professional-looking scenes.
HOW IT WORKS
I made the start and game over pages using completely different unity scenes. Each scene had a button that led to the next scene. When a player opens the game, they are welcomed to the start scene. Then, using a button, they can press “play” and begin the game. After they lose, it initiates a trigger in my code that sends them to the game over scene. When they arrive at the game over scene, they can press a button that says “try again”. Then, they are sent to the start page, restarting the process.
Second Milestone
For my second milestone of my Endless Runner Unity Game, I created a fun and interesting user interface(UI) to add flavor to my game. After changing the color of my background and adding mountains in order to create a fun background to suit the ghost, I already found the game more appealing. To add some more flavor, I created particle effects for when the player hits an obstacle. This not only makes it easier to tell when you have it a obstacle or not, but it also makes the game more interesting. However, I realized that the player had no way of actually knowing how many lives they have and how long they have been alive for. Therefore, I improved the in-game UI by developing a life counter and a scoring system. The life counter simply starts with three lives and each time the player hits an obstacle, the counter decreases by one. However, displaying the player’s score was more complex. Since I did not already have a scoring system, I had to develop one before even displaying it. After figuring out a way to count the amount, I faced some difficulty lining up the score with the icon I used to tell the player that the number being displayed was in fact their score. I realized that the text’s parent had a different location then the main camera, but after fixing it I was able to clearly display the score.
HOW IT WORKS: The Background
First of all, I created the background. I used that same background three times, changing the transparency of each one to create the illusion that some mountains are further or closer than the other. Additionally, since objects at a far distance appear to move slowly, I reduced the speed of the furthest background. After completing the design of the background, I had to turn it into a moving background. I duplicated the background and moved the second one of the camera view. I made the backgrounds move from the right to the left, and after a background is out of the camera’s view, it snaps back from the left of the camera view to its right. Therefore, their is always a moving background in the players view, making the moving background seem infinite.
HOW IT WORKS: The Scoring System
For the scoring system, I created a box that counts the amount of obstacles that runs into it. For each obstacle that hits the counting box, one point is added to the score. By completing this, I created a numerical value for a player to track their own progress and compare it with the progress of their friends. After developing the scoring system, I displayed it using a text box and put an obstacle right next to it. Initially, the obstacle I used as an icon for counting score moved with the rest of the obstacles. However after setting it’s speed to 0, it no longer moved and my scoring system worked as I intended.
First Milestone
As my first milestone, I was able to get my animated ghost to move through a course of randomly spawning obstacles. Using the up and down arrow keys, the player can navigate the ghost through the course without hitting the obstacles. If the ghost hits an obstacle, they will lose one of a total of three lives. Once the player dies, the game simply resets and the player restarts the game. The biggest difficulty I faced in this step of my project was importing the different characters into the game. Eventually, I was able to splice the four image sprite into a single ghost and animate it so the ghost looks like it is flying through the course. Since my game is now playable, my next step to completing the Endless Runner Game is bringing the game to life with small fun touches such as a background, sound effects, and particle effects. This will make my game more interesting, involving, and enjoyable. In the end, I want this to not only be my “Bluestamp Project”, but a fun and involving game for people of all ages.
HOW IT WORKS
The floating animation I used for my ghost did not come with the sprite, but required some edits to allow the ghost to come to life. Originally, the downloaded sprite was not one moving ghost, but four different images of the ghost in different positions. After splicing the image into four separate images and applying an already made animation, the ghost came to life! Similarly to a stop motion film, the four images from the ghost continuously play in an endless cycle to make the ghost seem like it is moving.
Also, I was able to make the obstacles spawn randomly by creating six different obstacle patterns and using Unity’s extremely helpful “.random” function. The “.random” function randomly choses one of the six patterns to spawn. Also, I added a time element to the spawning which decreases as the game progresses. This creates the illusion that the ghost becomes faster and faster, making the game harder. However, the obstacles eventually started spawning so quickly that the game became impossible. Therefore, I made a public float called “min Time”. This ensures that the obstacles never spawn too fast for the player to dodge them.
Starter Project
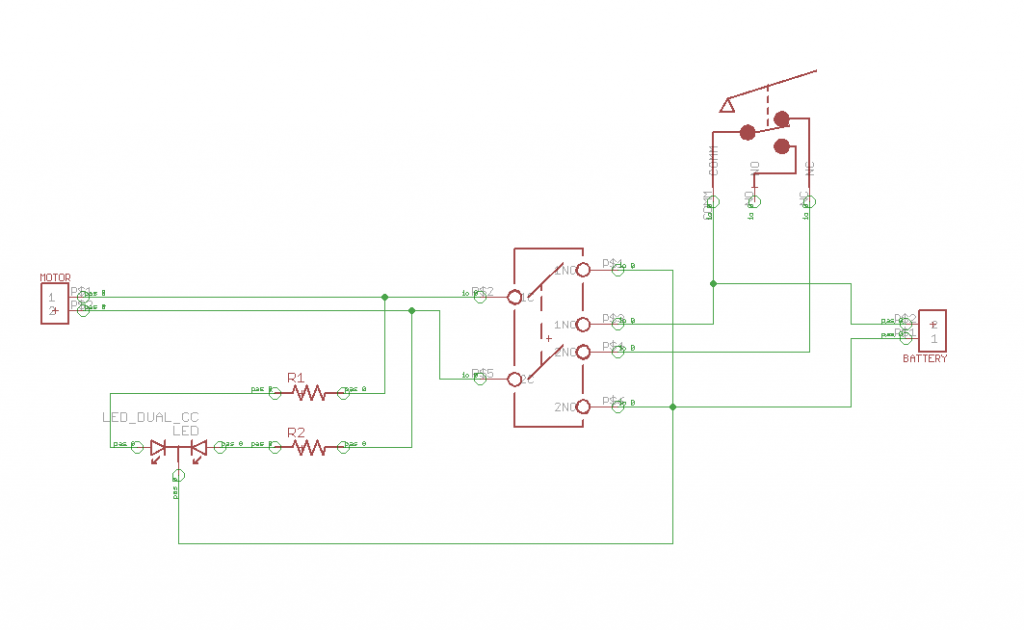
My Bluestamp Starter Project is the Useless Machine, a small box with a switch on top. When the flip is switched, a small mechanical arm comes out of the lid of the box and flips the switch back to its original position. The arm then goes back to its original position and the box is reset to its initial state. The box has no purpose and it is therefore called the Useless Machine. However, the value of making the box comes through understanding the assembly and actually putting the different components of the box together. I found assembling and researching this small black box very enjoyable. I did not find much difficulty in getting the arm to successfully flip the switch. However, after doing so, I faced some issues with screwing the screws into the pipes along the edges of the box. The pipes did not come threaded, so I had to thread them myself. The threading took a while, but in the end I was able to successfully secure the pipes on the box and complete the Useless Machine.


