Bio-metric Security System
A fingerprint security system to keep my basement bunker secure!
Engineer
Ben A
Area of Interest
Finance/ Space Travel
School
Trevor Day School
Grade
Incoming Sophomore
4th Milestone!
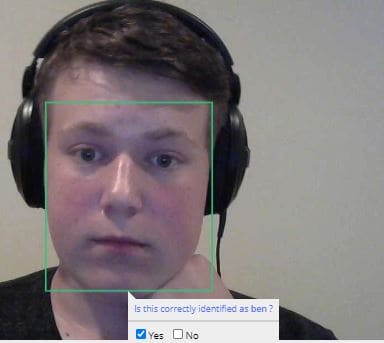
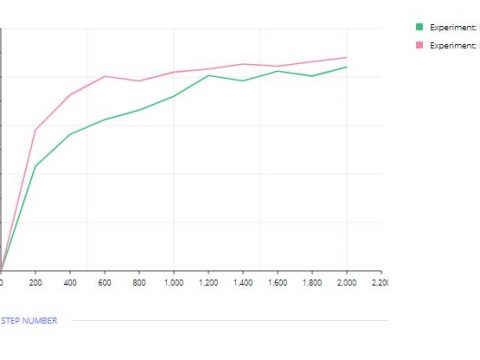
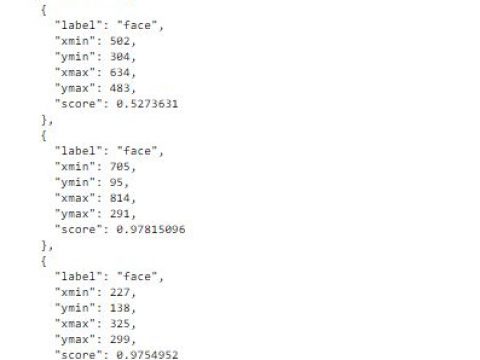
For my fourth milestone, I began work on the second half of my project. Facial recognition. I began working on this part of my project by setting up and booting my raspberry pi. For me, this was a smooth process. The only trouble I had with this part was changing a config file so the pi could output a boosted HDMI signal. This however was only a mild inconvenience. The harder part of my current milestone was developing and training my facial detection neural network. The first step was to teach the computer how to identify faces by showing it was is and is not a face. The second and much harder step was to teach the computer how to differentiate my face from other faces. This was extremely difficult because I had to attempt to mitigate the total number of false-positive errors the computer would be outputting. This was a tedious and slow process but it eventually was able to become 92.78% accurate which is good enough for my small prototype.
3rd Milestone!
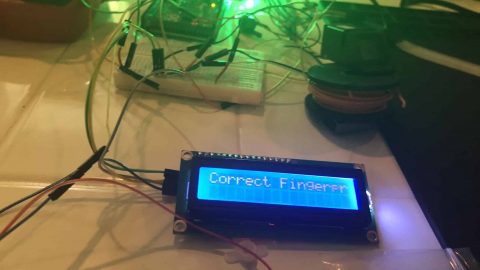
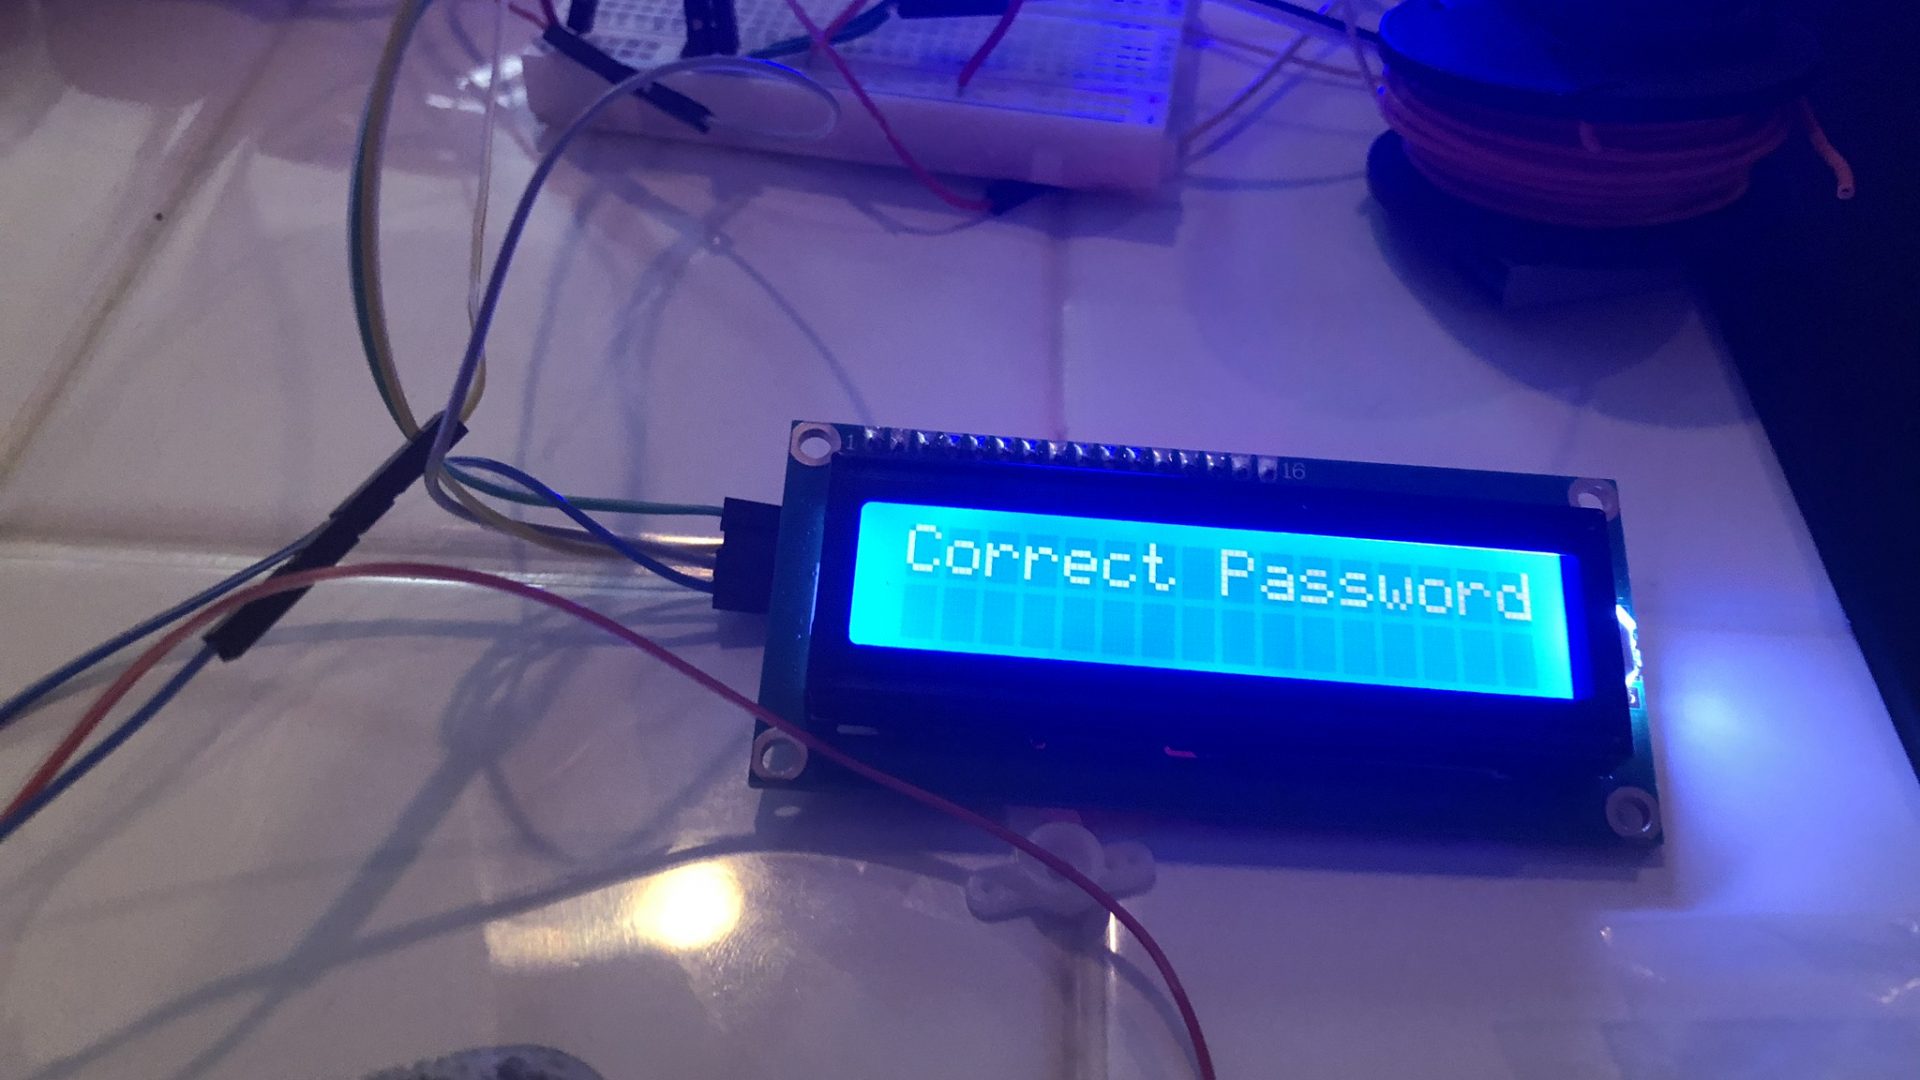
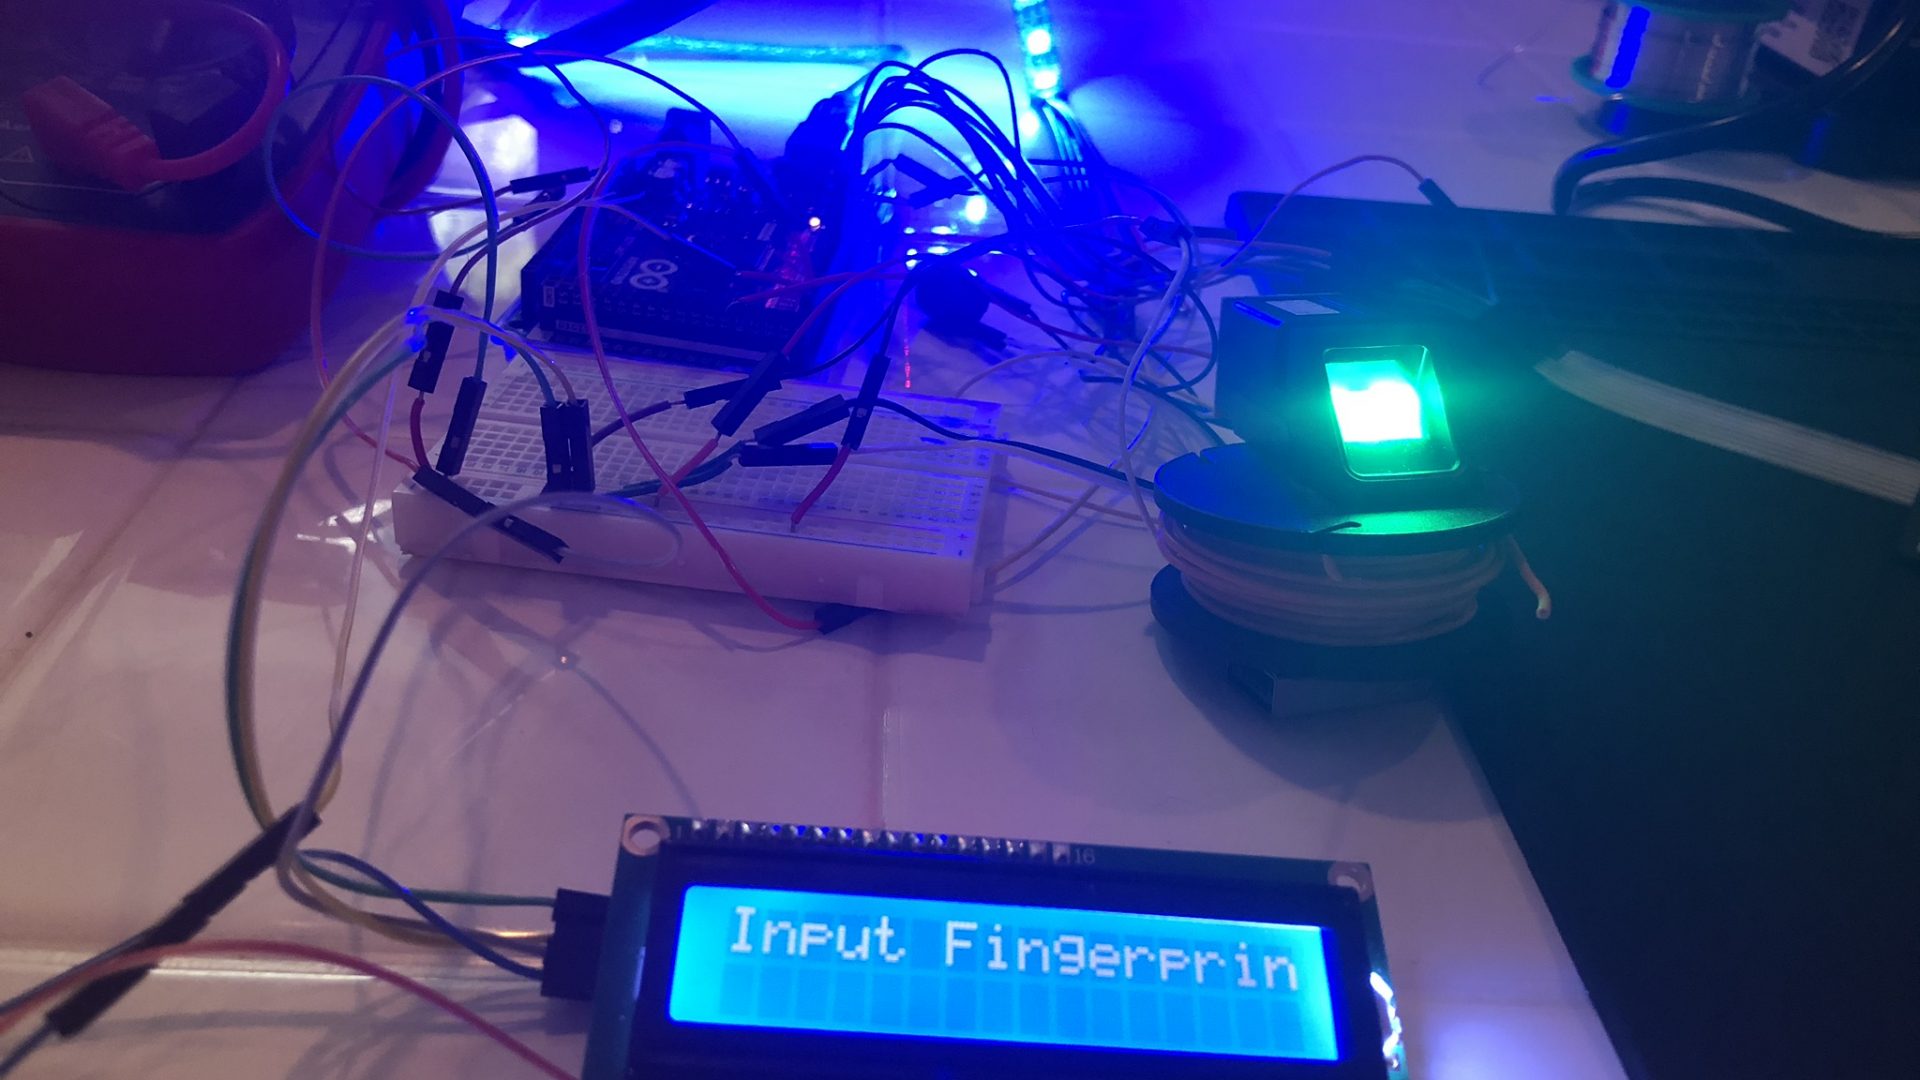
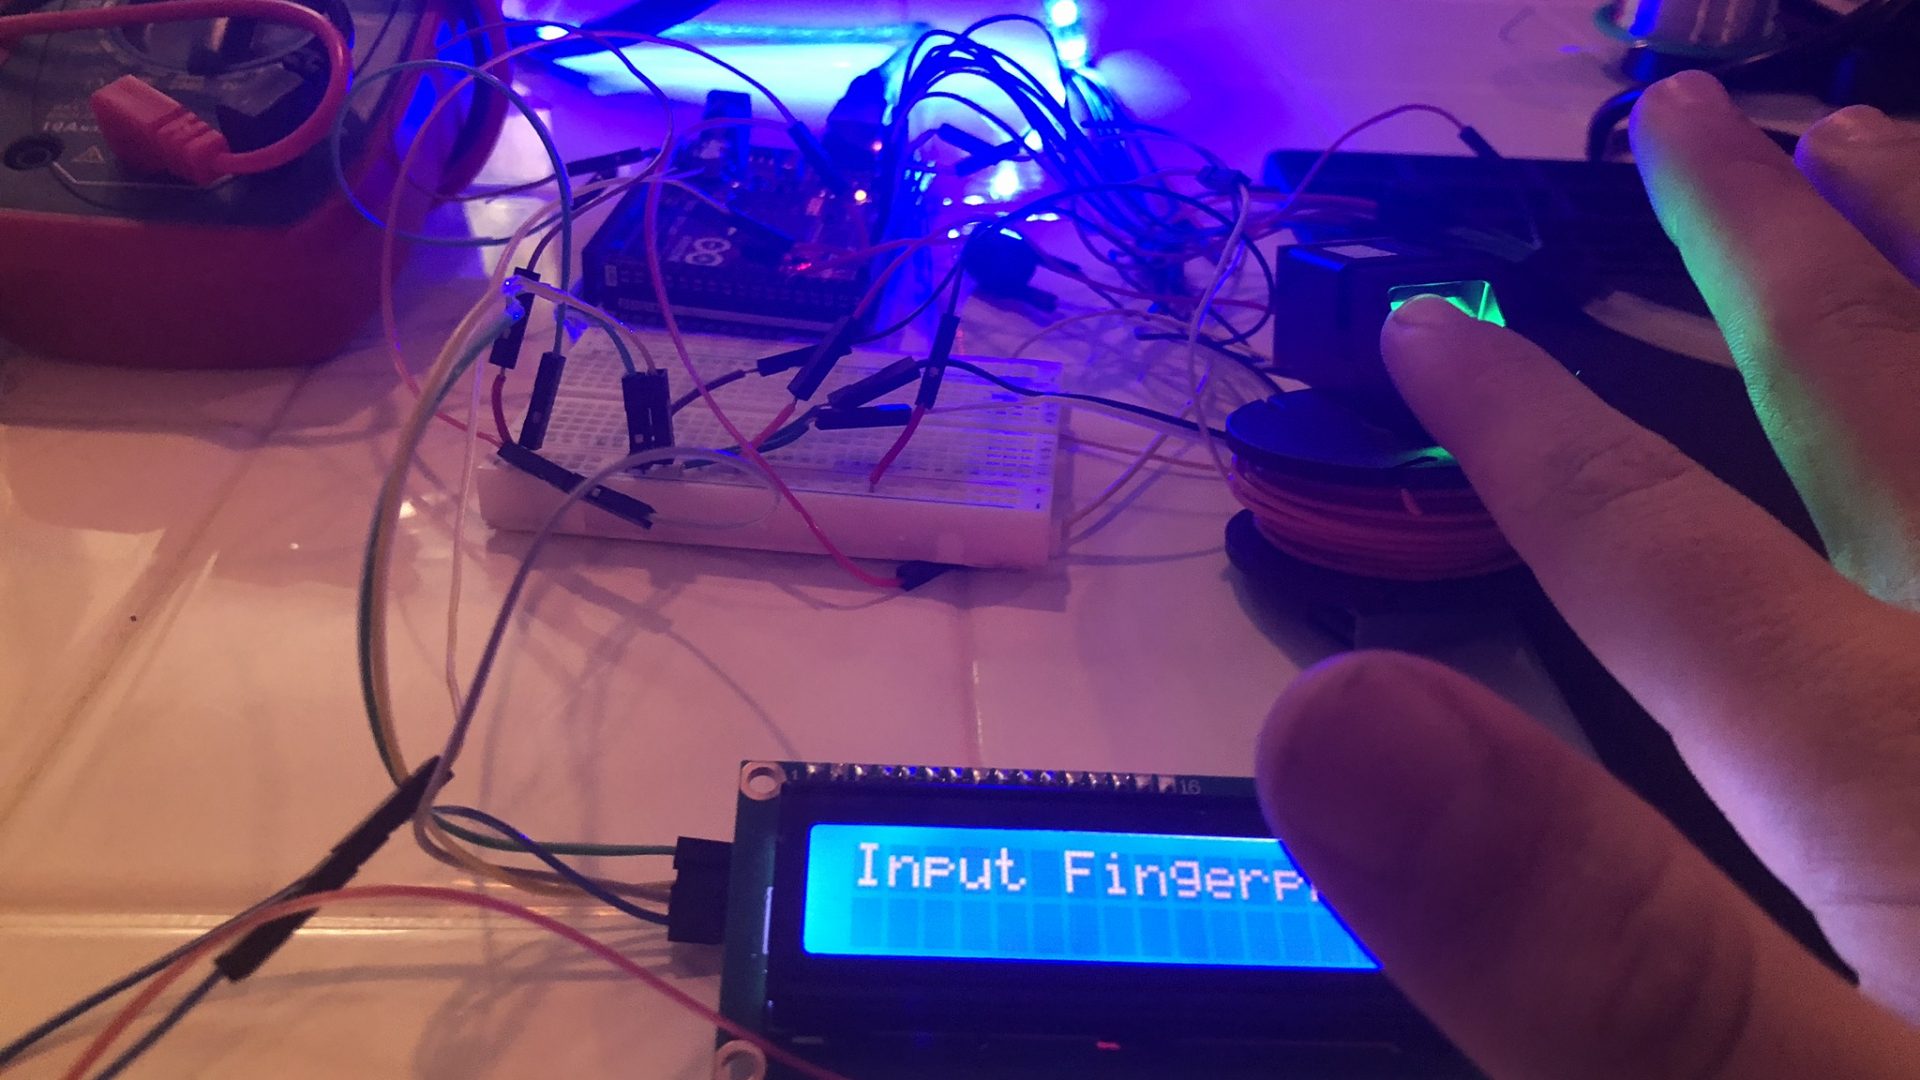
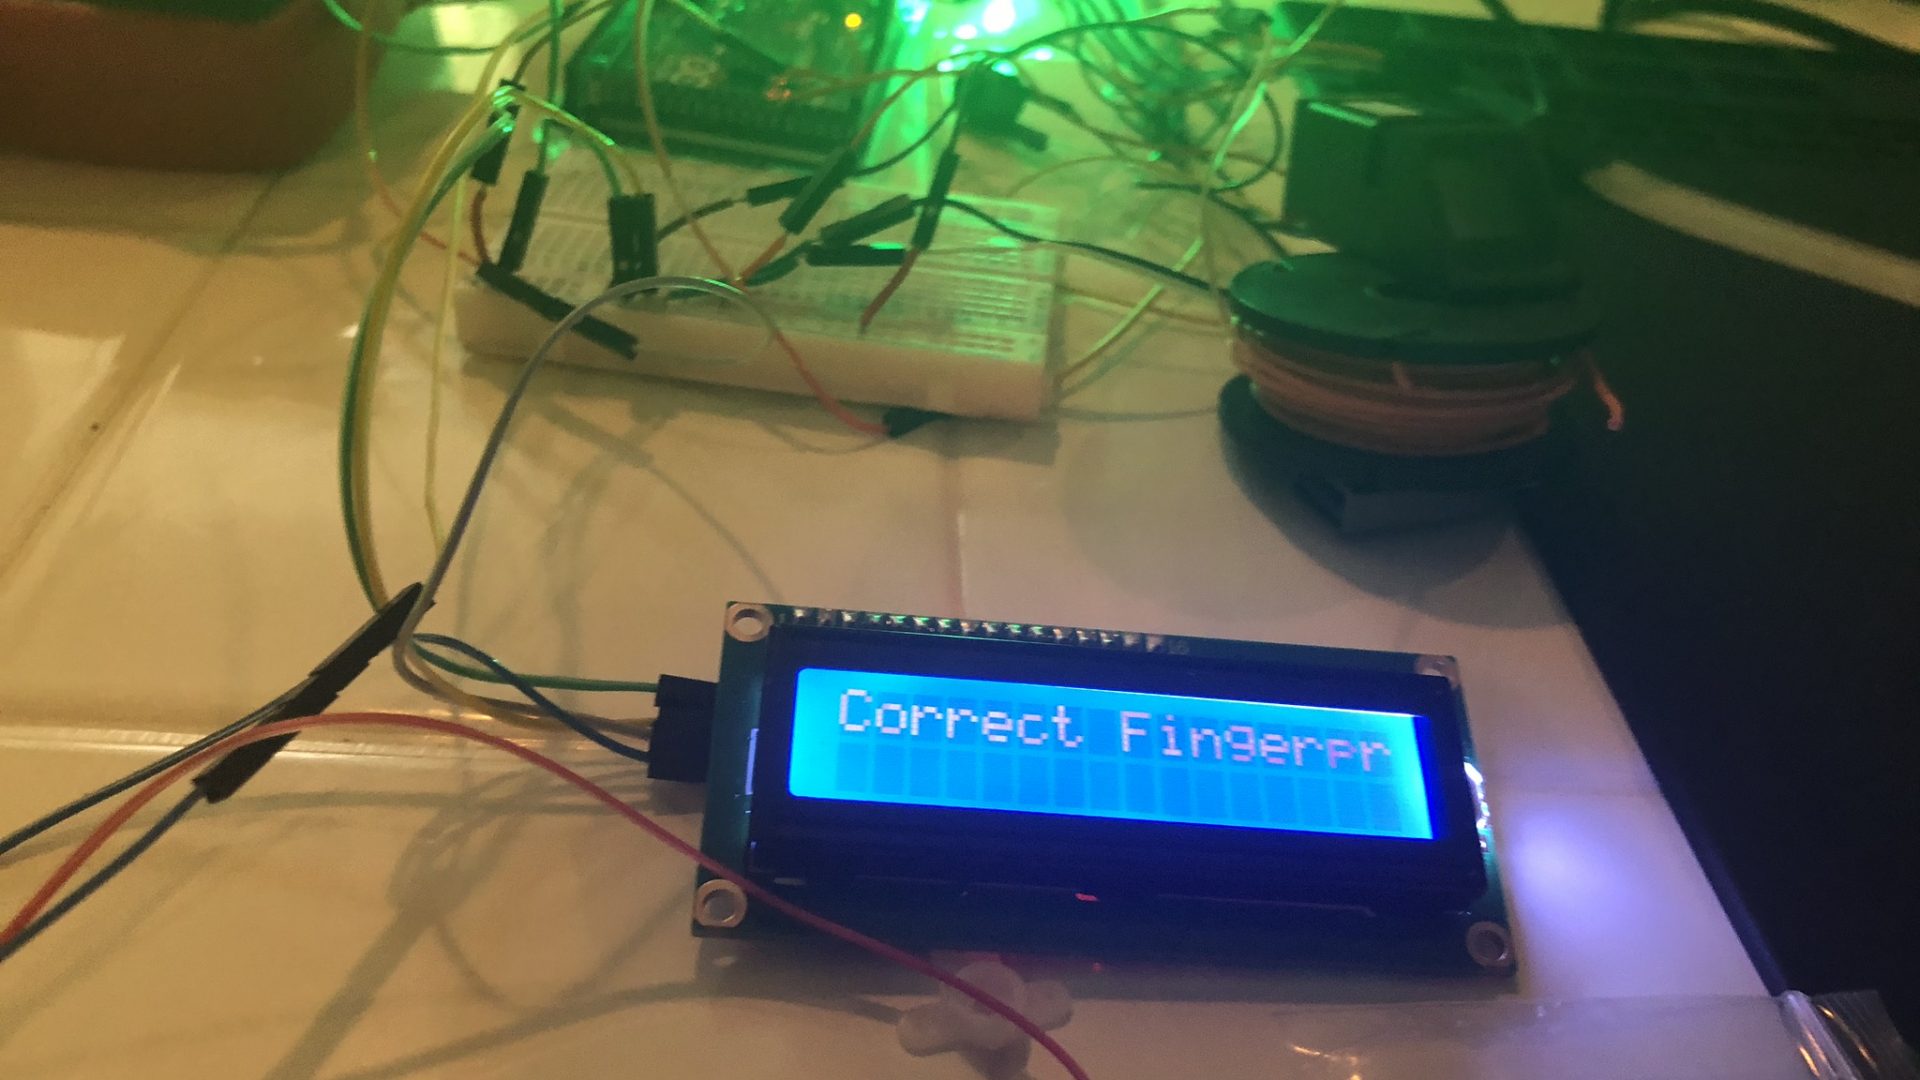
For my Second Milestone, I added and coded my Adafruit fingerprint sensor. The steps I took to incorporate it were: 1) Wiring the 6 connections required. 2) Enrolling (adding fingerprints) to the flash memory on the device. 3) Understanding the fingerprint library so I am able to integrate it into my device’s code. 4) Integrating the necessary code into my project file. 5) Troubleshooting. (The worst part.)
Adafruit_Fingerprint finger = Adafruit_Fingerprint(&mySerial);
int red = 0;
int green = 0;
int blue = 0;
String password = “1234”;
String mypassword;
int counter = 0;
int attempts = 0;
int max_attempts = 5;
bool keypad_ok;
bool enter_keypad = true;
const byte ROWS = 4; //four rows
const byte COLS = 4; //three columns
char keys[ROWS][COLS] = {
{‘1′,’2′,’3′,’A’},
{‘4′,’5′,’6′,’B’ },
{‘7′,’8′,’9′,’C’},
{‘*’,’0′,’#’,’D’}
};
byte rowPins[ROWS] = {5, 4, 3, 2}; //connect to the row pinouts of the keypad
byte colPins[COLS] = {9, 8, 7, 6}; //connect to the column pinouts of the keypad
Keypad keypad = Keypad( makeKeymap(keys), rowPins, colPins, ROWS, COLS );
void setup() {
finger.begin(57600);
red = 0;
green = 0;
blue = 255;
Serial.begin(9600);
pixels.show();
lcd.init();
lcd.backlight();
lcd.setCursor(0,0);
lcd.print(“Booting…”);
delay(3400);
lcd.clear();
lcd.print(“Welcome!”);
delay(3000);
lcd.clear();
lcd.print(“enter password!”);
myservo.attach(9);
pixels.begin(); // INITIALIZE NeoPixel strip object (REQUIRED)
pinMode(31, OUTPUT);
pixel();
}
void fingercheck () {
uint8_t p = finger.getImage();
if (p != FINGERPRINT_OK) return -1;
p = finger.image2Tz();
if (p != FINGERPRINT_OK) return -1;
p = finger.fingerFastSearch();
if (p != FINGERPRINT_OK) return -1;
// found a match!
Serial.print(“Found ID #”); Serial.print(finger.fingerID);
Serial.print(” with confidence of “); Serial.println(finger.confidence);
green = 255;
blue = 0;
pixel();
lcd.clear();
lcd.println(“Correct Fingerprint”);
delay(1000);
lcd.clear();
lcd.println(“Welcome to:”);
lcd.setCursor(0,1);
lcd.println(“Ben’s Man Cave”);
delay(7000);
green = 0;
blue = 255;
pixel();
mypassword = “”;
counter = 0;
lcd.clear();
lcd.setCursor(0,0);
lcd.println(“Enter password”);
enter_keypad = true;
keypad_ok = false;
return finger.fingerID;
}
void flash () {
pixels.show();
for(int i=0; i<NUMPIXELS; i++) { // For each pixel…
pixels.setPixelColor(i, pixels.Color(255, 0, 0));
pixels.show();
}
}
void noise () {
tone(31, 440); //A
delay(1000);
noTone(31);
delay(300);
tone(31, 440); //A
delay(1000);
noTone(31);
delay(300);
tone(31, 440); //A
delay(1000);
noTone(31);
delay(300);
tone(31, 440); //A
delay(1000);
noTone(31);
delay(300);
tone(31, 440); //A
delay(1000);
noTone(31);
delay(300);
tone(31, 440); //A
delay(1000);
noTone(31);
delay(300);
tone(31, 440); //A
delay(1000);
noTone(31);
delay(300);
tone(31, 440); //A
delay(1000);
noTone(31);
delay(300);
tone(31, 440); //A
delay(1000);
noTone(31);
delay(300);
pixels.show();
for(int i=0; i<NUMPIXELS; i++) { // For each pixel…
pixels.setPixelColor(i, pixels.Color(0, 0, 255));
pixels.show();
}
}
void pixel (){
pixels.show();
for(int i=0; i<NUMPIXELS; i++) { // For each pixel…
pixels.setPixelColor(i, pixels.Color(red, green, blue));
pixels.show();
}
}
void lock () {
// Send the updated pixel colors to the hardware.
// myservo.write(75);
//red = 250;
}
void pass (){
if (enter_keypad == true){
char key = keypad.getKey();
if (key){
Serial.println(key);
counter = counter + 1;
lcd.setCursor(counter, 1);
lcd.print(“*”);
}
if (key == ‘1’)
{
mypassword = mypassword + 1;
}
if (key == ‘2’)
{
mypassword = mypassword + 2;
}
if (key == ‘3’)
{
mypassword = mypassword + 3;
}
if (key == ‘4’)
{
mypassword = mypassword + 4;
}
if (key == ‘5’)
{
mypassword = mypassword + 5;
}
if (key == ‘6’)
{
mypassword = mypassword + 6;
}
if (key == ‘7’)
{
mypassword = mypassword + 7;
}
if (key == ‘8’)
{
mypassword = mypassword + 8;
}
if (key == ‘9’)
{
mypassword = mypassword + 9;
}
if (key == ‘0’)
{
mypassword = mypassword + 0;
}
if (key == ‘*’)
{
Serial.println(mypassword);
if ( password == mypassword )
{
lcd.clear();
lcd.print(“Correct Password!”);
delay(1000);
lcd.clear();
lcd.print(“Input Fingerprint”);
enter_keypad = false;
keypad_ok = true;
Serial.println(keypad_ok);
}
else
{
Serial.println(“wrong pass”);
attempts = attempts + 1;
if (attempts >= max_attempts )
{
lcd.clear();
lcd.setCursor(0,0);
lcd.print(“Locked Out”);
flash();
noise();
delay(200000);
attempts = 0;
}
mypassword = “”;
counter = 0;
lcd.clear();
lcd.setCursor(0,0);
lcd.print(“Wrong Password”);
green = 0;
blue = 0;
red = 250;
pixel();
delay(1000);
lcd.setCursor(0,1);
lcd.print(“max attempts 3”);
delay(1000);
blue = 250;
red = 0;
green = 0;
pixel();
lcd.clear();
lcd.println(“Enter password”);
lcd.setCursor(0,1);
}
}
}
}
void loop(){
if(enter_keypad == 1){
pass();
}
if(keypad_ok == 1){
fingercheck();
}
}
Second Milestone
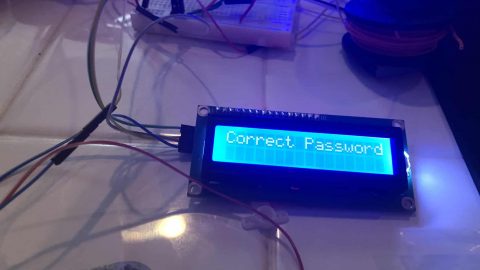
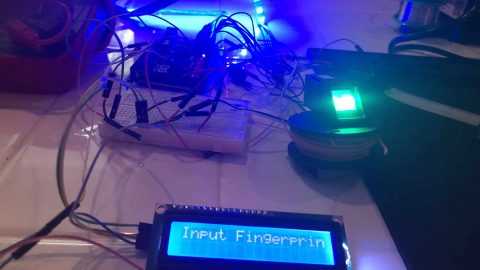
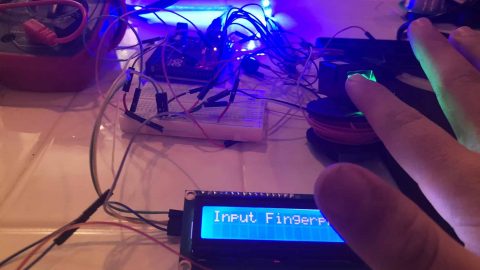
For my Second Milestone, I added and coded my Adafruit fingerprint sensor. The steps I took to incorporate it were: 1) Wiring the 6 connections required. 2) Enrolling (adding fingerprints) to the flash memory on the device. 3) Understanding the fingerprint library so I am able to integrate it into my device’s code. 4) Integrating the necessary code into my project file. 5) Troubleshooting. (The worst part.)
Adafruit_Fingerprint finger = Adafruit_Fingerprint(&mySerial);
int red = 0;
int green = 0;
int blue = 0;
String password = “1234”;
String mypassword;
int counter = 0;
int attempts = 0;
int max_attempts = 5;
bool keypad_ok;
bool enter_keypad = true;
const byte ROWS = 4; //four rows
const byte COLS = 4; //three columns
char keys[ROWS][COLS] = {
{‘1′,’2′,’3′,’A’},
{‘4′,’5′,’6′,’B’ },
{‘7′,’8′,’9′,’C’},
{‘*’,’0′,’#’,’D’}
};
byte rowPins[ROWS] = {5, 4, 3, 2}; //connect to the row pinouts of the keypad
byte colPins[COLS] = {9, 8, 7, 6}; //connect to the column pinouts of the keypad
Keypad keypad = Keypad( makeKeymap(keys), rowPins, colPins, ROWS, COLS );
void setup() {
finger.begin(57600);
red = 0;
green = 0;
blue = 255;
Serial.begin(9600);
pixels.show();
lcd.init();
lcd.backlight();
lcd.setCursor(0,0);
lcd.print(“Booting…”);
delay(3400);
lcd.clear();
lcd.print(“Welcome!”);
delay(3000);
lcd.clear();
lcd.print(“enter password!”);
myservo.attach(9);
pixels.begin(); // INITIALIZE NeoPixel strip object (REQUIRED)
pinMode(31, OUTPUT);
pixel();
}
void fingercheck () {
uint8_t p = finger.getImage();
if (p != FINGERPRINT_OK) return -1;
p = finger.image2Tz();
if (p != FINGERPRINT_OK) return -1;
p = finger.fingerFastSearch();
if (p != FINGERPRINT_OK) return -1;
// found a match!
Serial.print(“Found ID #”); Serial.print(finger.fingerID);
Serial.print(” with confidence of “); Serial.println(finger.confidence);
green = 255;
blue = 0;
pixel();
lcd.clear();
lcd.println(“Correct Fingerprint”);
delay(1000);
lcd.clear();
lcd.println(“Welcome to:”);
lcd.setCursor(0,1);
lcd.println(“Ben’s Man Cave”);
delay(7000);
green = 0;
blue = 255;
pixel();
mypassword = “”;
counter = 0;
lcd.clear();
lcd.setCursor(0,0);
lcd.println(“Enter password”);
enter_keypad = true;
keypad_ok = false;
return finger.fingerID;
}
void flash () {
pixels.show();
for(int i=0; i<NUMPIXELS; i++) { // For each pixel…
pixels.setPixelColor(i, pixels.Color(255, 0, 0));
pixels.show();
}
}
void noise () {
tone(31, 440); //A
delay(1000);
noTone(31);
delay(300);
tone(31, 440); //A
delay(1000);
noTone(31);
delay(300);
tone(31, 440); //A
delay(1000);
noTone(31);
delay(300);
tone(31, 440); //A
delay(1000);
noTone(31);
delay(300);
tone(31, 440); //A
delay(1000);
noTone(31);
delay(300);
tone(31, 440); //A
delay(1000);
noTone(31);
delay(300);
tone(31, 440); //A
delay(1000);
noTone(31);
delay(300);
tone(31, 440); //A
delay(1000);
noTone(31);
delay(300);
tone(31, 440); //A
delay(1000);
noTone(31);
delay(300);
pixels.show();
for(int i=0; i<NUMPIXELS; i++) { // For each pixel…
pixels.setPixelColor(i, pixels.Color(0, 0, 255));
pixels.show();
}
}
void pixel (){
pixels.show();
for(int i=0; i<NUMPIXELS; i++) { // For each pixel…
pixels.setPixelColor(i, pixels.Color(red, green, blue));
pixels.show();
}
}
void lock () {
// Send the updated pixel colors to the hardware.
// myservo.write(75);
//red = 250;
}
void pass (){
if (enter_keypad == true){
char key = keypad.getKey();
if (key){
Serial.println(key);
counter = counter + 1;
lcd.setCursor(counter, 1);
lcd.print(“*”);
}
if (key == ‘1’)
{
mypassword = mypassword + 1;
}
if (key == ‘2’)
{
mypassword = mypassword + 2;
}
if (key == ‘3’)
{
mypassword = mypassword + 3;
}
if (key == ‘4’)
{
mypassword = mypassword + 4;
}
if (key == ‘5’)
{
mypassword = mypassword + 5;
}
if (key == ‘6’)
{
mypassword = mypassword + 6;
}
if (key == ‘7’)
{
mypassword = mypassword + 7;
}
if (key == ‘8’)
{
mypassword = mypassword + 8;
}
if (key == ‘9’)
{
mypassword = mypassword + 9;
}
if (key == ‘0’)
{
mypassword = mypassword + 0;
}
if (key == ‘*’)
{
Serial.println(mypassword);
if ( password == mypassword )
{
lcd.clear();
lcd.print(“Correct Password!”);
delay(1000);
lcd.clear();
lcd.print(“Input Fingerprint”);
enter_keypad = false;
keypad_ok = true;
Serial.println(keypad_ok);
}
else
{
Serial.println(“wrong pass”);
attempts = attempts + 1;
if (attempts >= max_attempts )
{
lcd.clear();
lcd.setCursor(0,0);
lcd.print(“Locked Out”);
flash();
noise();
delay(200000);
attempts = 0;
}
mypassword = “”;
counter = 0;
lcd.clear();
lcd.setCursor(0,0);
lcd.print(“Wrong Password”);
green = 0;
blue = 0;
red = 250;
pixel();
delay(1000);
lcd.setCursor(0,1);
lcd.print(“max attempts 3”);
delay(1000);
blue = 250;
red = 0;
green = 0;
pixel();
lcd.clear();
lcd.println(“Enter password”);
lcd.setCursor(0,1);
}
}
}
}
void loop(){
if(enter_keypad == 1){
pass();
}
if(keypad_ok == 1){
fingercheck();
}
}
First Milestone
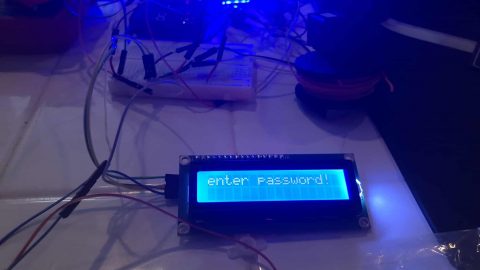
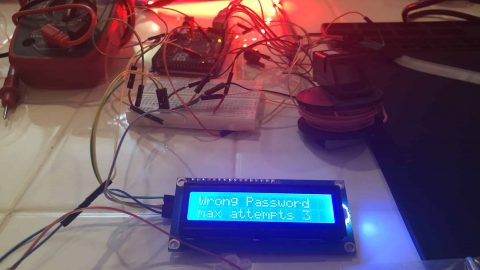
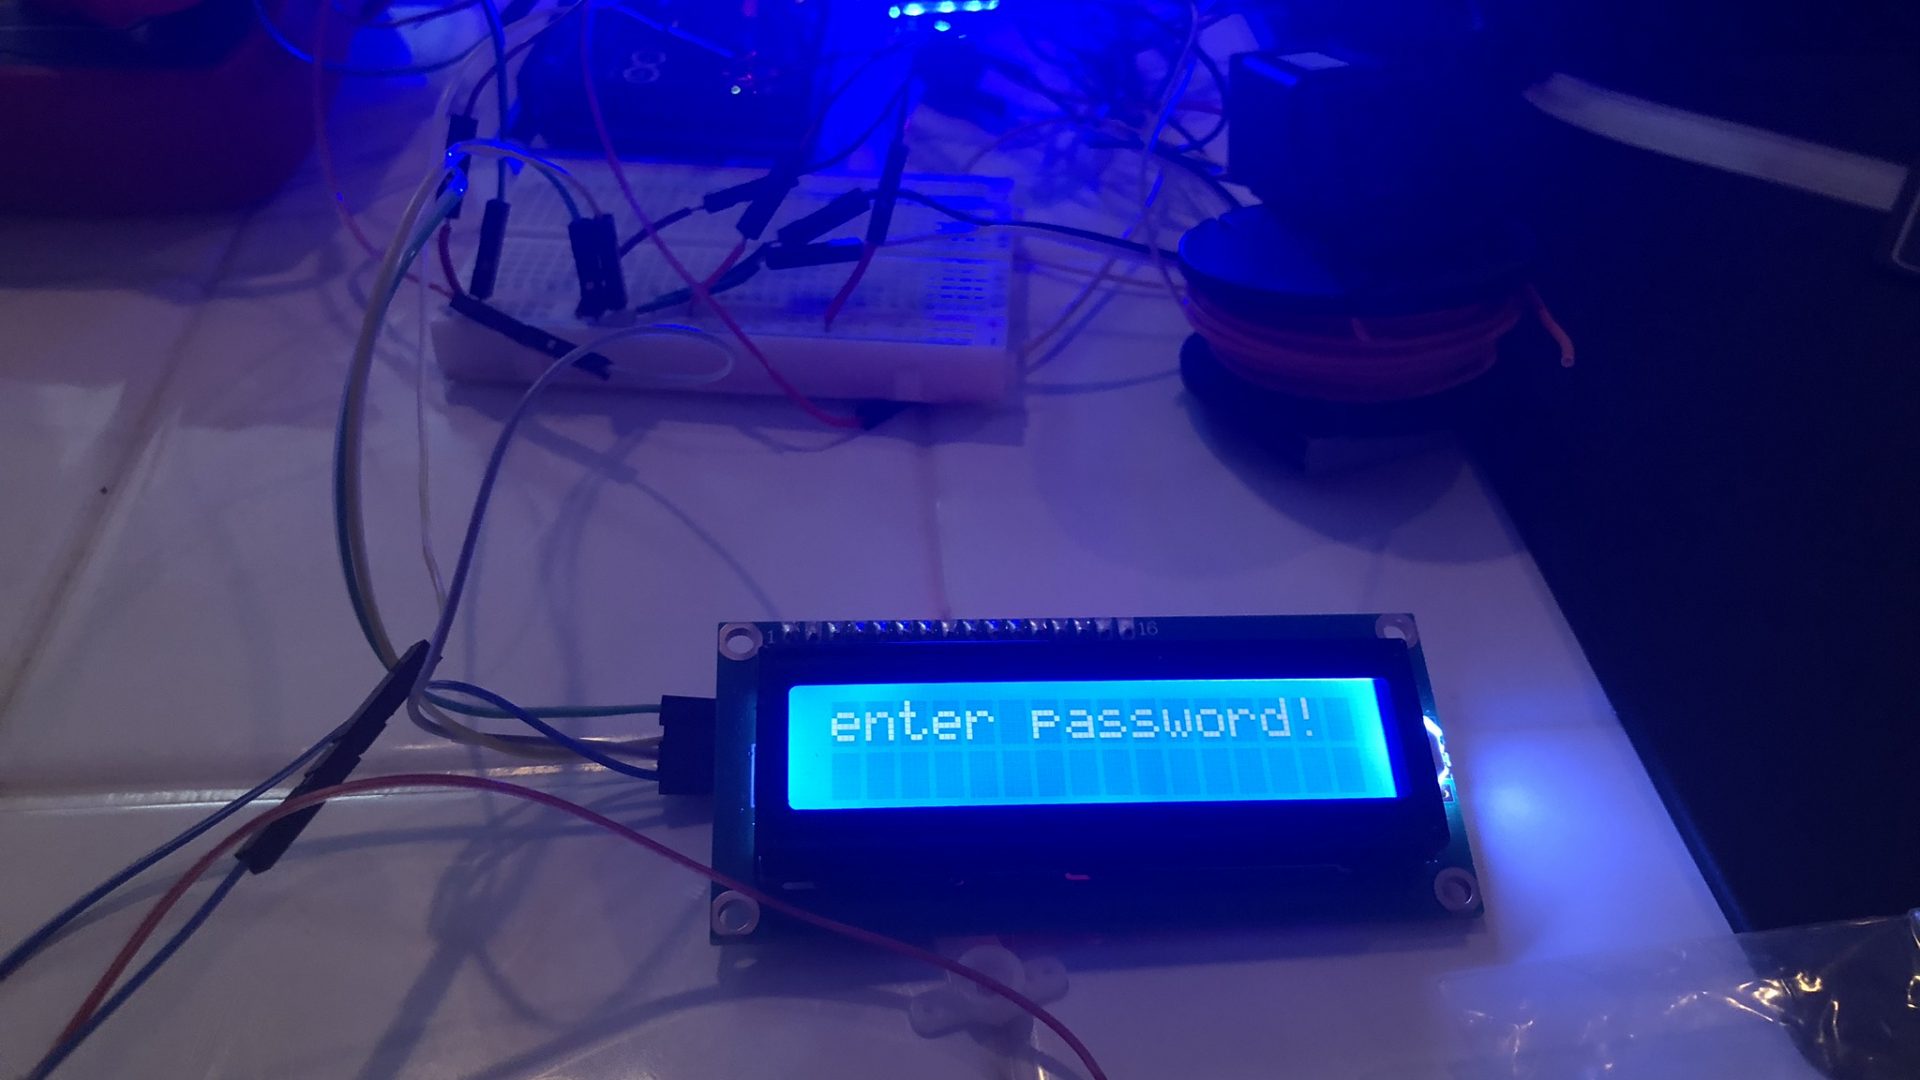
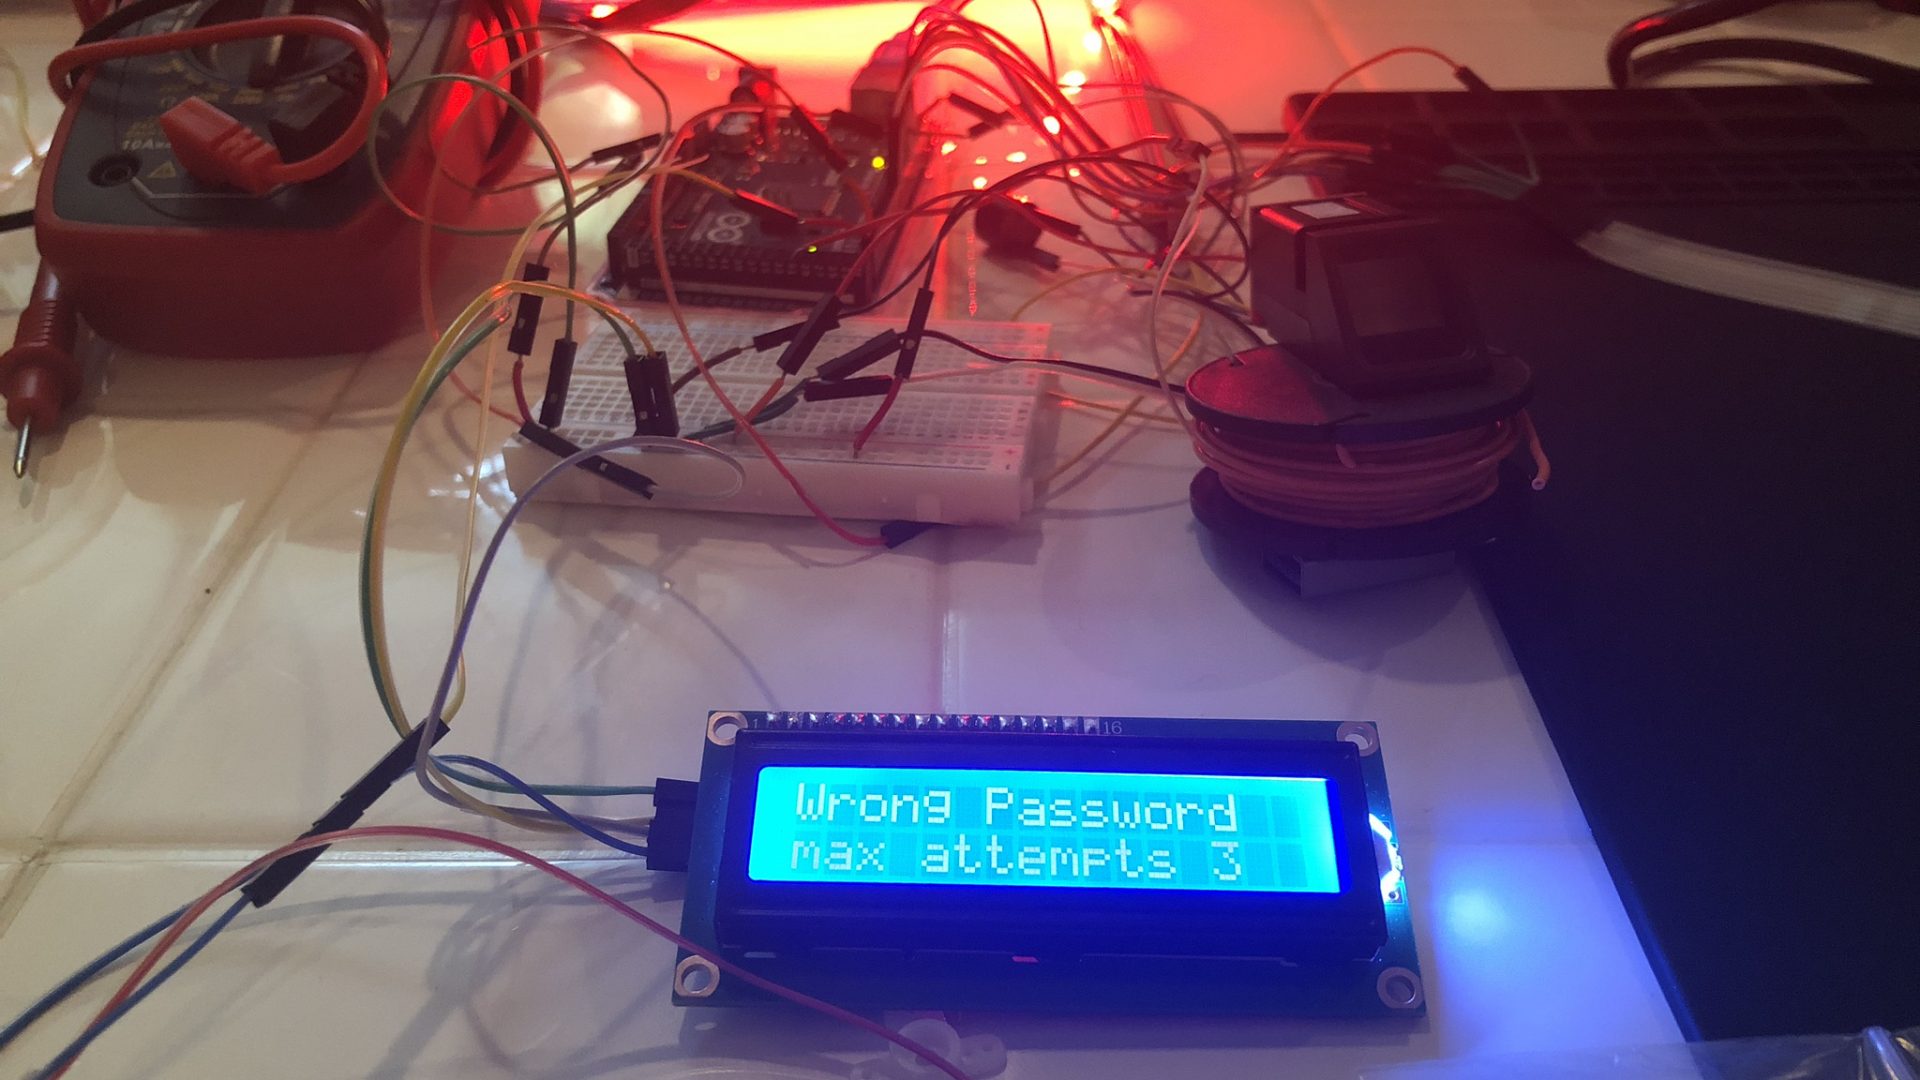
During my first-week building and coding my new project, I made several strides including completing my first milestone. I was able to succsessfully wire together and code my Arduino, neopixel lights, keypad, LCD screen, and Pizo buzzer. When a key on the keypad is pressed, a row pin and a column pin communicate to the Arduino that a particular key is pressed. The Arduino then sends the pressed key to the display so the user can see the total number of keys pressed before entering the final pin code. If the pin code is the same as the string value in the code green lights are displayed as well as a signal is sent to the servo to open, however, if the pin code is deemed incorrect, the lights turn red and value is added to the total number of failed attempts. If the total number of failed attempts exceeds the limit. (In this case 3). The user is locked out until there is admin intervention.(A restart of the Arduino).
int red = 0;
int green = 0;
int blue = 0;
String password = “1234”;
String mypassword;
int counter = 0;
int attempts = 0;
int max_attempts = 3;
const byte ROWS = 4; //four rows
const byte COLS = 4; //three columns
char keys[ROWS][COLS] = {
{‘1′,’2′,’3′,’A’},
{‘4′,’5′,’6′,’B’ },
{‘7′,’8′,’9′,’C’},
{‘*’,’0′,’#’,’D’}
};
byte rowPins[ROWS] = {5, 4, 3, 2}; //connect to the row pinouts of the keypad
byte colPins[COLS] = {9, 8, 7, 6}; //connect to the column pinouts of the keypad
Keypad keypad = Keypad( makeKeymap(keys), rowPins, colPins, ROWS, COLS );
void setup() {
red = 0;
green = 0;
blue = 255;
Serial.begin(9600);
pixels.show();
lcd.init();
lcd.backlight();
lcd.setCursor(0,0);
lcd.print(“Booting…”);
delay(3400);
lcd.clear();
lcd.print(“Welcome!”);
delay(3000);
lcd.clear();
lcd.print(“Input Password”);
myservo.attach(9);
pixels.begin(); // INITIALIZE NeoPixel strip object (REQUIRED)
pinMode(12, OUTPUT);
pixel();
}
void unlock () {
// int lock;
// int red;
// int green;
/// int blue;
//myservo.write(0);
// Serial.print(“1”);
// green = 250;
// pixels.show();
// for(int i=0; i<NUMPIXELS; i++) { // For each pixel…
// pixels.setPixelColor(i, pixels.Color(red, green, blue));
}
void flash () {
pixels.show();
for(int i=0; i<NUMPIXELS; i++) { // For each pixel…
pixels.setPixelColor(i, pixels.Color(255, 0, 0));
pixels.show();
}
}
void noise () {
tone(12, 440); //A
delay(1000);
noTone(12);
delay(300);
tone(12, 440); //A
delay(1000);
noTone(12);
delay(300);
tone(12, 440); //A
delay(1000);
noTone(12);
delay(300);
tone(12, 440); //A
delay(1000);
noTone(12);
delay(300);
tone(12, 440); //A
delay(1000);
noTone(12);
delay(300);
tone(12, 440); //A
delay(1000);
noTone(12);
delay(300);
tone(12, 440); //A
delay(1000);
noTone(12);
delay(300);
tone(12, 440); //A
delay(1000);
noTone(12);
delay(300);
tone(12, 440); //A
delay(1000);
noTone(12);
delay(300);
pixels.show();
for(int i=0; i<NUMPIXELS; i++) { // For each pixel…
pixels.setPixelColor(i, pixels.Color(0, 0, 255));
pixels.show();
}
}
void pixel (){
pixels.show();
for(int i=0; i<NUMPIXELS; i++) { // For each pixel…
pixels.setPixelColor(i, pixels.Color(red, green, blue));
pixels.show();
}
}
void lock () {
// Send the updated pixel colors to the hardware.
// myservo.write(75);
//red = 250;
}
void pass (){
char key = keypad.getKey();
if (key){
Serial.println(key);
counter = counter + 1;
lcd.setCursor(counter, 1);
lcd.print(“*”);
}
if (key == ‘1’)
{
mypassword = mypassword + 1;
}
if (key == ‘2’)
{
mypassword = mypassword + 2;
}
if (key == ‘3’)
{
mypassword = mypassword + 3;
}
if (key == ‘4’)
{
mypassword = mypassword + 4;
}
if (key == ‘5’)
{
mypassword = mypassword + 5;
}
if (key == ‘6’)
{
mypassword = mypassword + 6;
}
if (key == ‘7’)
{
mypassword = mypassword + 7;
}
if (key == ‘8’)
{
mypassword = mypassword + 8;
}
if (key == ‘9’)
{
mypassword = mypassword + 9;
}
if (key == ‘0’)
{
mypassword = mypassword + 0;
}
if (key == ‘*’)
{
Serial.println(mypassword);
if ( password == mypassword )
{
green = 255;
blue = 0;
Serial.println(green);
Serial.println(red);
pixel();
lcd.clear();
lcd.println(“Welcome To”);
lcd.setCursor(0,1);
lcd.println(“Ben’s Man Cave”);
delay(7000);
green = 0;
blue = 255;
pixel();
mypassword = “”;
counter = 0;
lcd.clear();
lcd.setCursor(0,0);
lcd.println(“Enter password”);
}
else
{
Serial.println(“wrong pass”);
attempts = attempts + 1;
if (attempts >= max_attempts )
{
lcd.clear();
lcd.setCursor(0,0);
lcd.print(“Locked Out”);
flash();
noise();
delay(200000);
attempts = 0;
}
mypassword = “”;
counter = 0;
lcd.clear();
lcd.setCursor(0,0);
lcd.print(“Wrong Password”);
green = 0;
blue = 0;
red = 250;
pixel();
delay(1000);
lcd.setCursor(0,1);
lcd.print(“max attempts 3”);
delay(1000);
blue = 250;
red = 0;
green = 0;
pixel();
lcd.clear();
lcd.println(“Enter password”);
lcd.setCursor(0,1);
}
}
}
void loop(){
pass();
}
Explanation Of Wiring
My Elegoo Uno acts as the brains of my security system. All of the components are wired into the Arduino in order to receive and direct signals. The LCD screen has a module on it to condense a total of 16 pins to only 4. These pins are attached to analog ports in order to make up for the other pins that were condensed. The servo is relatively simple compared to LCD. The only pins it needs to receive power and data are a positive, ground, and singular digital pin. The last component currently attached to my Arduino is the keypad. This keypad uses 8 separate digital pins configured in a four by four pattern. (rows by columns).


