Video Game Emulator
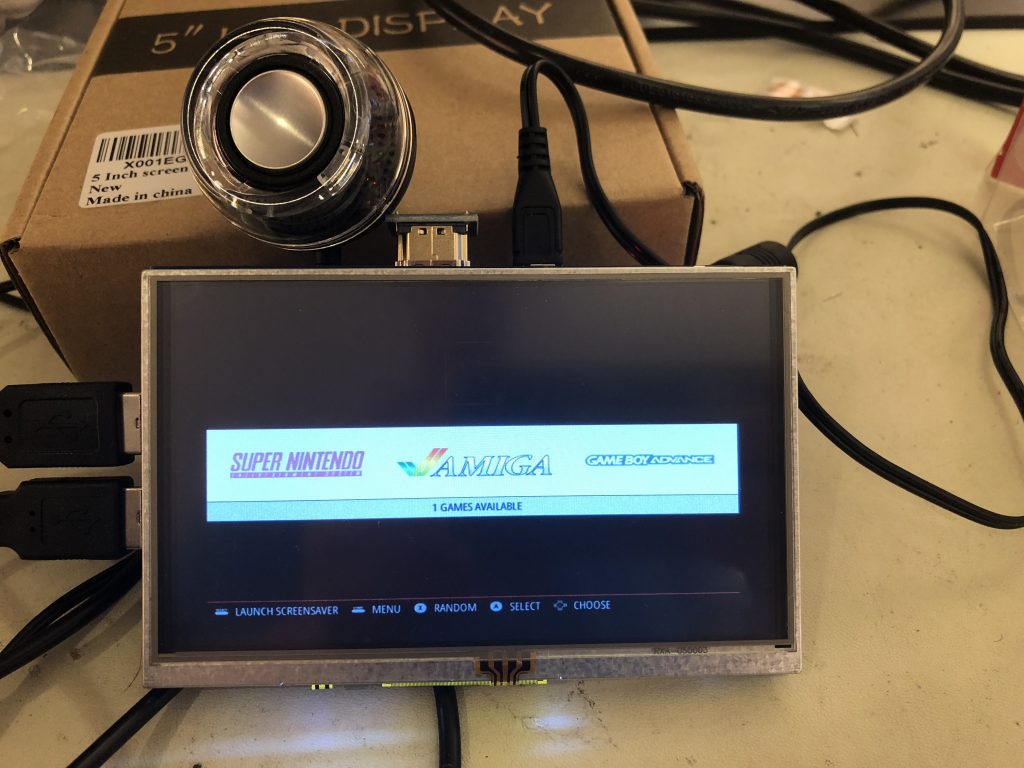
The Video Game emulator uses a Raspberry Pi 3 and Emulation software from the internet to play a wide variety of games. Including those from the Atari, DS, Gameboy, N64, NES, SNES, and more. The only requirement to play games is to add the ROM files on to the Raspberry Pi, then the software can automatically detect these files and allow them to be played.
Engineer
Andrew B
Area of Interest
Computers, Engineering
School
Garden City High School
Grade
Rising Junior
Final Milestone
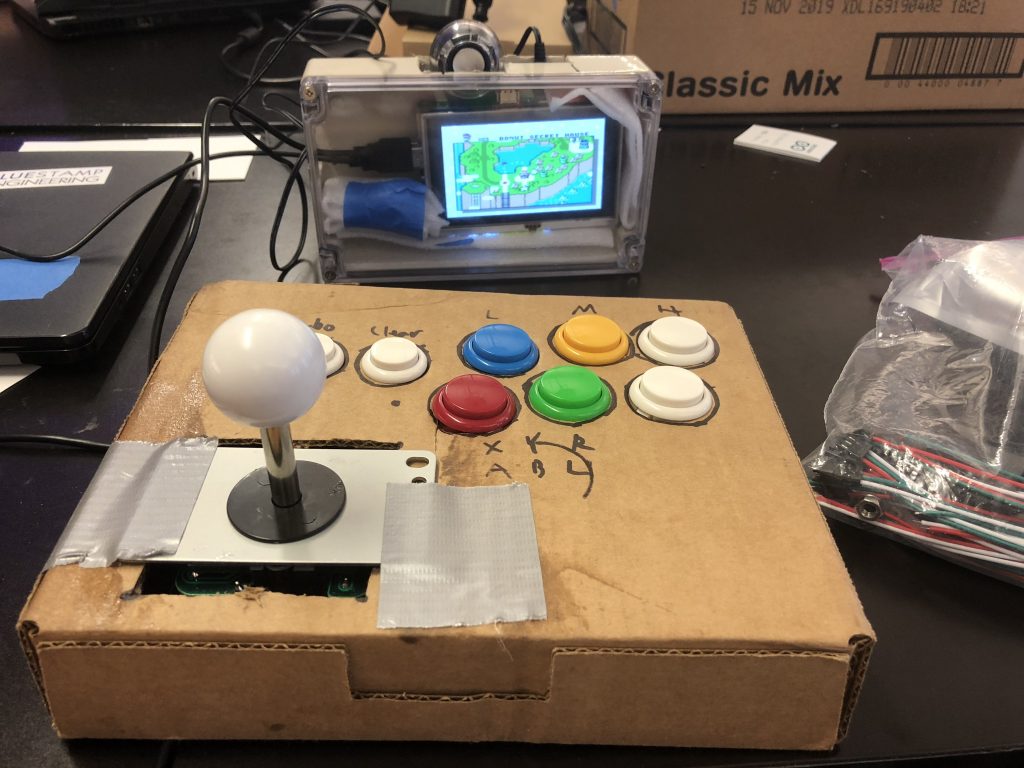
My final milestone was creating a case for the videogame emulator, alongside creating my own custom controller to work with the system. I used a plastic case and cut holes in it in order to run wires through it. I then used the protective wrap the case came in to hold the screen in place. For the controller, I cut small holes into a cardboard box in order to hold the buttons in place, and taped the joystick on.
Second Milestone
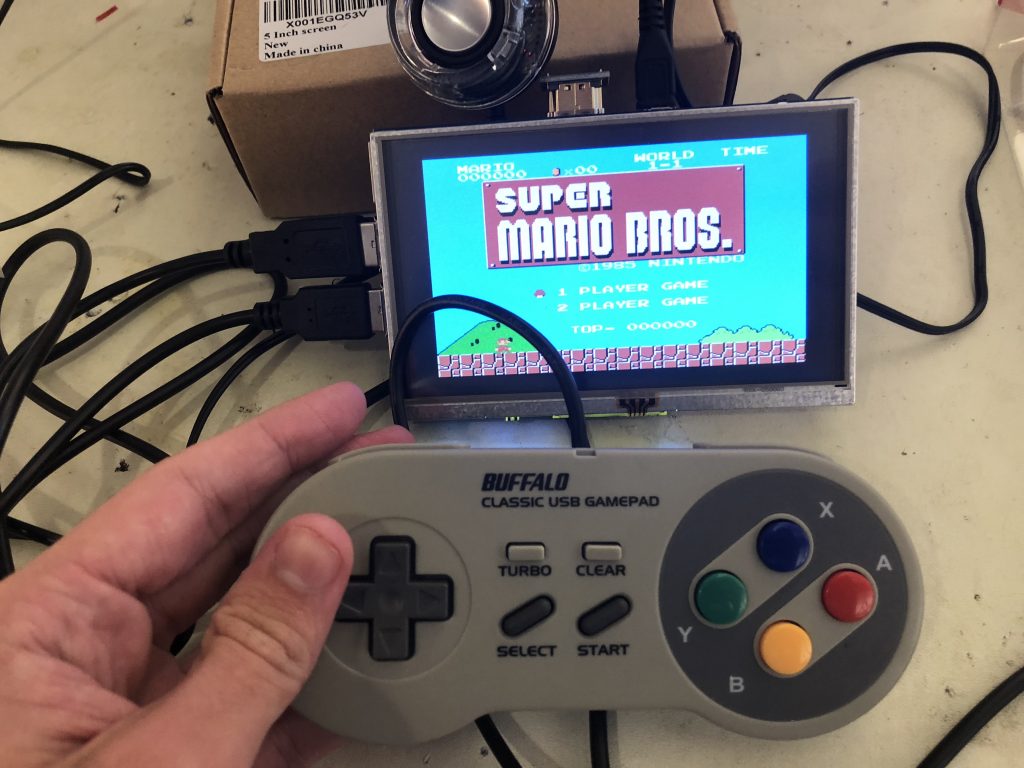
My second milestone was connecting the controllers, keyboard, speaker, and installing games for the system. I was also able to get multiplayer games working. First, I had to use the emulator’s menu to connect each controller and map the buttons. Then, I had to connect my speaker and set the emulator to play audio out of it. Lastly, I had to install the games from a usb drive to the Raspberry Pi to play them.
First Milestone
My first milestone was to set up the Raspberry Pi. First I had to format my micro SD card in order to work properly. I installed software to my computer that would allow me to do this. After the card was formatted, I installed the Operating System to the card which would install the emulation software. This set up the Raspberry Pi and got the emulation software working.
How to add ROM’s
Starter Project
My Starter Project is the TV-B-Gone, a device that can sends commonly used signals that can turn TV’s on and off. Over 200 different codes are stored in the device, allowing it to work on most TV’s. I enjoyed working on this project because I got to learn how each part works in the device and why it’s needed, and I also learned how to solder.
Images
How it works
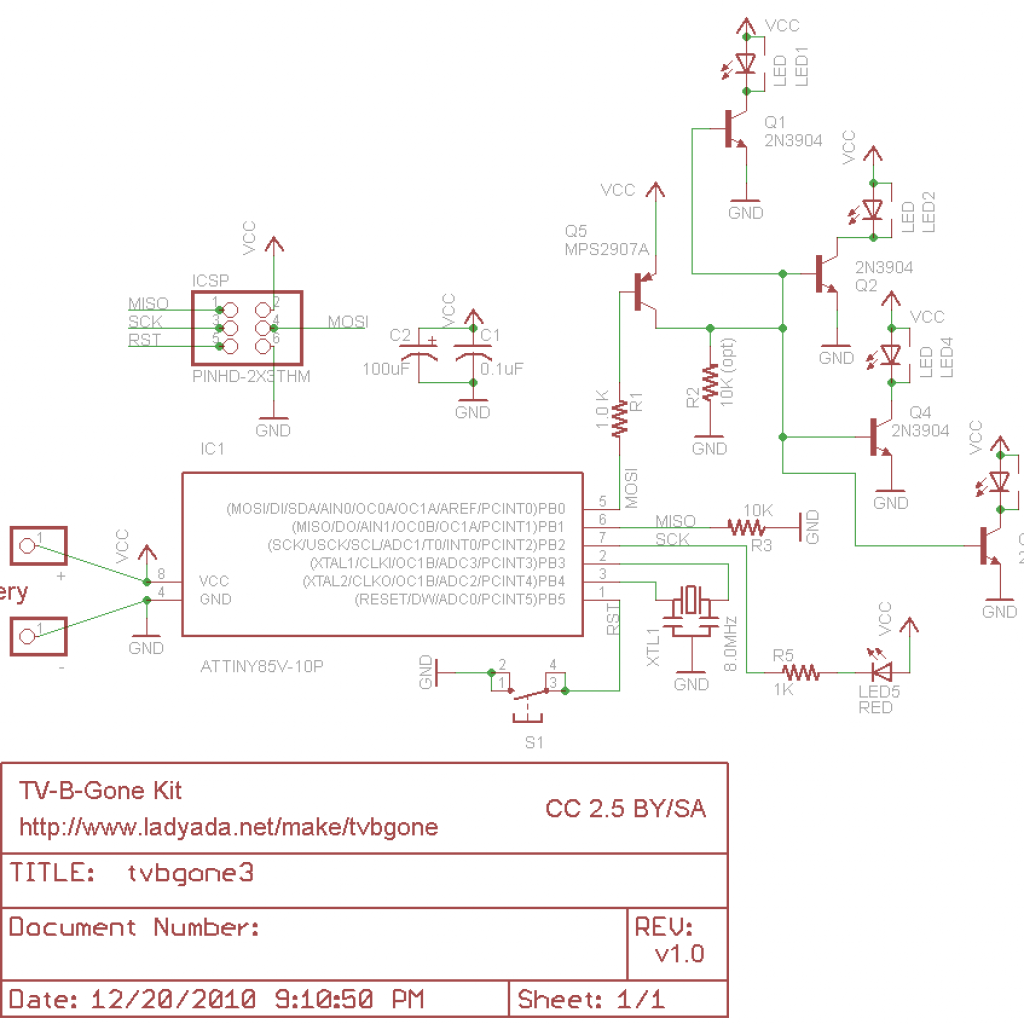
The TV-B-Gone is powered by 2 AA batteries. The microcontroller is placed in an 8 pin socket. The oscillator, functions like a clock, and controls the speed of functions from the microcontroller. When the button is pressed, the microcontroller resets, and starts sending the codes to the 4 transistors on the front. The transistors amplify the signal sent to the 4 infrared LEDs on the front, and also act as a digital switch. This allows the LEDs to be turned on and off quickly, which is necessary for sending a signal to the TVs. The LED’s will go through every code sent by the microcontroller, and after it does the last code, the TV-B-Gone will enter a low power mode until the button is pressed again.


