Vein Finding Camera
My project is a device that uses infrared light to create a contrast image depicting the location of veins.
Engineer
Jack M
Area of Interest
Biology/ Engineering
School
SAR high school
Grade
Incoming Senior
Reflection
I came into Bluestamp with an interest in all science and experience on the computer science side of engineering. I had taken courses in app development and working with Python. While my experience was helpful, working on code corresponding to a device was a whole new and exciting experience. On the hardware side of my project, I came in with no similar experience and therefor was able to learn so much about an aspect of engineering I never had gotten to pursue before. These new experiences came with difficulty, but from those challenges, I was able to grow and become more capable. I am so thankful for my time at Bluestamp, because it gave me the opportunity to complete every aspect of a project and introduced me to the exiting world of engineering. Through my project I was also able to combine my new passion for engineering with my love of biology.
Third Milestone
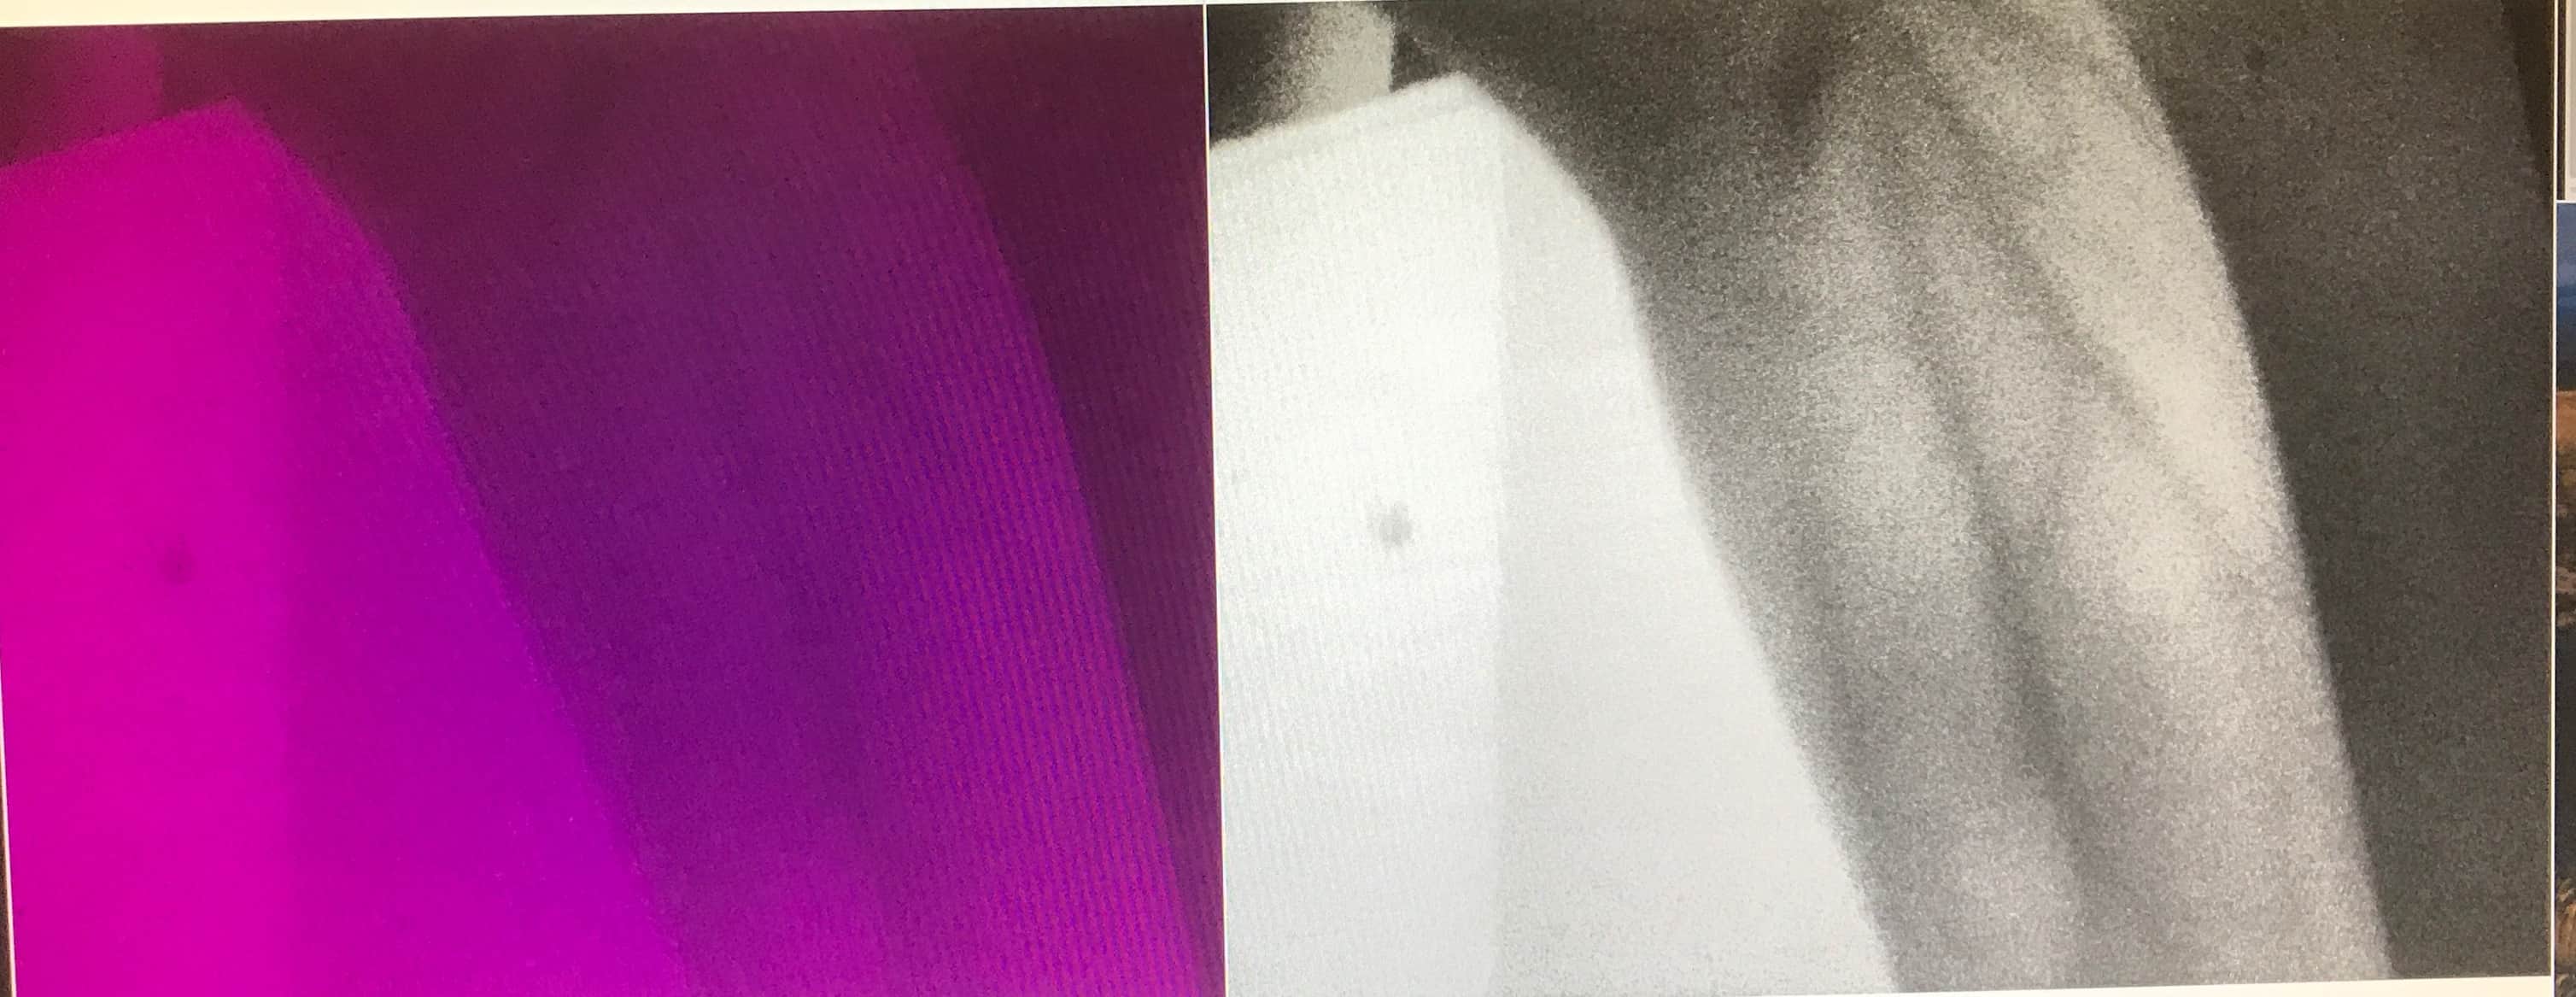
For my third and final milestone, I completed the hardware for my IR vein finding camera and integrated it with my image processing code. The components of my camera are all compiled onto a proof board(figure 1). First, I soldered in four infrared light emitting diodes (IR LEDs), connecting one end of each together using wires in order to connect to ground. I then connected the other end of the LEDs through 560 ohm resistors, also soldered into the board, and then meeting together to receive 5V power (figure 2). The 5V power and the ground are provided by the Raspberry Pi. There is a switch controlling power in order to prevent constant power going into the bulbs. Next, I drilled and filled a hole into the back of the board to place a Raspberry Pi camera without an IR filter through. The reason the IR filter is left out is because the IR rays need to be isolated and on a normal camera, they are excluded. This is important, because the IR light is highly permeable to human tissue, while still being absorbed by the blood (Figure 3). Once the IR rays were included, the non IR light needs to be left out using an IR bandpass filter inserted on top of the PCB. Once my camera was fully assembled, I was able to complete the image processing using photos provided by my camera (figures 4 and 5). Throughout the building of my camera, I faced some problems with determining the proper amount of light. I went through a few cameras looking for the right one, but in the end I was able to produce working product. This process was very rewarding, as I came in with a goal I was able to reach said goal despite unforeseen difficulties along the way.
Figure 3: Light spectrum absorption
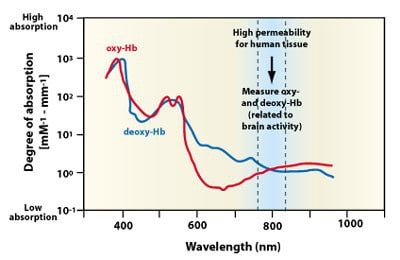
Figure 4: Photo of hand twice contracted

Figure 1: Fully assembled device
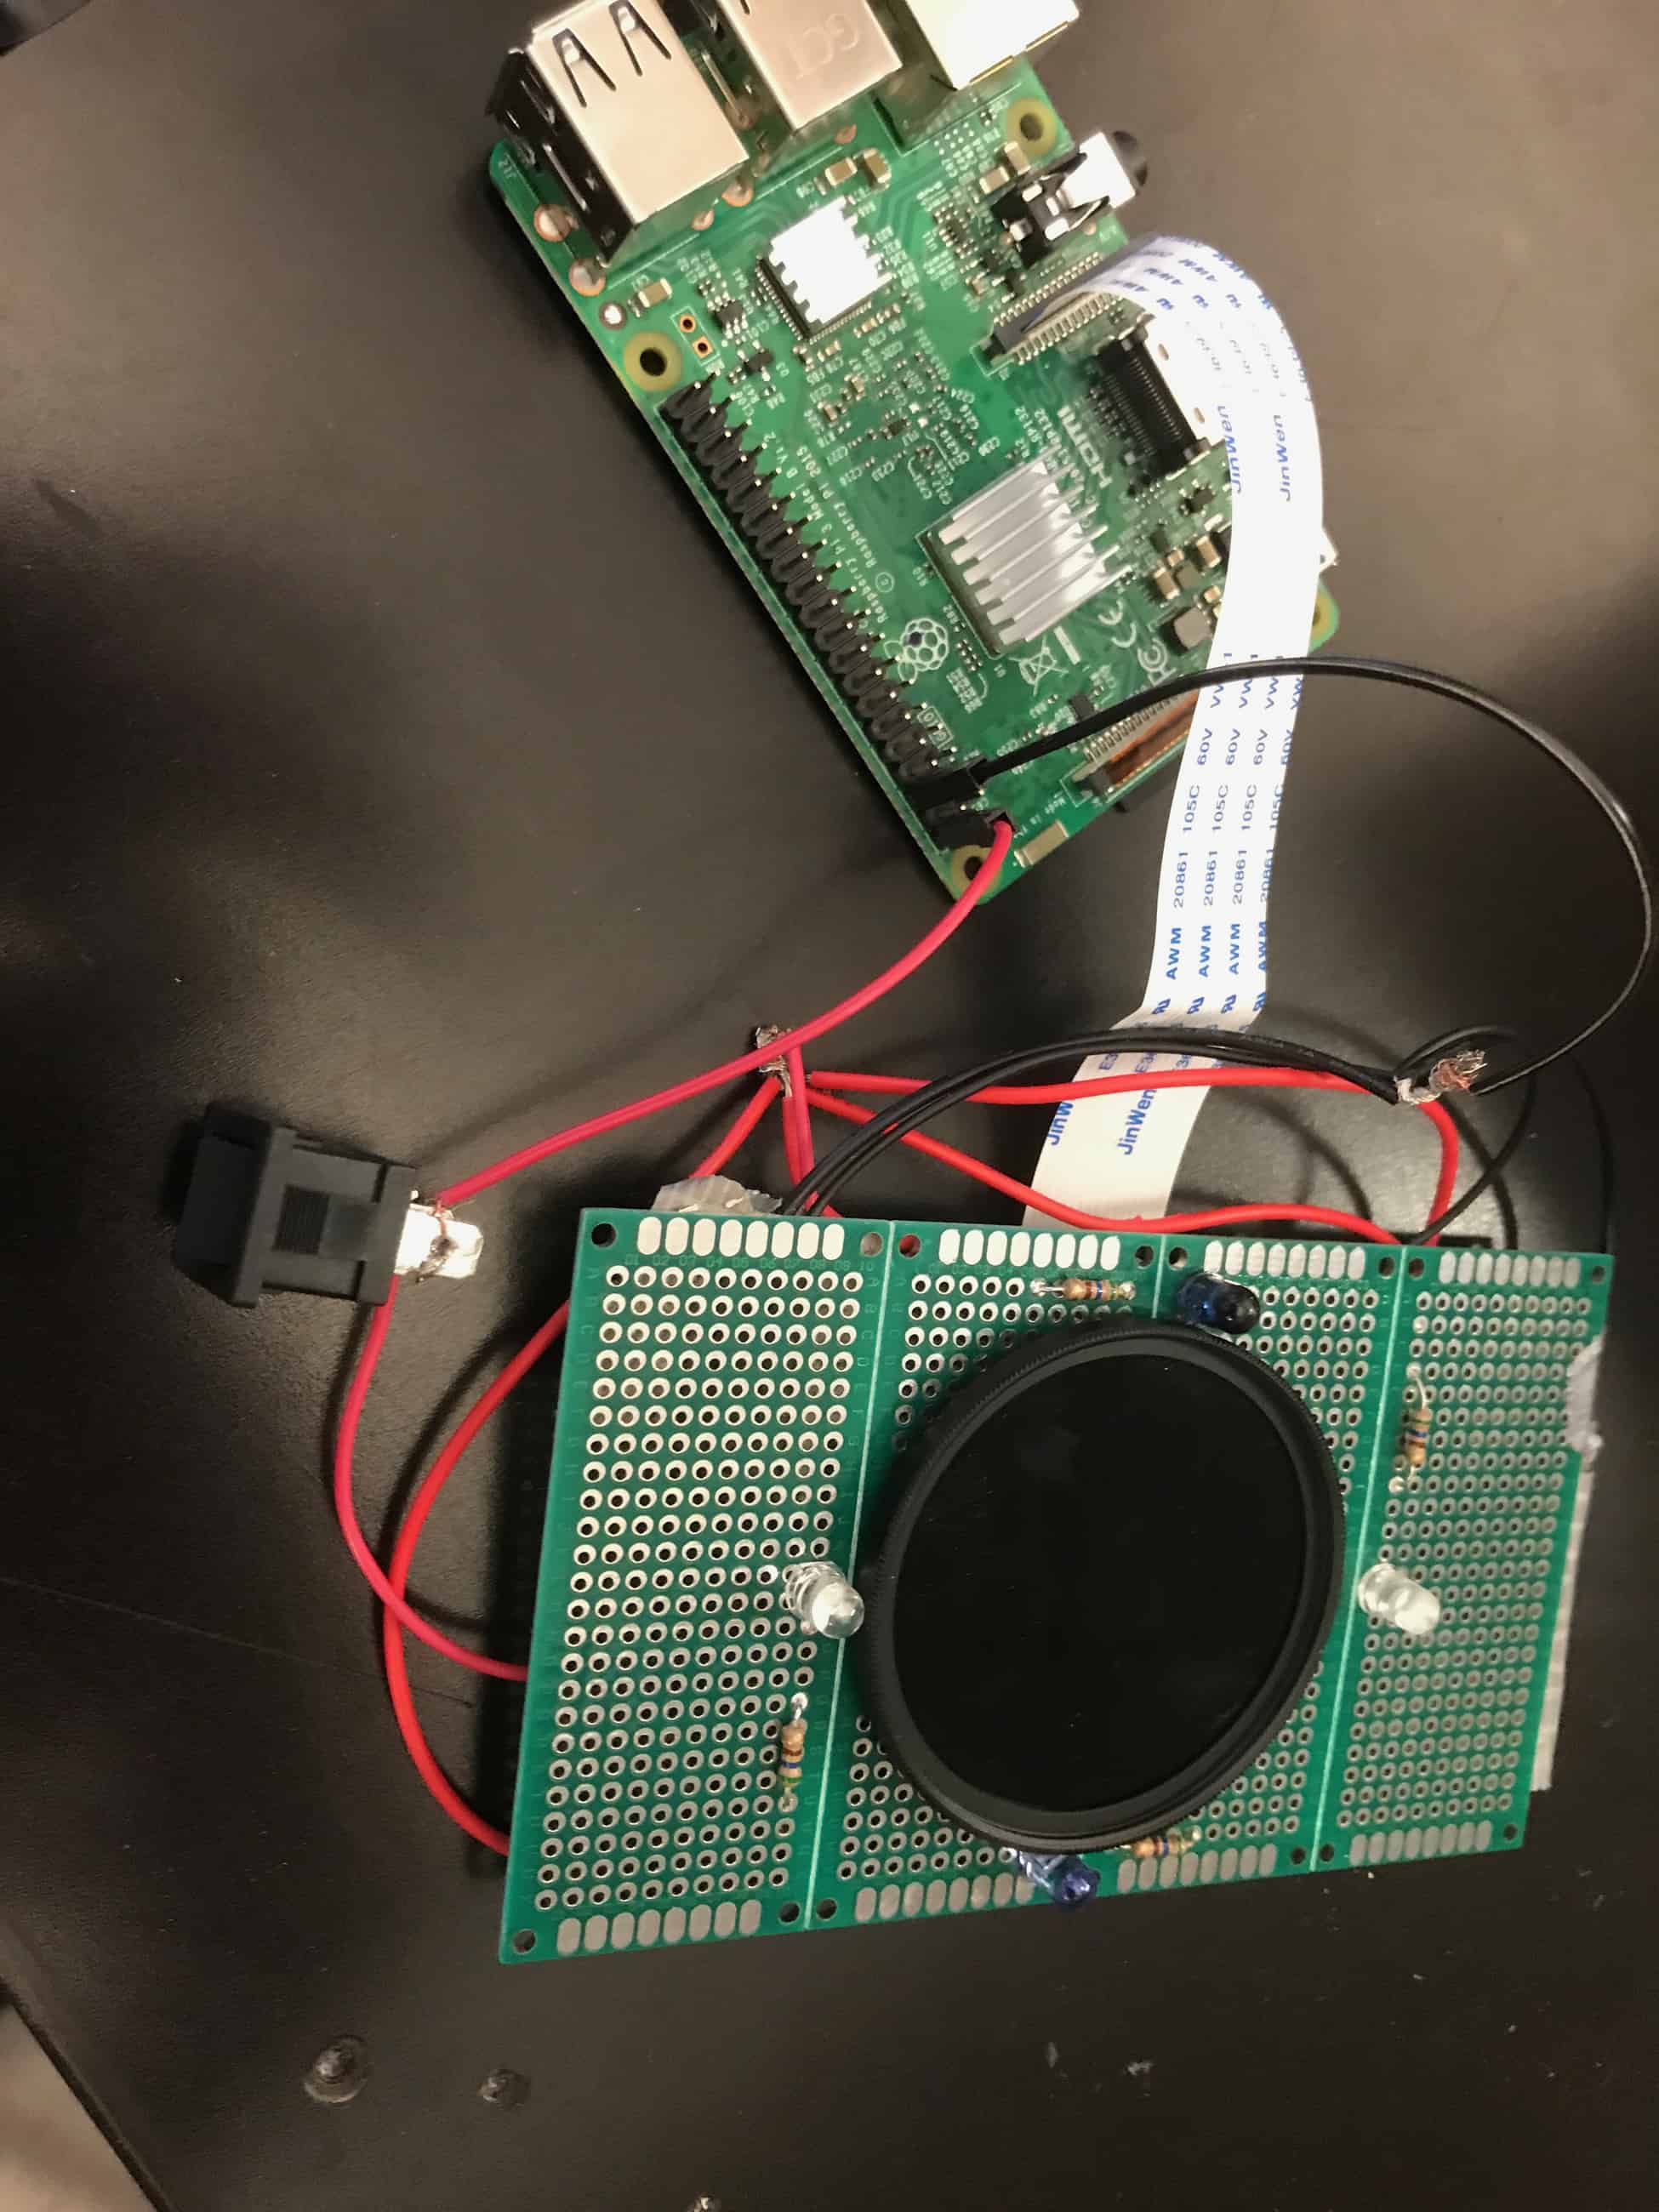
Figure 2: IR LED wiring diagram
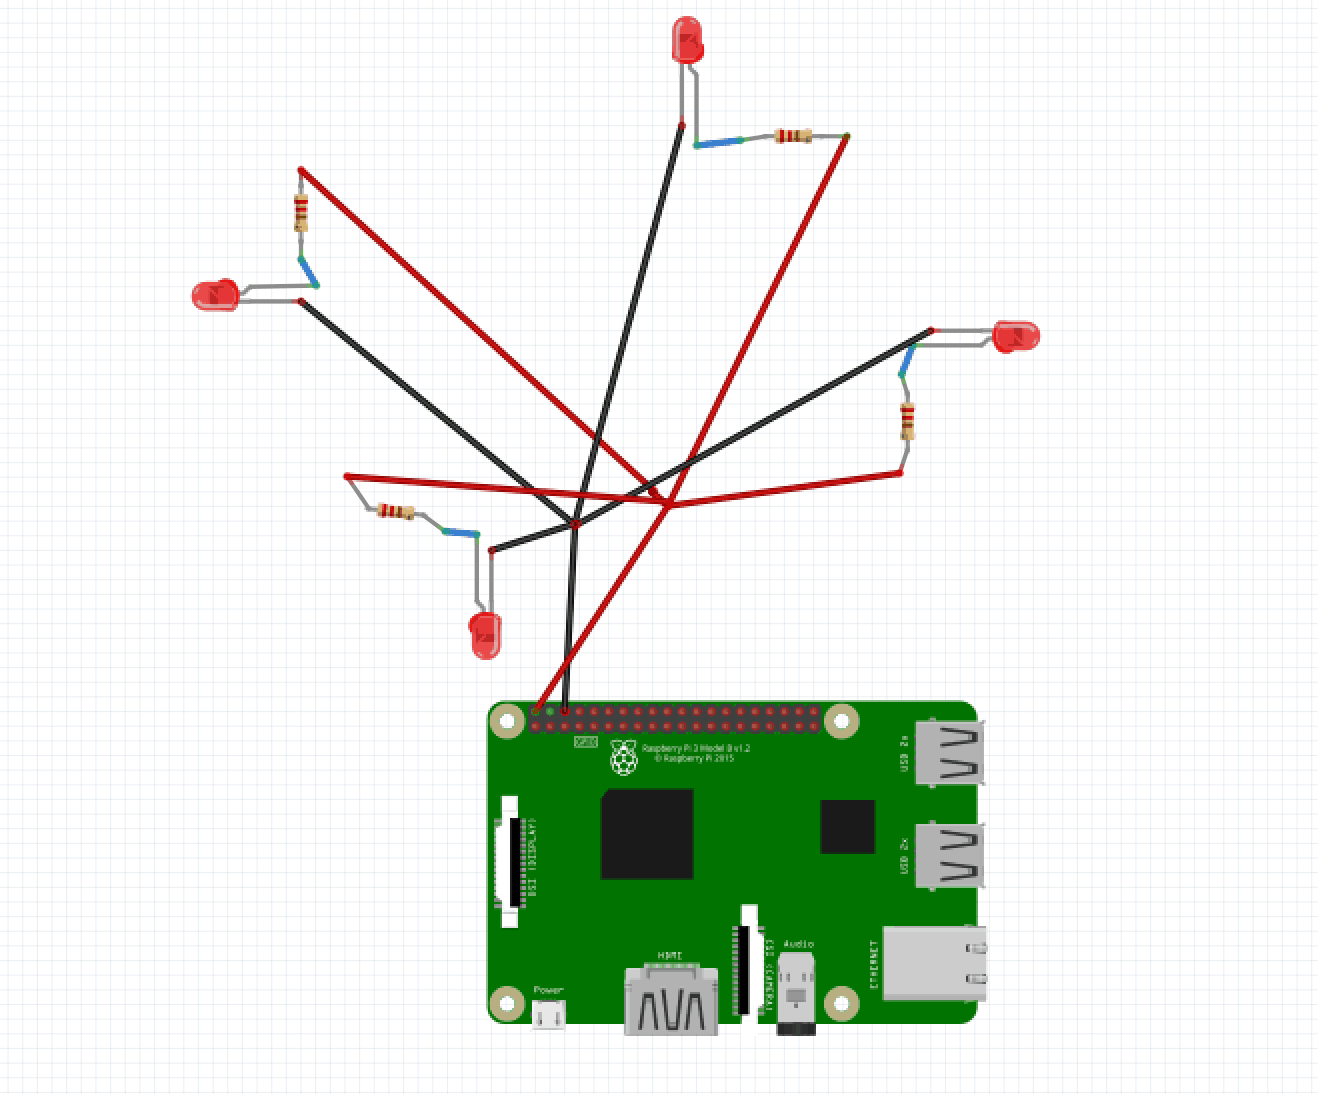
Figure 5: Photo of arm once contrasted
Second Milestone
For my second milestone, I coded, onto the Raspberry Pi, the image processing to detect veins through human skin. The first step was to download openCV, a library of programming functions used for image processing. The download process involved hours of running code and trouble-shooting in order to begin use of the library. Once I had OpenCV properly implemented, I created a file within python to test histogram equalization, which is used to improve the contrast of an image. (Figure 1). Next, I created an additional Python file, meant to contrast images using histogram equalization(Figure 3). The code also uses something called Contrast Limited Adaptive Histogram Equalization(CLAHE), which focuses on individual 8×8 “tiles”, rather than the entire image together, in order to prevent over brightening certain areas. Throughout this process I faced many problems when attempting to set up my code, but I learnt how that by trying many different approaches, I could eventually solve the problems at hand. I am excited to begin setting up my hardware and start using this image processing directly from my camera.
Figure 1: Code for histogram equalization

Figure 2: Histogram equalization data

Figure 3: Code for image contrast

Figure 4: Sample image contrast

First Milestone

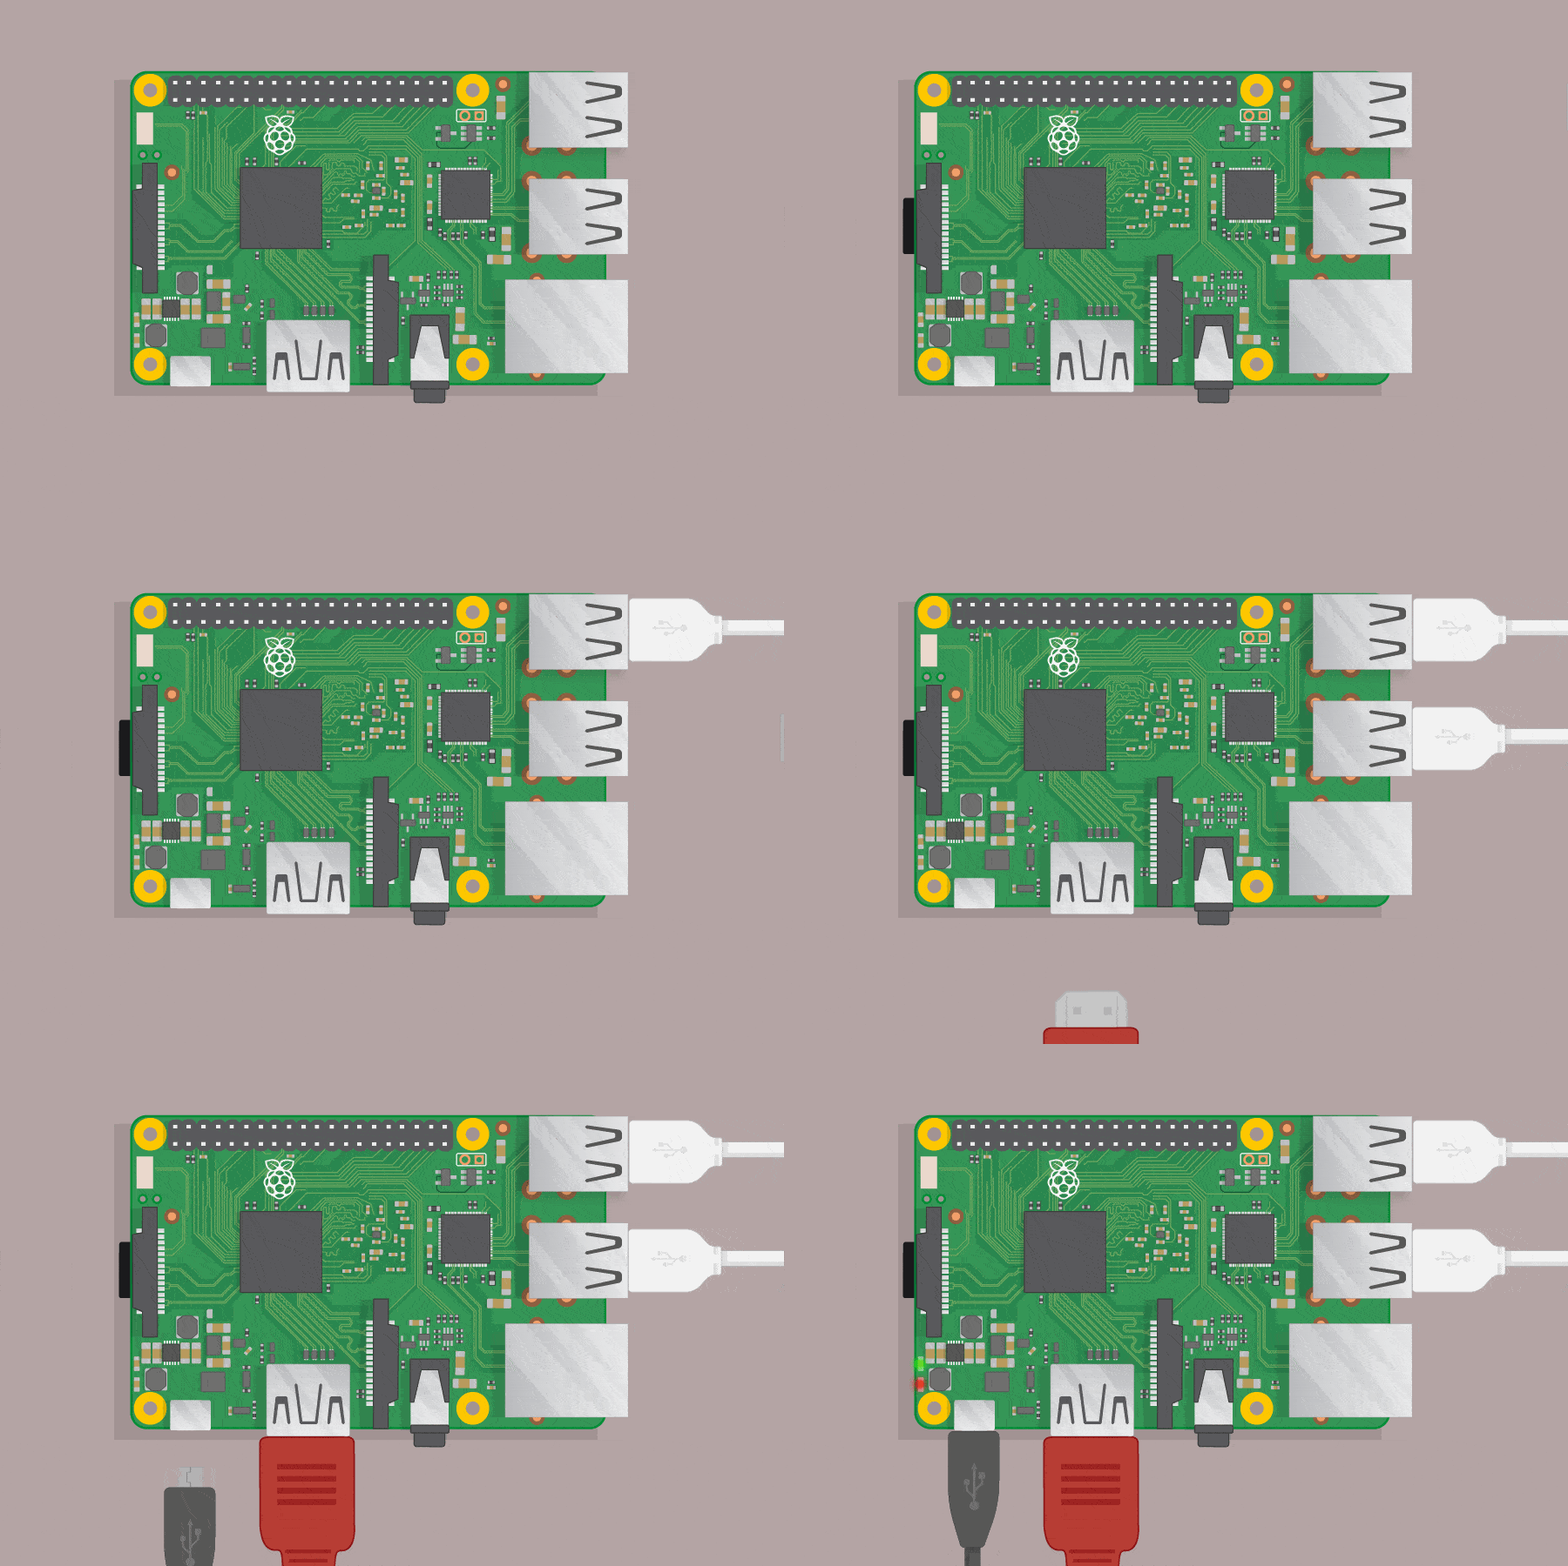
For my first milestone, I set up the raspberry pi that I will use to in designing my main project. First I download Noobs, the operating system installer, from the Raspberry Pi website(Shown in figure 1). Once I downloaded, I next formatted the SD memory card I am using with the Pi and Installed on to it the Noobs files. After setting up the memory card, I plugged the Raspberry Pi into a power supply and inserted the SD card into the Pi, as well as a keyboard, mouse and a monitor connected through HDMI cable(Shown in figure 2). I finished setting up the operating system by setting a password, logging into Wifi, and making sure the screen border is set correctly. In my first attempt, I destroyed a Pi by connecting it to a faulty HDMI cord, causing it to short circuit. Now that I have my Raspberry Pi set up, I am excited to begin working of assembling my device.
Starter Project
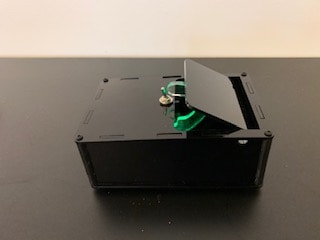
The useless machine works by having the switch trigger a motor, causing the arm to move upward and reverse the switch. The switch being hit back off, causes the arm to return into the box. The parts of this project are all connected by being soldered to the same printed circuit board (PCB), which mechanically supports and electrically connects electronic components using conductive tracks, pads and other features. First the switch was implanted, followed by two resistors, which control the electrical current, the two screw terminals and a snap switch. The screw terminals is where wires are held by a tightened screw, in this case from a motor and a battery back. When the switch is flipped, it causes the motor to turn clockwise and for the arm to raise up. As the arm moves, it releases from the snap switch, allowing the led to light up green. When the arm reaches the switch, and flips it back, the motor begins to turn counterclockwise and the light becomes red. The motor is able to move in multiple directions by the use of an H-bridge, which is an electronic circuit that switches the polarity of an applied voltage. Once the arm returns to the snap switch, the light and the motor go off.
My Starter Project is the Useless Machine, which presents externally as a simple box with a switch on top. Its main operation is that when the switch is flipped, an arm arises from inside and turns it back off. It also contains an LED light that turns green as the arm rises and red as it descends.
Figure 1: Machine in resting state
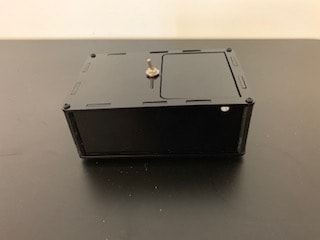
Figure 2: Switch flipped/Arm rising
How it works
Figure 3: When switch is flipped on.

Figure 4: When switch is flipped off.


