LED Bonsai Tree
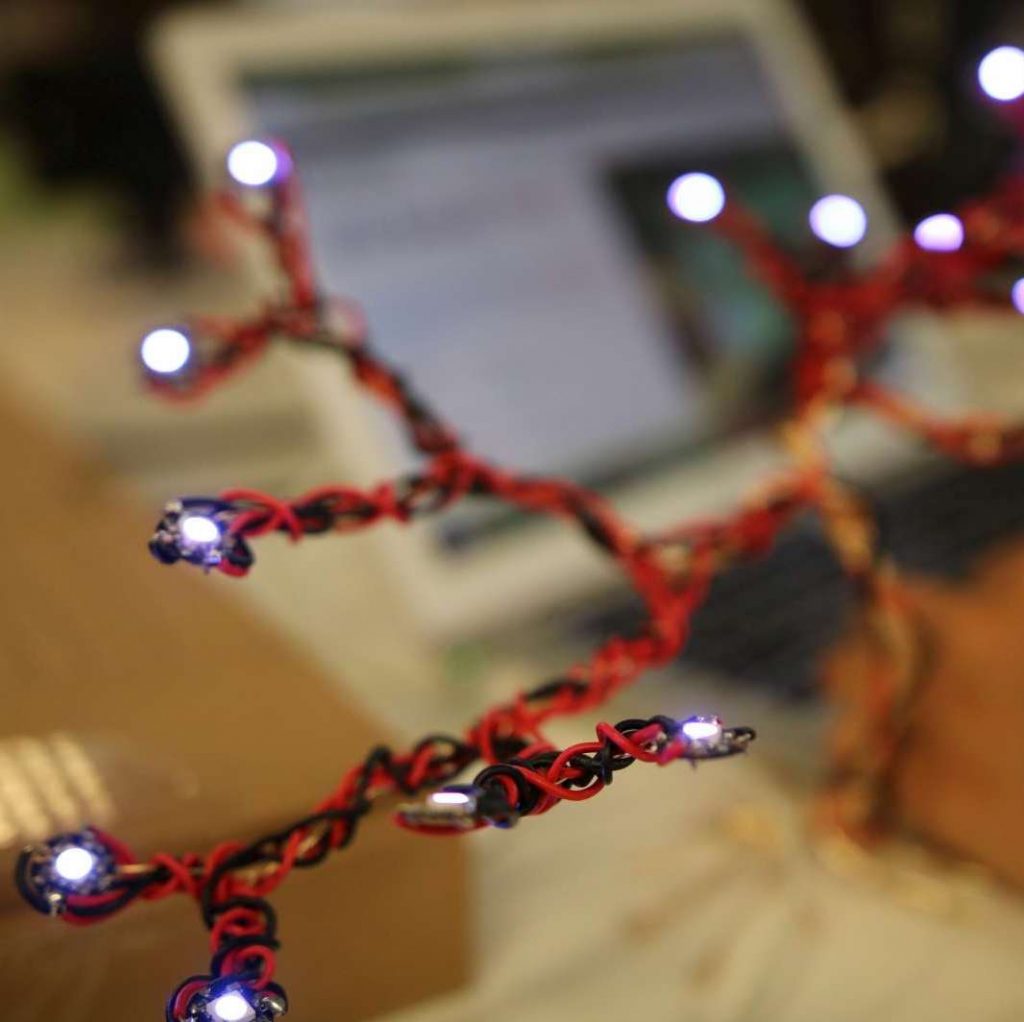
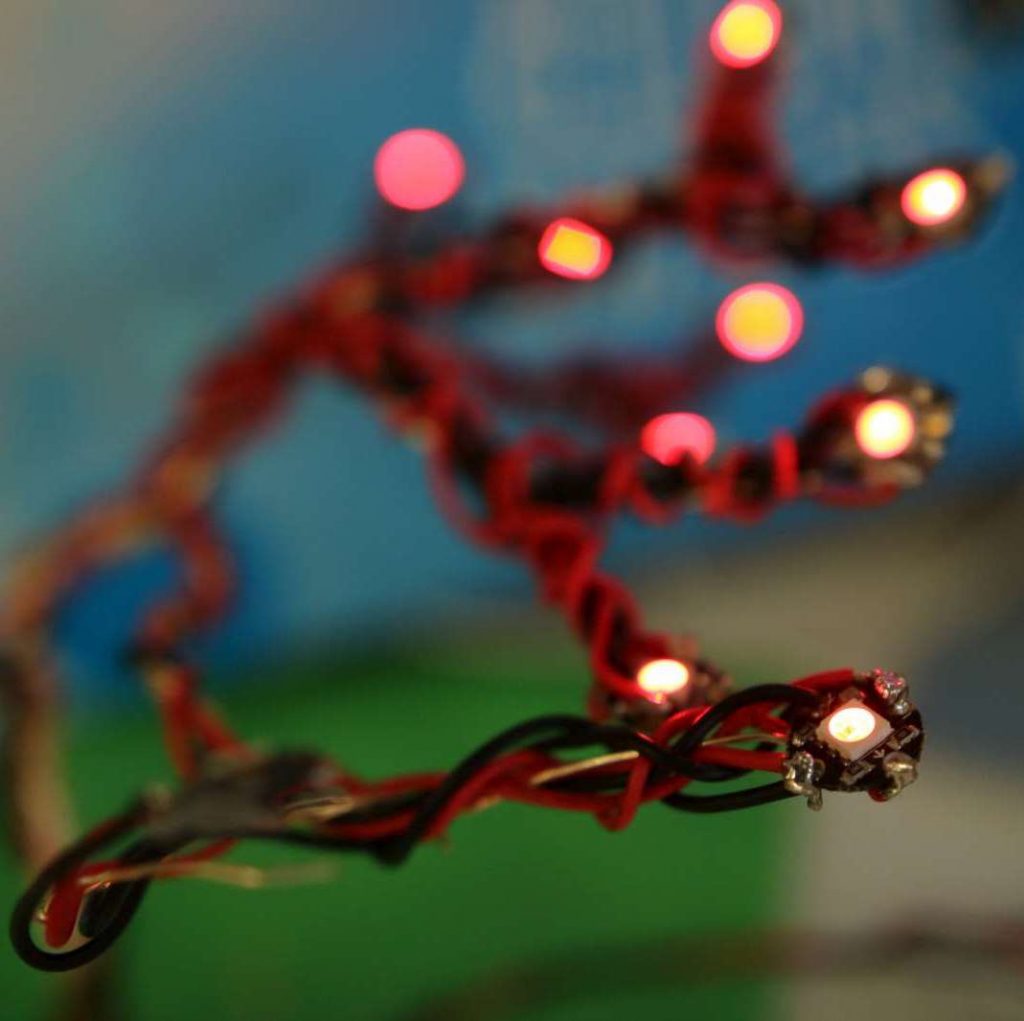
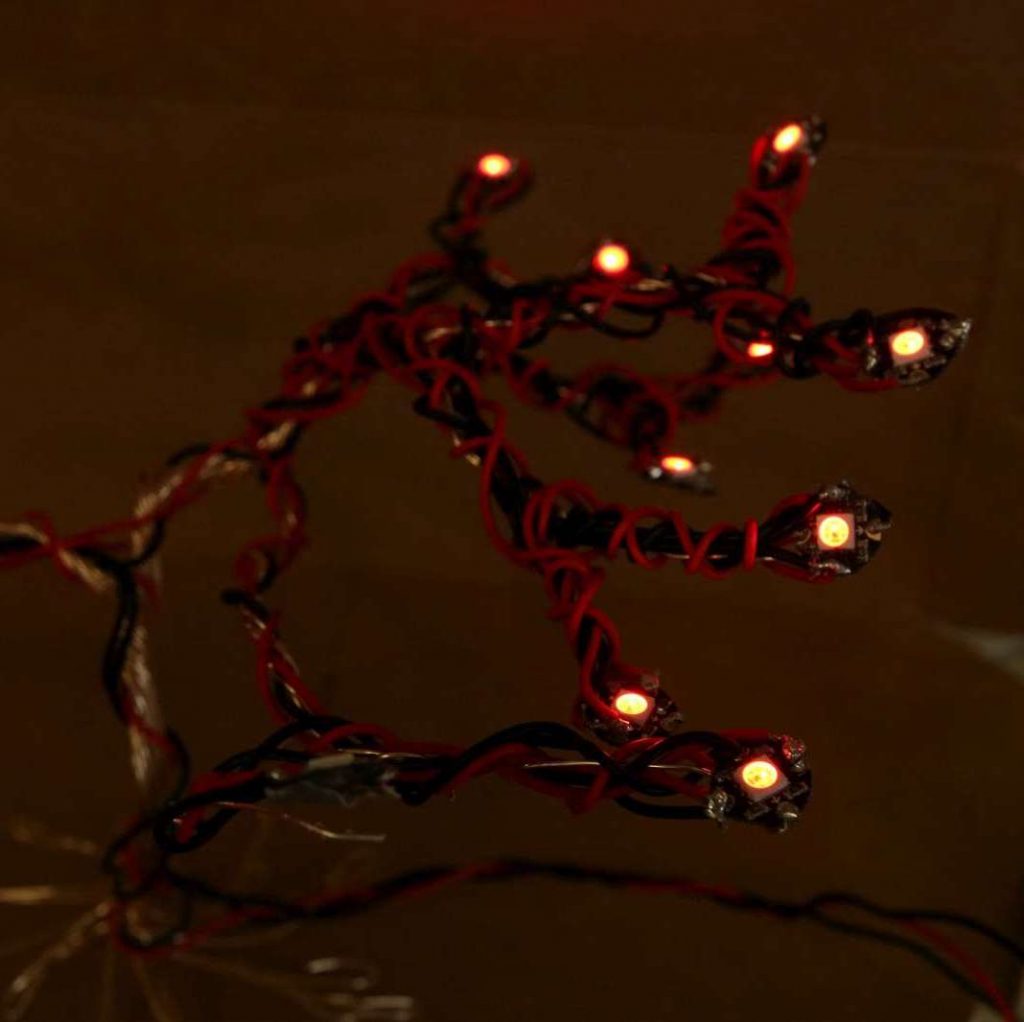
This LED bonsai tree is a wire structure shaped like a bonsai tree with LEDs at the end of each branch. It can light up with different colors and patterns because it is controlled by an Arduino. The LEDs are connected using red and black wires to mimic a self-balancing binary search called a red-black tree.
Engineer
Agnes G
Area of Interest
Aerospace Engineering and Computer Science
School
Head-Royce School
Grade
Incoming Sophomore
Reflection
I gained many new skills from the experience of building this project. I learned basic electrical engineering skills such as soldering, wiring a breadboard, and using a multimeter. I also learned how to write simple code such as switch statements, for loops, arrays, and functions. I think that learning these new skills, combined with the exposure to engineering, piqued my interest in STEM-related topics.
Photo Gallery:

Final Milestone
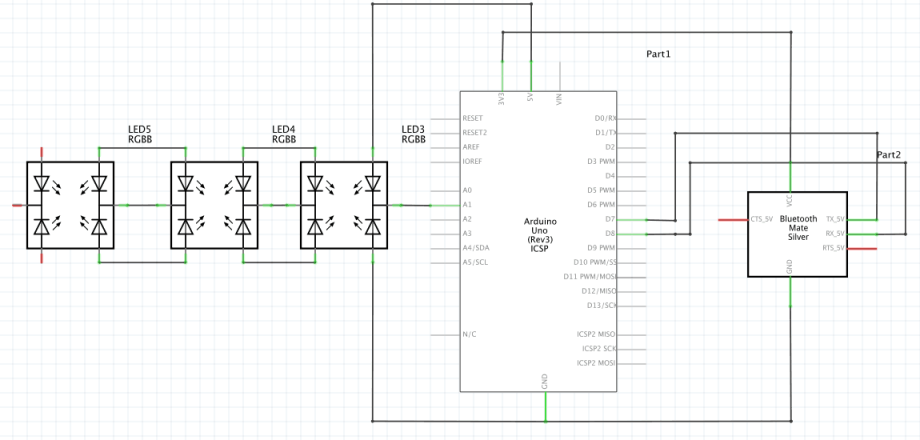
My final milestone is connecting the Arduino to an HM-10 Bluetooth module and connecting the HM-10 Bluetooth module to my phone. By completing this milestone, I have the ability to control the tree from my phone. To reach this milestone, I first had to connect the HM-10 Bluetooth module to the Adruino with a breadboard and wires. Next, I had to use the Arduino’s software serial to enable communication between the Arduino and the Bluetooth module. Then, I had to use an app on my phone to connect the Bluetooth module to my phone. After my phone and the Bluetooth module were connected, I was finally able to control the Arduino from my phone.
The hardest part of reaching this milestone was learning how to use the Arduino’s software serial. I was completely new to software serial, so it was challenging for me to familiarize myself with it. Another difficult part of reaching this milestone was finding a good app on my phone to control the Arduino. I had to download several different apps before I found one that worked for me.
Second Milestone
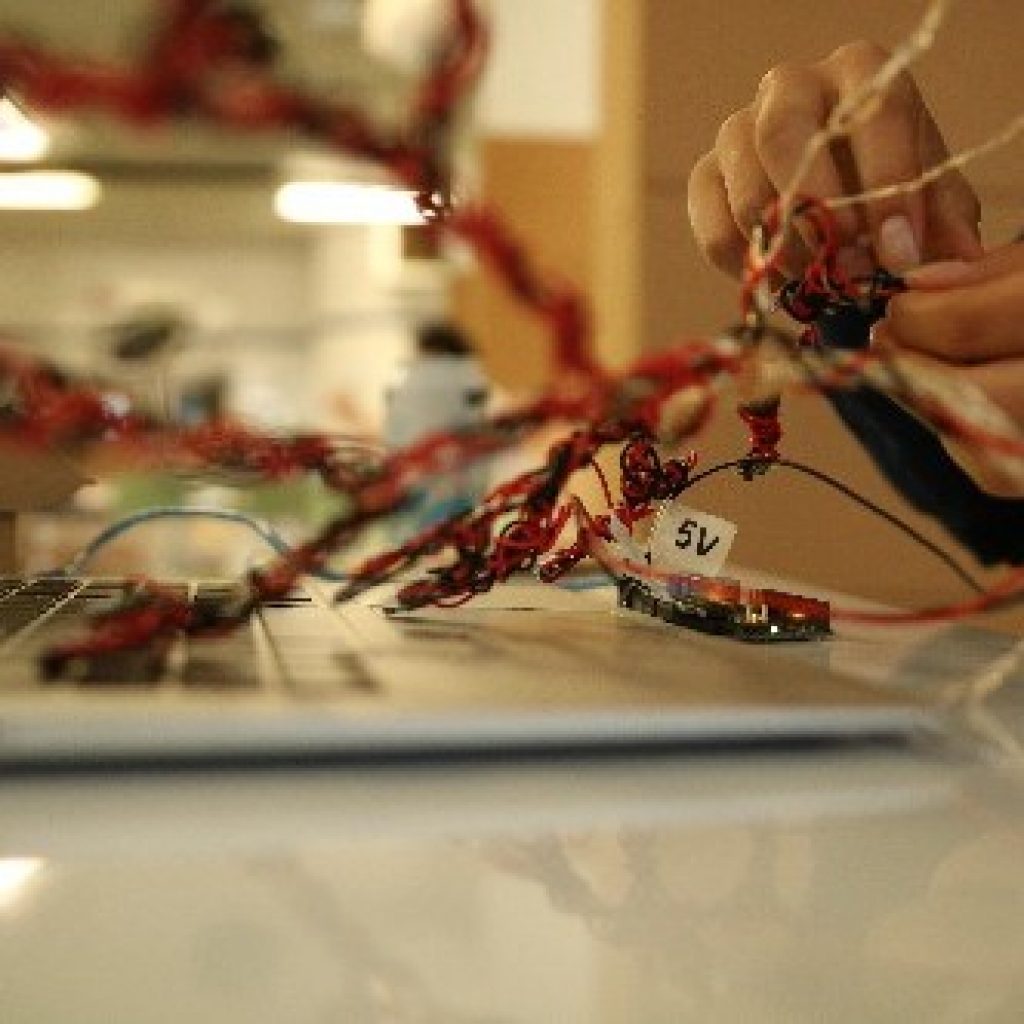
My second milestone is getting the LEDs to work while attached to my wire tree structure. Reaching this milestone was very time-consuming, as it required a lot of gluing and soldering. First, I had to glue all of the LEDs onto the tree. The gluing was time-consuming because I had to wait for the glue to dry. While gluing the LEDs on, I accidentally got glue in some of the LEDs, which ruined them. Eventually, I got replacements for the broken LEDs, so everything worked out alright. Second, I had to connect and solder all the LEDs with red and black wires. The soldering also took a long time because there was a lot of back-and-forth between adding wires, testing LEDs, and soldering.
The hardest part about reaching my second milestone was troubleshooting whenever an LED wasn’t working. Whenever I had to troubleshoot, I had to inspect the “count” variable in my code and check the connections between the wires and the LEDs. If neither of those things were causing the issue, then I had to check if the LED itself worked. Troubleshooting and perseverance became the most important parts of this milestone.
First Milestone
My first milestone is controlling a strand of three LEDs by using the Arduino. The strand of three LEDs is connected to my Arduino, which is connected to my laptop. On my laptop, I use the Arduino IDE to write code that will control the LEDs. I used functions, 2D arrays, and for loops to create the code for color patterns for the LEDs. I made each color pattern into a function so it is easy to switch between patterns. So far I have the functions: Christmas, 4th of July, and rainbow. Christmas displays red and green; 4th of July displays red, white, and blue; rainbow displays ROYGBIV.
One challenge I faced when reaching this milestone was using a 2D array. It would be repetitive to make seven for loops for the ROYGBIV pattern, so I used a 2D array. Using the 2D array was difficult because I had trouble getting all the syntax and small details correct. Another challenge I had was testing the LEDs without soldering them. Obviously, I didn’t want to solder the LEDs together when they were not on the tree, so I tested them by just curling wire around them. The wire was not soldered, so it kept unwrapping and weakening the connection between the LEDs and the wire. When the wire became detached, it caused the LEDs to act up. All in all, I worked to overcome my challenges and reach my first milestone.


