About me:
Hi! my name is Jia and I am a rising senior at Mills High School. I have always wanted to become some sort of engineer because I love to create and make things work. The satisfaction I gain from making something that works is indescribable. During the summer, I decided to spend my time exploring the world of engineering, a subject in which I have a very deep interest. Bluestamp offered me the perfect opportunity to pursue my interest, and after the program I definitely consider engineering to be a future career path.
 |
 |
Main Project: The Tiny Wanderer

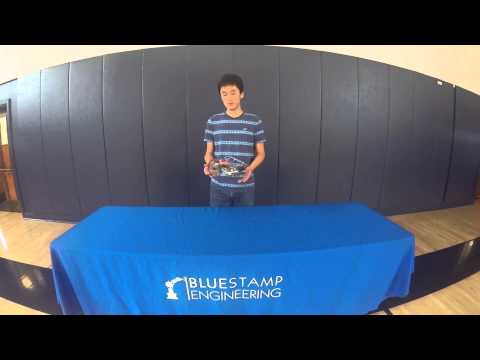
Description: The tiny wanderer is a tabletop robot that is capable of moving around on a table without falling off the edge. In addition, I decided to modify my robot to avoid obstacles using an ultrasonic sensor. I chose this project mainly because I wanted to incorporate both mechanical engineering and programming into my first project at Bluestamp. For this reason, the tabletop robot was an appropriate choice for me. Over the 6 week course at Bluestamp, I learned a lot of cool things from my project that I would have never learned in school. I am very proud of my accomplishments here at Bluestamp and wish that future Bluestamp students will find my tabletop robot helpful and make further improvements to it. Here is the link to the Instructables page upon which I based my project.
────────────────────────────────────────────────────────────────────────────────────────────────────────────────
Documentation:

Bill of Materials:
| Items | Parts # | Qty | Price | Link |
| Arduino Leonardo | A000052 | 1 | $19.95 | Link |
| Acrylic Sheet | 44381 | 1 | $14.95 | Link |
| Skateboard Bearings | 608Z | 1 | $6.37 | Link |
| Continuous Rotation Servo | 154 | 2 | $11.95 x 2 | Link |
| 9 Volt Battery Holder | 67 | 1 | $3.95 | Link |
| Infrared Sensors | -- | 2 | $2.88 x 2 | Link |
| Ultrasonic Sensor | 00903315 | 1 | $2.99 | Link |
| Velcro Strips | 570172 | 1 | $2.88 | Link |
| 0.175″ Window Spline | 100604606 | 1 | $7.98 | Link |
| Bread Board | A5198 | 1 | $1.62 | Link |
| Soderless Breadboard Jumper Cable Wires Kit | 9SIA2V51P39846 | 1 | $4.96 | Link |
| #6-32 X 1/2″ Screws & Nuts | 0148803 | 20 | $0.0452 x 20 | Link |
| 1 Inch Long 5/16 Inch Bolts & Nuts | -- | 2 | $- | Hardware Store |
Download the laser cut mechanical layout here, or the scroll saw version here.
Download my Arduino code here.
────────────────────────────────────────────────────────────────────────────────────────────────────────────────
Modification: After reaching my final milestone, I decided to improve my tabletop robot to avoid obstacles. I accomplished this by adding an ultrasonic sensor to the front of my robot. The ultrasonic sensor works by emitting high frequency sound waves and evaluating the echo to determine the time interval and calculate the distance to an object. I set up my ultrasonic sensor to tell my robot to move backward when the object is less than 6 inches away from the sensor. Sadly, I only have one ultrasonic sensor so I put it on the front of the robot. If I had another sensor or 2 more infrared sensors, I would have been able to configure the robot to avoid obstacles on its sides.
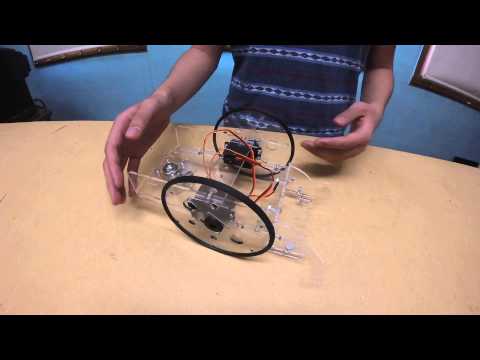
Milestone Final: For my final milestone, I completed adding infrared(IR) sensors and programmed my tabletop robot to avoid edges. The IR sensors report either 0 or 1, where 1 means it is not detecting anything and 0 is detecting something. Therefore, whenever one of the sensors is off the table, it will report 1, and then do a backup to prevent falling off the edge of the table. At the moment, I am powering everything with a 9 volt battery. The IR sensors are very easy to learn, and the same goes for the code. I wrote 4 functions, with each function representing a different state. For example, I wrote a function that makes my tabletop robot go forward if both sensors are reporting 0. I really enjoyed the coding part, as it took me only an hour to write with the help of Arduino language reference. I also fine tuned my robot so that it doesn’t back up too far and fall off the edge if the table is too small. Overall, I would not have expected myself to make something cool like this before Bluestamp. I learned so much these last few weeks, and I am very proud to bring this home to show it to my friends and family.
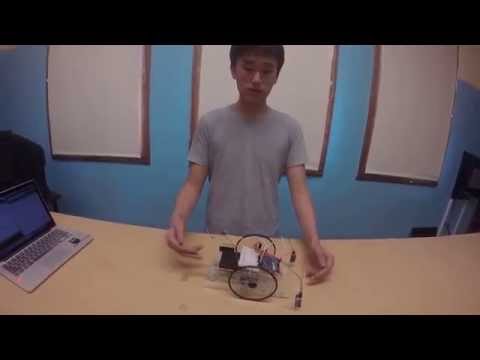
Milestone #1: My first milestone was to assemble my tabletop robot. In the beginning, I tried to make the robot chassis myself with a saw and drill, using masonite board as my material. However, the parts I made were not very accurate. It was common for me to make mistakes, and, as a result, I spent a lot of time using the files to polish the pieces. I decided that making the robot chassis by hand takes too much time, so instead, I asked my instructor to use the laser cutter to cut out the pieces. The final robot is made out of acrylic, a transparent material that is very sturdy! Even though I didn’t get to use my handcrafted robot chassis, I learned a lot and ended up with a cool looking robot.
────────────────────────────────────────────────────────────────────────────────────────────────────────────────
Starter Project: MiniPOV
|
|
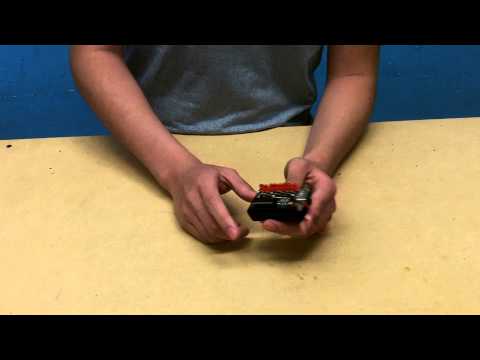 |

Description: The MiniPOV is a device that contains a column of LED lights that blink in a rapid sequence in order to display a programmed vision when waved through the air. It is powered by 2 AA batteries and contains resistors and diodes meant to restrict current flow and direction. The device also has a microcontroller that you can program to control which LED light is on/off at any moment. The LED lights are controlled by an 8-digit binary number, with each digit corresponding to one of the eight LEDs, where 0 is off and 1 is on. Finally, with a USB adapter, you can upload new code to the microcontroller through its serial port.
A frustrating problem I encountered during this project was that the software required to program the MiniPOV for Mac users is outdated and incompatible with my Macbook. In the end I had to borrow my peer’s Windows computer and got it working in less than an hour.
Here is a website I used to easily generate the code: http://diyode.com/minipov/
Buy the MiniPOV 3 Kit here!