
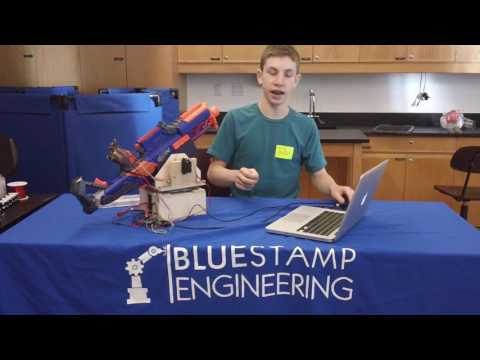
Hi! My name is Jason and I am a rising junior at North Shore Hebrew Academy High School. For my starter project I built a mini piano keyboard. I chose this project to build because I play piano, and I thought it would be fun to build a miniature one. For my main project, I built the Nerf sentry gun. I decided to build this project because it would be fun and exciting as I was building it, but also because it would give me experience in many different fields of engineering.
Before BlueStamp I had some experience in electrical engineering and some programming experience. That is the reason that I chose such an ambitious project. However, this was the first project I had ever built by myself. I never could have imagined how much experience I would gain from building this project. There were so many times where I would get stuck and one part of the project would not work. Nevertheless, I would work, problem solve, and try every option until I finally found a way to make it finally work. I have gained so much confidence in my ability so look for solutions when none are obvious, and to learn new things on my own. While I am not sure what what path I will pursue in the future, I do know that I love engineering. If it will not be a profession for me, it will most certainly be a hobby.
My main project, the Nerf sentry gun, is a Nerf gun that is mounted on a base that can aim and fire at moving people or objects by using image processing on a webcam to track their location.
Nerf Sentry Gun

The Completed Nerf Sentry Gun
Arduino Code
Processing Code
Final Milestone
My final milestone was creating the processing program that tracks motion and sends the values of the positions of the servos and whether or not to fire to the Arduino.
I got the code for tracking motion from the internet. The way it works is that it looks through each pixel and compares it to the pixel from the last frame to see how much motion each one has. It then averages the coordinates of all the “moving” pixels and moves the target accordingly. I used the “Processing serial library” to send the servo values and whether or not to fire to the Arduino controller.
Second Milestone
My second milestone was building the whole base and getting it to work with a joystick. The nerf gun can move left and right and up and down.
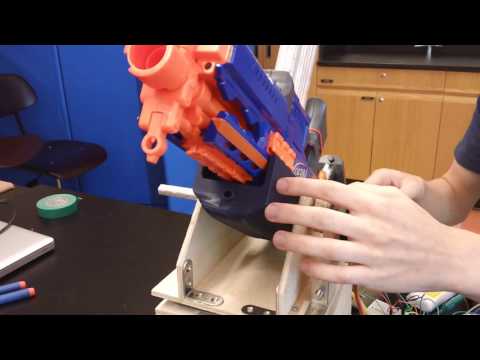
The base is mostly made out of .25 inch wood. The bottom part is simply a box of wood. On the top is a little rectangle cut out to allow for the servo to go in. Around that is a bearing in order to take some of the weight and to keep it balanced so that it rotates smoothly. I screwed these to the box part of the base. The top part is one square of wood which I screwed to the servo arm and bearing. This piece has two pieces on top that are glued to it with wood glue. I also used brackets to strengthen the connection. I made a hole through these two pieces and hot glued a ball bearing in each of them. On one side I have a piece of wood that stops the servo from moving. I drilled a hole through it and put a rod through that so that I could disassemble it.
I also had to 3d print a part to attach the gun to the pole. This part slides onto the rail on top of the gun and then the rod is screwed to it using a shaft collar.
First Milestone
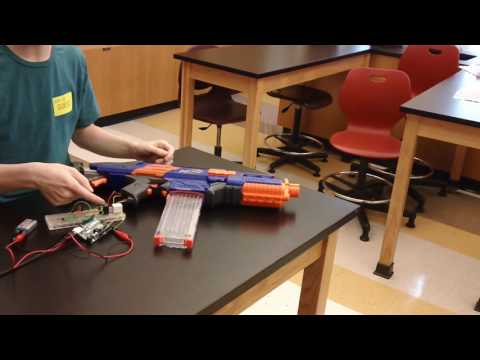
My first milestone was wiring the Nerf gun so that the Arduino could control it. In order to do this I used a digital multimeter and a schematic that I found online to figure out the preexisting circuit inside the Nerf gun. This is the schematic I found online:

At first I tried using transistors and MOSFETs to trigger the switch but neither of those worked because I placed them before the load. Instead I replaced the switches (SW4 and SW5) with relays so that the Arduino would be able to control the switches. The Arduino wasn’t able to power the relays with enough voltage so I used transistors to amplify the voltage with a 9 volt battery. Here is the circuit (the servos are added in the next milestone):

Starter Project
The mini piano keyboard works using capacitive touch sensors as keys. When you touch the sensor, the capacitance of the sensor changes and the microcontroller reads these changes and can tell when a key is touched. Based on the key pressed the microcontroller sends the appropriate signal to the piezo buzzer speaker which emits the sound of the note. There is also a potentiometer which can be turned to change the octave of the key pressed. While building this I learned how to solder. By practicing soldering on this project I got much better at it. I also learned about basic electronics such as resistors, leds, microcontrollers, and specifically capacitive touch sensors.
