RC Robot Tank
This is my RC Robot Tank. It is a remote controlled tank controlled by a PS2 controller. The PS2 controller is powered up by Arduino Code.
Engineer
Ibrahim Ayub
Area of Interest
CS ( Computer Science)
Grade
Rising Junior
School
Summit Public Schools: Denali
Reflection
I really enjoyed my time at BlueStamp. I learned a lot. I learned how to program in arduino C. I learned how to build, research. I enjoyed the guest speakers. They were very interesting and I also learned a lot from them. I made a lot of new friends and enjoyed my instructors! Below are is the link to my github code, link to my Build of Materials and a link to my Build of Plan
Modification Milestone
For my modification milestone I decided to put an lcd. What the lcd does is when the robot moves lets say forward it will display the direction onto the lcd display. Another thing I also put is a portable battery. The reason I did this is because my batter and motor driver weren’t enough to power the arudino, motors, the dongle and the lcd. So I solved that problem by putting in a portable battery. A big challenge with this milestone was programming. I kept putting the lcd code after the motors turning on code. But it turned out that the lcd code should be a separate if statement. But from this milestone I my programming skilled have evolved and I learned a lot more about an lcd.
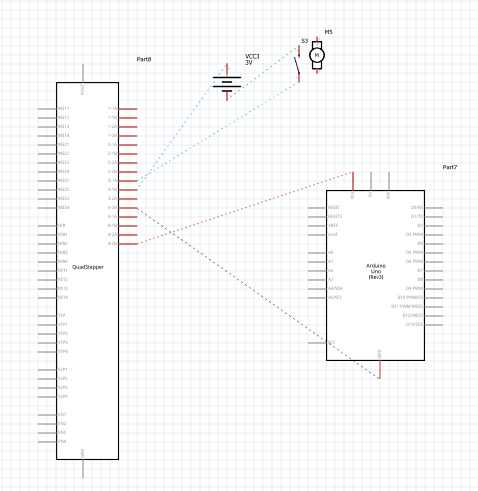
My Schematic

Third Milestone
Second Milestone
For my second milestone I had to make the Arduino recognize the Ps2 controller using the Arduino IDE’s serial monitor. So how does this work? Basically I connected the dongle to the Arduino using male to female wires. This established a connection between the ps2 controller with the Arduino. Then the plugged the Arduino into my computer. Using code from the Arduino ps2 library I programmed the Arduino to display whatever letter I pressed on the controller to the serial monitor. This milestone was really easy. It only took me a day to finish it. But one struggle I did have with this milestone was trying to figure out how to wire my dongle to the Arduino. Because the schematic I was using wasn’t really clear on which pin is 1 and which pin is 7. So that took a while to figure out. So for my next milestone I will have to put everything together so that the ps2 controller will move my tank. Thank you.
My Schematic

First Milestone
For my Intensive Project I picked the RC Robot Tank. The reason I picked this was because this project had a good amount of building and coding involved. For my first milestone I had to assemble the gearbox, chassis, motor driver and put them together onto the universal plate. This took my a long time to do. The reason for this is because the instructions that came with the gearbox and chassis weren’t easy to read. And it took my a long time to find videos, websites that explained how to assemble them. But in the end it was all worth it! What I learned from this milestone is what a motor driver is and I learned how to do research!
My Schematic
Circut Diagram

Starter Project
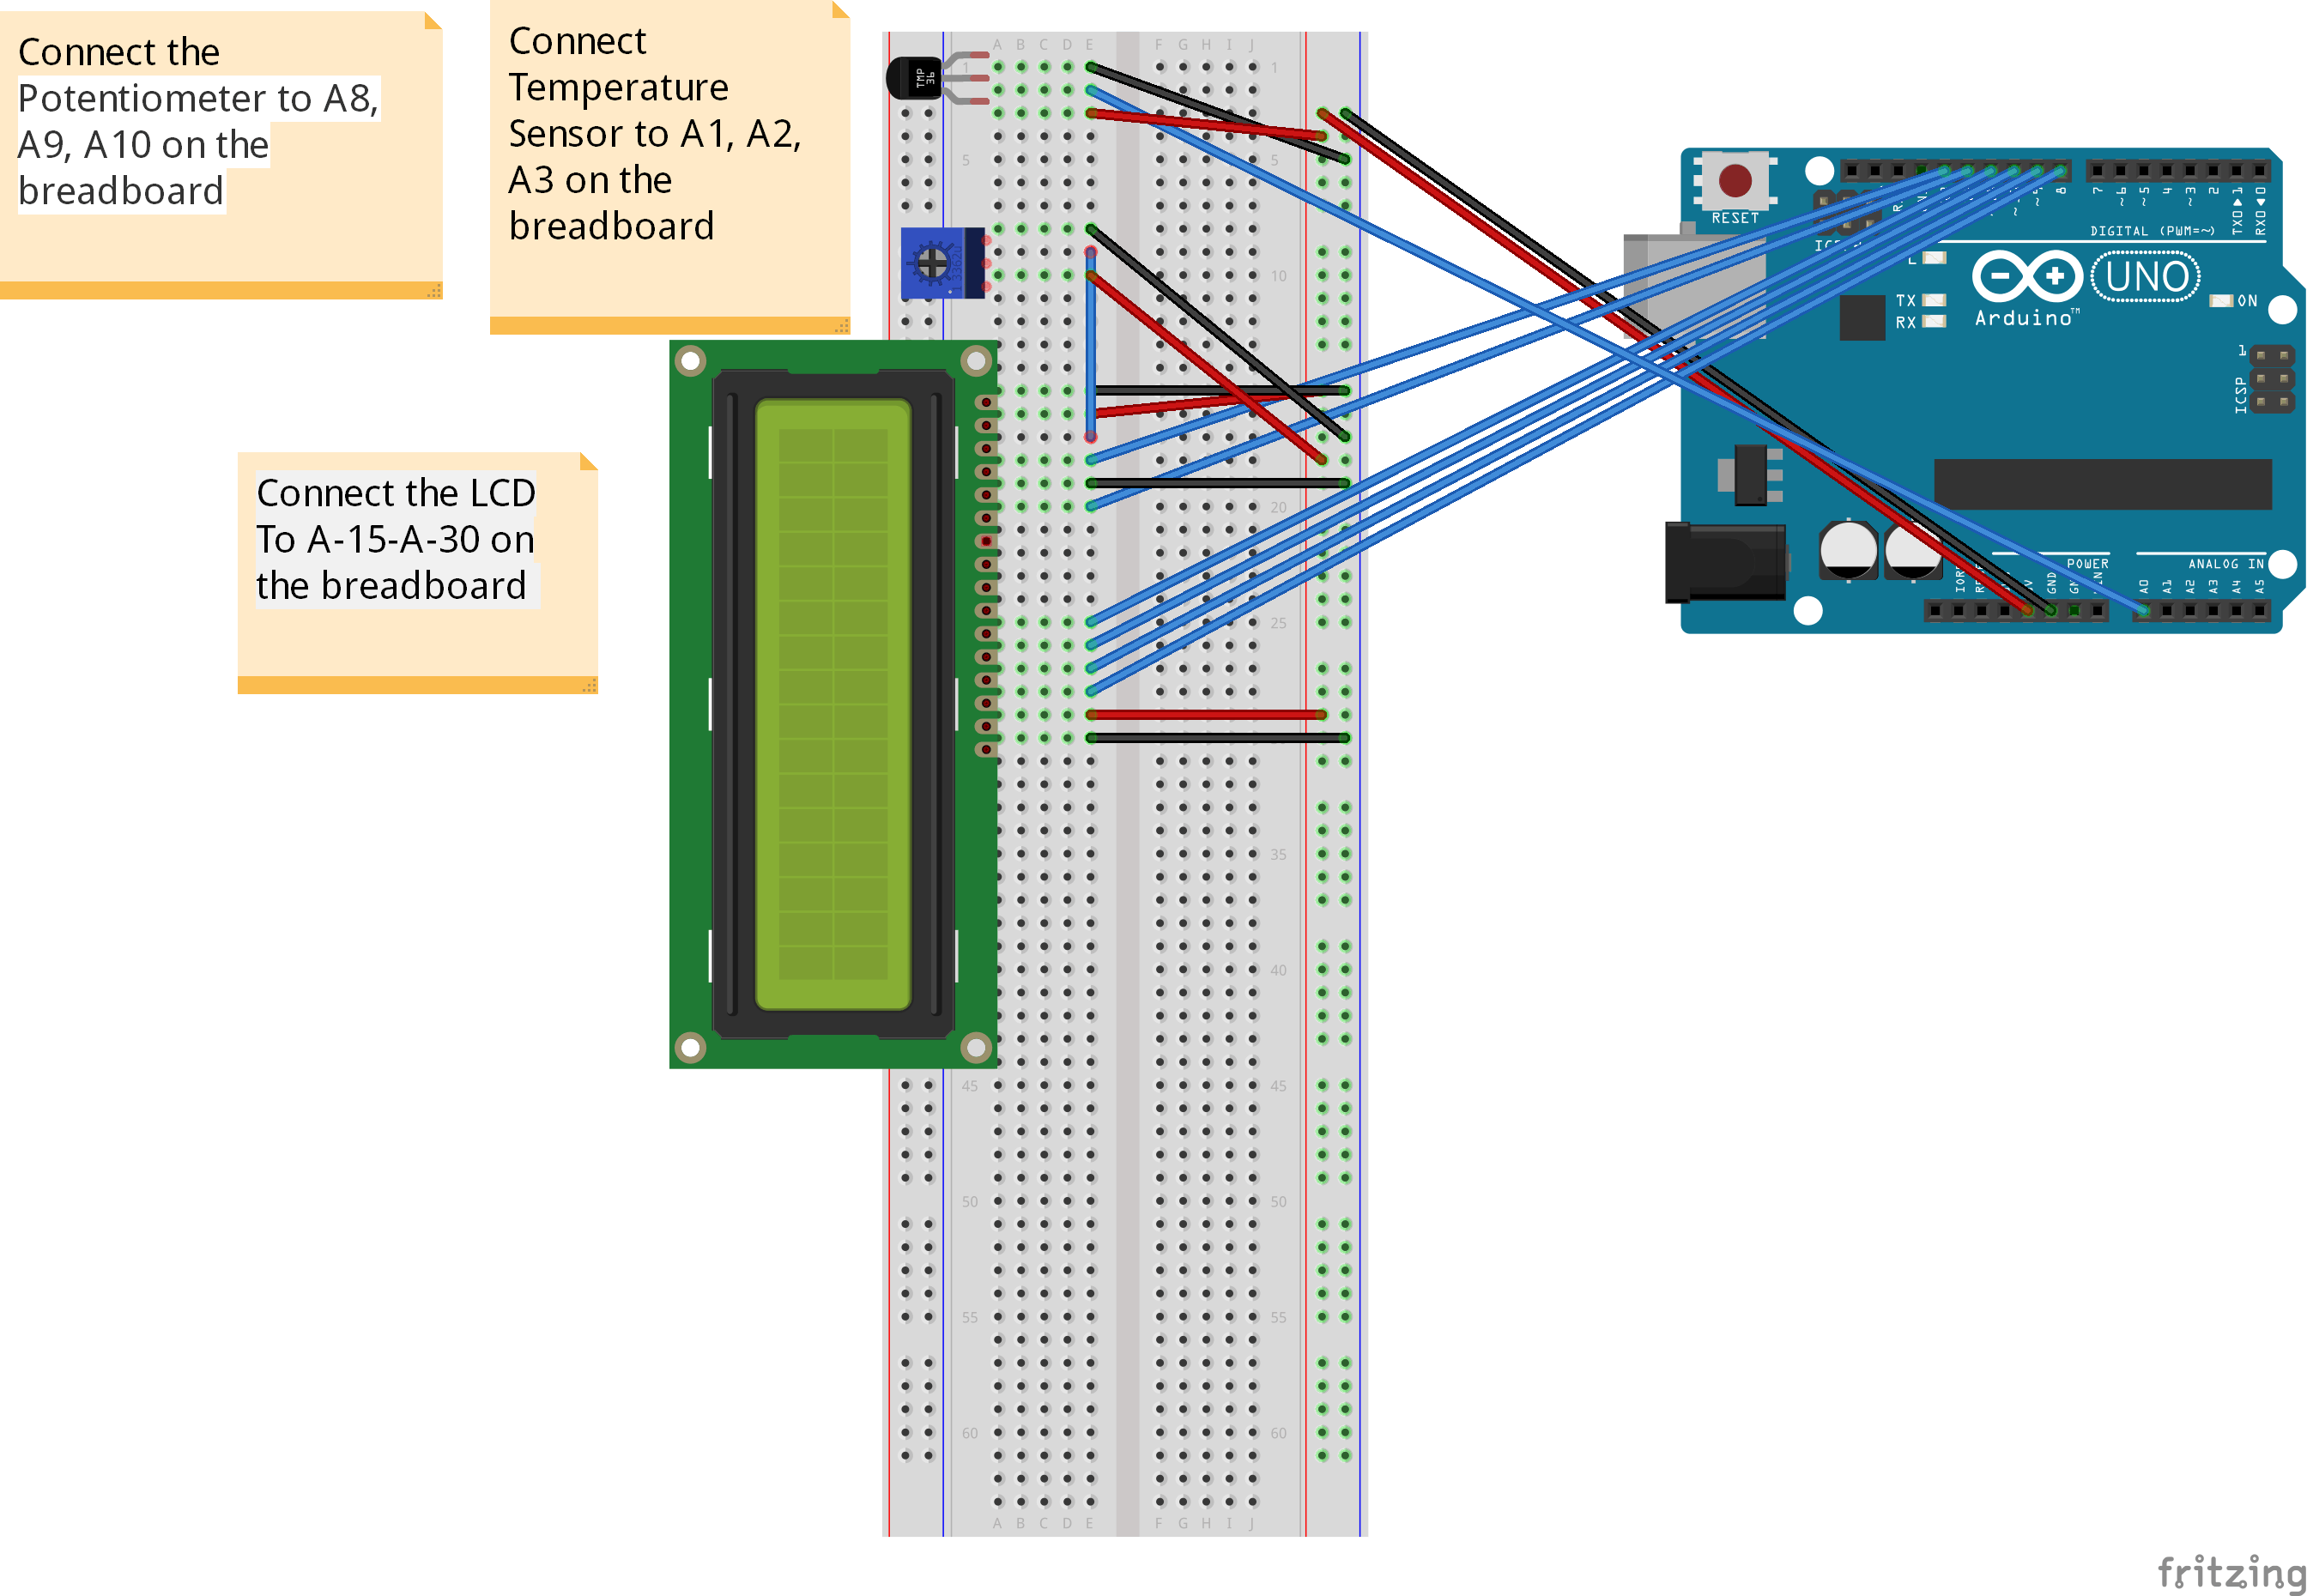
For my Starter Project I choose the Temperature display sensor. The reason I picked this was becuase it introuced me to the arudino. And I will need the arudino for my final project. How it works? Bassically the tempuature sensor sends an anolog signil to the arudino and then bassed on some code that I prorammed to the arudino, the arudio then displays the tempuature onto the led display.


My Schematic
Schematic


