
Hi! I am Gedalia, a rising junior at Westchester Hebrew High School. This year at Bluestamp I decided to make a TV-B Gone kit as my starter project, and a safe as my main project. The TV-B Gone is a device that turns off any TV, making it great for having fun with people by turning off their TV at their confusion. For my main project I wanted to do something that was the complete opposite of what I did last summer at Bluestamp, which was a remote controlled robot tank. I sought out new challenges that would not be similar to my last project here, and something that would be practical for everyday use. Thinking along those lines, I arrived at making a safe as my project, which would be both new to me and practical.
I tried to put as many secutiry features on to it as possible, which ended up being a fingerprint scanner and a keypad. I had some great fun with this as well as difficuilties but as you will soon see, I got through them. I decided to come back to Bluestamp because I love problem solving, seeing my ideas come to life and function, building, and designing. Being that these were all characteristics of what goes on at Bluestamp, and I loved it last summer, there was no reason not to go back. Below you will see my projects and documentation of them. Enjoy!
Finger Print Scanner & Keypad Safe

My Final Milestone: A Safe Safe

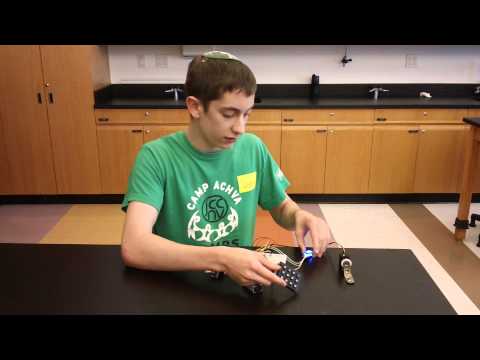
My project is complete! I have made and installed a locking mechanism to the chest I ordered, as well as attached my Arduino, servo, on/ off switch, fingerprint scanner, and keypad to it, making it a high functioning and secure safe. It locks and unlocks by a wall brace, attached to a servo, turning and hooking on to another wall brace, which stops vertical motion of the top of the chest, when it is locked. I dremelled rectangular holes into the chest for the on/off switch, keypad, and fingerprint scanner and fixed them into the holes with superglue and hot glue.
This was by far the easiest part of the project, with the difficulties only arising in minor issues such as lining up the servo, which is attached to the front wall, with the lock, which is attached to the opening celling, and deciding where the various pieces of hardware should go. If I have time, either on the final day at camp, or after this program is over, I plan to add a voice recognition module, as another security feature.


Codes: Safe Final Enroll Finger Final
My Second Milestone: Keypad with a Passcode
Just as life constantly changes, so too did my project. I was planning on cutting a safe out of wood or acrylic, however, it was extremely difficult to cut straight edges for the sides and bases of the safe, giving it a weak structure due to the walls not being fully connected, pushing me towards buying a chest instead of making it. I’m leaving this chest for my next milestone, when I will put all the security components of the safe together.
Nevertheless, today I have come to a different milestone. Earlier, I ordered a 3 x 4 button keypad to add a passcode to my safe. Getting the keypad to read button inputs was not too complex. I had to see what pins, or data ports on the keypad, corresponded to which rows and columns. When a button is pressed, it is a combination of two pins, one for the row of the button and the other for its column, being connected that sends out data. Together they determine what button is being pressed.
Once that was working and my Arduino was reading what button was being pressed, I had to write a code that could receive a button combination, compare it to a set passcode, and if the passcode and the button combination matched, do an action, which in this case was turning on the fingerprint scanner. Initially, I tried to have the Arduino save the buttons pressed in their order as the passcode that was attempted, and then compare it to the actual passcode. However, this was not as trivial as it sounded, and four days later I was still struggling with this. Luckily, I found a library, which is a series of functions and commands made to perform various events that was made for using passcodes with keypads. Soon my keypad was working along with my fingerprint scanner. Now if I type in my passcode and then put my finger on the scanner, a servo turns, which when put in conjunction with my locking mechanism in the safe, will unlock it.
In my next and final milestone, I will be putting the safe together with the keypad, fingerprint scanner, and locking mechanism.
* Passcode library: http://playground.arduino.cc/Code/Password
** Library for reading button inputs on the keypad: http://playground.arduino.cc/Code/Keypad
My First Milestone: Safe Opening with Voice Command and Fingerprint Scanner
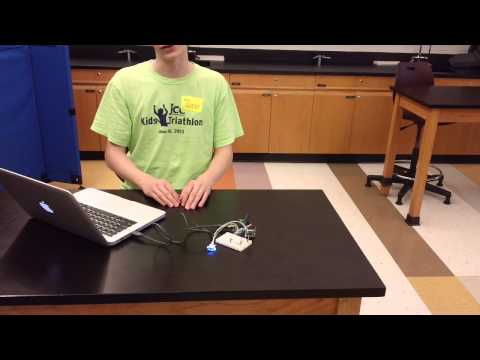
I have finally made it to my first milestone! For my main project I have been working on making a safe that opens by receiving a voice command that turns on a fingerprint scanner, which will turn a servo motor, thereby pulling back a lock and unlocking the safe, if the finger that is pressed on the scanner is recognized. Using my Mac, I used its voice recognition software to send information to my Arduino. I did this by creating an application that launches when the word “scan” is said. Terminal, which is a program on Mac used to interface with the computer, can communicate with Arduino’s serial monitor via a program called PySerial. After “scan” is said, and the application is launched, Terminal runs the PySerial code that I made, which sends data to my Arduino’s serial monitor that activates the finger print scanner, upon receiving the data. The fingerprint scanner can hold up to 200 fingerprints so I’ve put plenty of fingerprints into it as backup.
The finger scanner took a couple of steps to get it to read and recognize my fingers. The first step, hooking up the scanner to my Arduino with jumper wires, was not too difficult, however, I had to adjust the number of volts that went to the scanner because it runs at 3.3 volts, while my Arduino runs a five. If the scanner got five volts it could have been fried, forcing me to make a voltage divider, which is a system that is used to regulate voltage. Making the voltage divider was a bit tricky since it was new to me, but I got it working and shortly after I was uploading my fingerprints to the scanner and it was recognizing them.
My next milestone will be putting the safe together. I am going to cut it out of wood, 3-D print a rail and pinion, which will act as part of the locking mechanism, and assemble all the components of the safe together. By the end of my next milestone, the safe will be opening at the sound of my voice and the touch of my finger.
Starter Project: TV-B-Gone
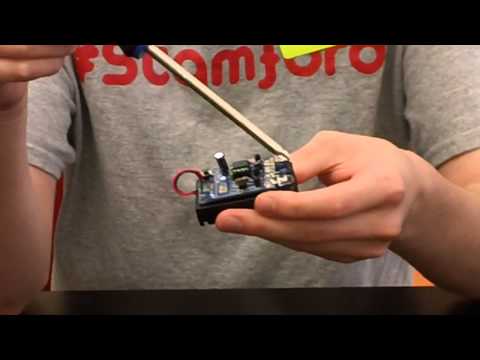
At BSE Summer 2015, I made a TV-B-Gone Kit by Adafruit as my starter project. It uses infrared lights to turn off any TV at the push of a button. It is controlled by a microcontroller, which is a device with a proccessor that receives data from its chip and carries out the chip’s commands or functions by telling them to the other components. At the timing of an oscillator, pulses will be sent to a capactior, which holds electrical charges. The capacitor will send pulses to capacitors, which will amplify the charge, and send it to the infrared LEDs, which will light up and send a wireless message to a television to turn off. The entire process begins when a button is pressed, and ends a few seconds later after the infrared LEDs have blinked, thereby sending information to a TV.