
Main Project – Mp3 Player
Final Milestone
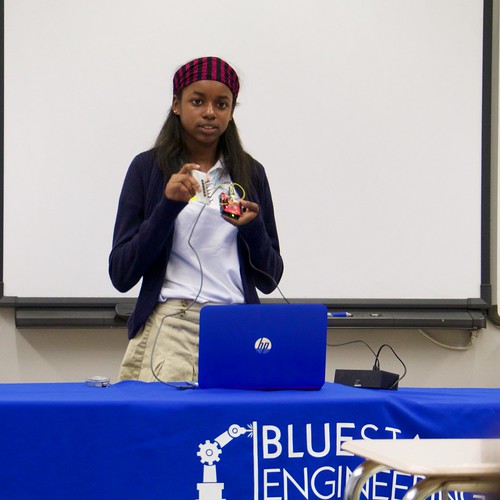
Now that I was able to make the MP3 player play music files using the computer( serial monitor), my next step was to modify it. The modification I added to the MP3 player are buttons that will forward, play, stop, lower the volume, and increase the volume. With the use of the buttons, you don’t need the computer to control the commands. Adding the modification was actually more difficult than making the MP3 player actually play the files. I basically used a different code ( Button Player 2) included in the previous file as an example and with the help of the library ( Bounce.2). The Next, Play, and Stop commands were already included in the code already. However, I had to add things to the code so the Arduino can know that the pins are connected and include High and Low commands that will hook up the buttons. I used the function for high and low commands and followed the same setup as in play and stop. I just really copied the format but put Low or HIGH instead of the other commands. In addition, I had to define and add the pins.
I wanted the Next button to go back to the first track when there’s no more songs left. To do this, I had to make a variable and else/if statement. The if statement was the variable greater than number of tracks so it can go back to track001. Also, the else statement is if the statement is false so it just continue playing the next track. After, the software part of the modification was complete , I then wired jumper pins to the following pins places( Analog pins) on the arduino to a breadboard where i hooked up the buttons. In the beginning, I had a hard start but it was quite easy when I got the hang of it and more familiar with the coding. This was confusing at the start because I had to change the variable, etc. The serial Monitor now looked different and does not list the whole list of commands but it said “ depressing buttons…”. In other words, my MP3 player no longer needs commands inputted directly in the serial monitor. I don’t need the computer anymore except for uploading the code! This is the schematic I used :
CODE :
Bill of Materials :
1st Milestone
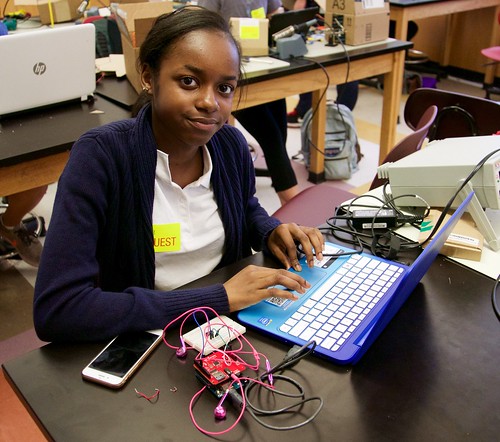
My Project is an Mp3 player that dealt with building and coding. At the start of the project, i had to solder header pins to the mp3 player shield so it can connect to the arduino board. In addition, coding was next, but since I didn’t know how to code , I started off by trying to light up an led. After this, i was set to code and added the mp3 player shield. The code was to program the player shield and arduino to play music and upload commands in the serial monitor for the arduino to follow. the code and libraries must be correct or else the arduino wouldn’t understand what code is it or what does it have to do. In addition, you will have to set up the sd card or else the music from the card wouldn’t transfer to arduino. Moreover, the Mp3 player plays music with the use of the code and libraries.
Starter Project – MintyBoost Charger
The MintyBoost v3.0 Kit is a battery-powered USB charger for gadgets. You can use it for any gadget via a USB charger. For this to successfully work, i had to connect the parts to the aurdino chip correctly and property.In addition, the parts all have specific roles in order for the device to charge via the the USB charger. For example, within the Minty Boost Kit, there are 3 resistors,4 capacitors,1 volt, 1 chip, circuit board, and battery holder. The resistors are used to limit the amount of current being passed through.This helps the chip from overheating. Also, the capacitors helps stabilize output voltage and make sure the chip is stable so it won’t generate too much voltage. The chip is supposed to convert the 3V battery power into a 5V output . If these parts are not soldered down properly or put into incorrect places, the charger will not work.